Let’s face it, a Windows 11 computer running hot is never a good sign. Not only can it lead to performance throttling, making your computer slow and sluggish, but it can also damage your hardware in the long run, leading to costly repairs or replacements. That’s why keeping an eye on your CPU temperature is crucial for maintaining the health and longevity of your system, bringing several benefits:
- Enhanced Performance: A computer that runs cool runs better. By monitoring your CPU temperature, you can ensure it stays within optimal operating range, preventing throttling and ensuring smooth, efficient performance. This is especially important for gamers and other power users who push their systems to the limit.
- Extended Hardware Life: Just like any other machine, your computer’s hardware has a lifespan. Running at high temperatures can significantly shorten this lifespan, leading to premature hardware failure. By keeping your CPU cool, you can extend the life of your computer and save money on repairs or replacements.
- Early Detection of Problems: High CPU temperature can be a symptom of other underlying issues, such as failing fans or a faulty cooling system. By monitoring your temperature, you can identify these problems early on and take steps to fix them before they cause serious damage.
In addition to the benefits mentioned above, regularly monitoring your CPU temperature can also help you identify the optimal settings for your computer’s fan speed and voltage, further enhancing its performance and efficiency.
While Windows 11 doesn’t offer a built-in tool for monitoring CPU temperature, several third-party applications make the process incredibly easy.
In this guide, we will show you the 3 easiest ways to check your CPU temperature in Windows 11.
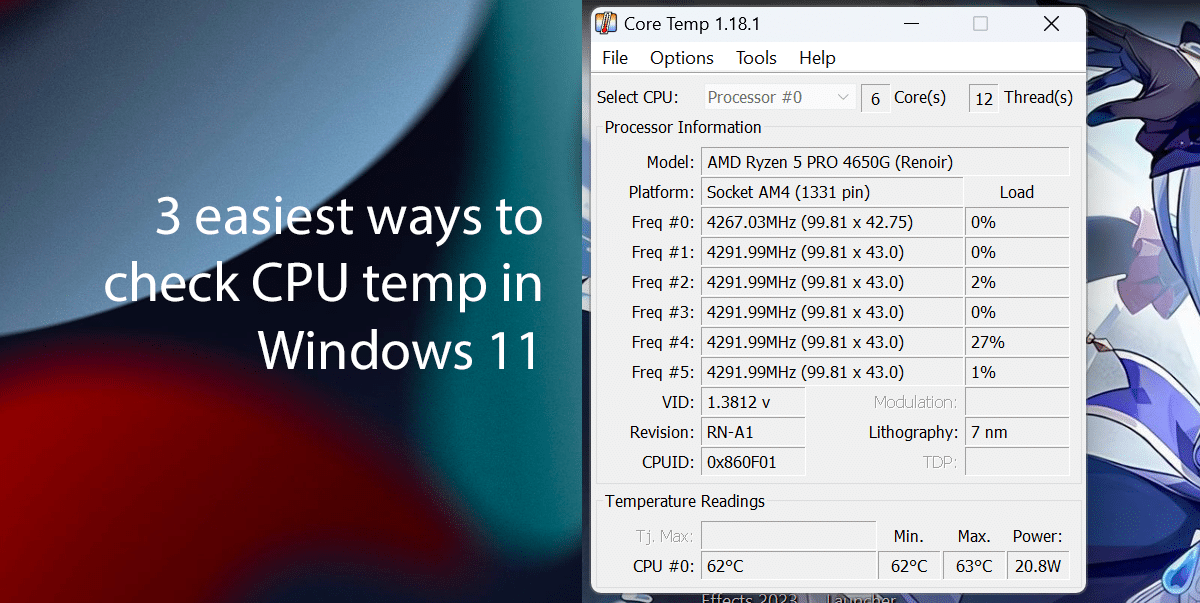
Here are the 3 easiest ways to check CPU temp in Windows 11
Check CPU temp using HWiNFO
- Open Start, search for Command Prompt, and select the Run as administrator option.
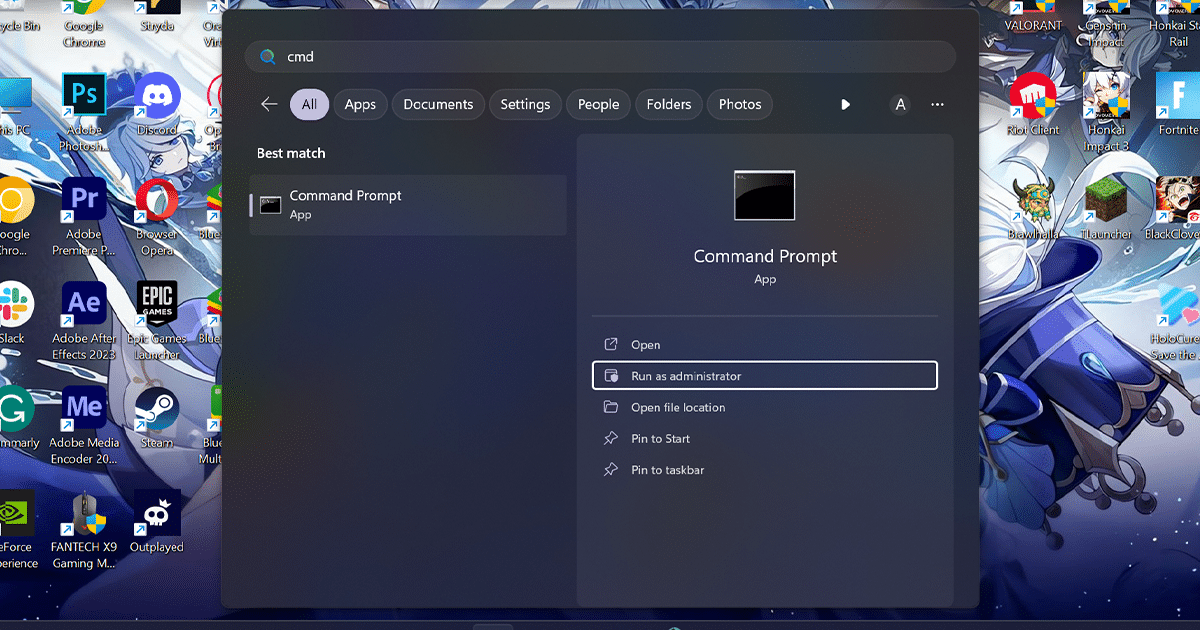
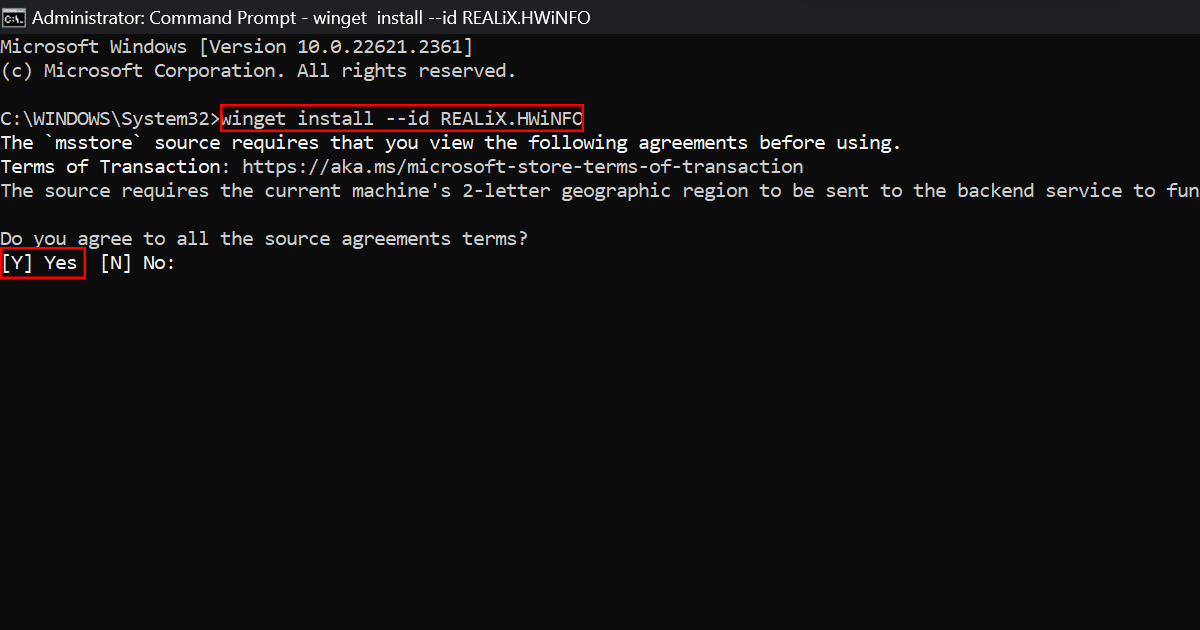
- Type the following command to install the HWiNFO app and press Enter:
winget install --id REALiX.HWiNFO
- Type Y and enter.
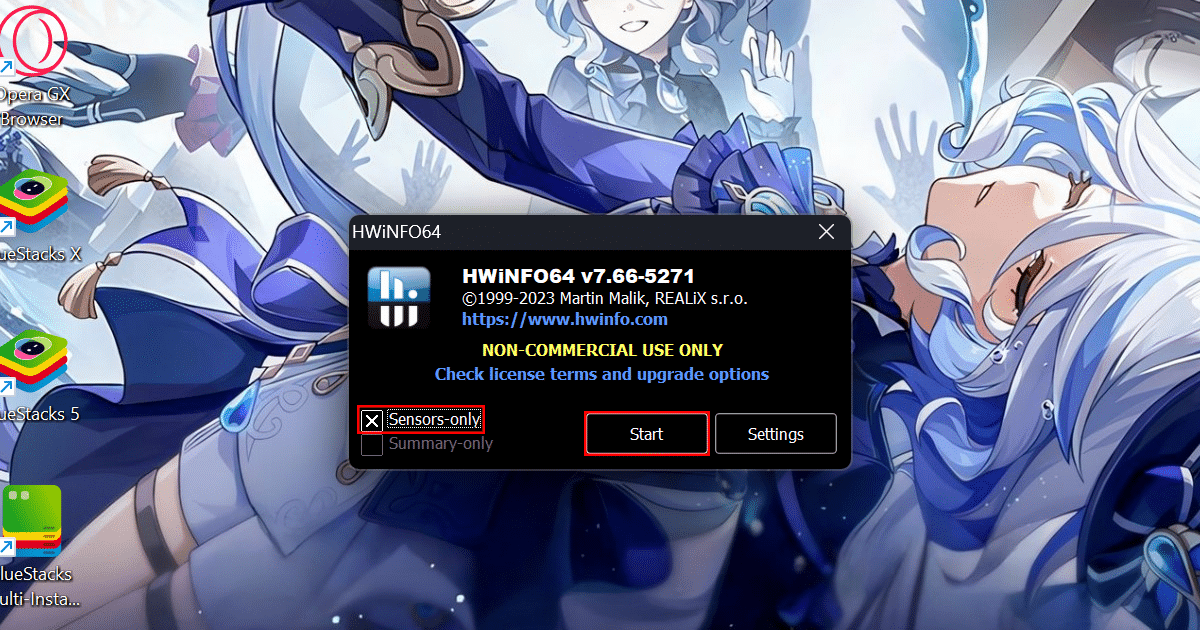
- Check the Sensors-only option and click the Start button.
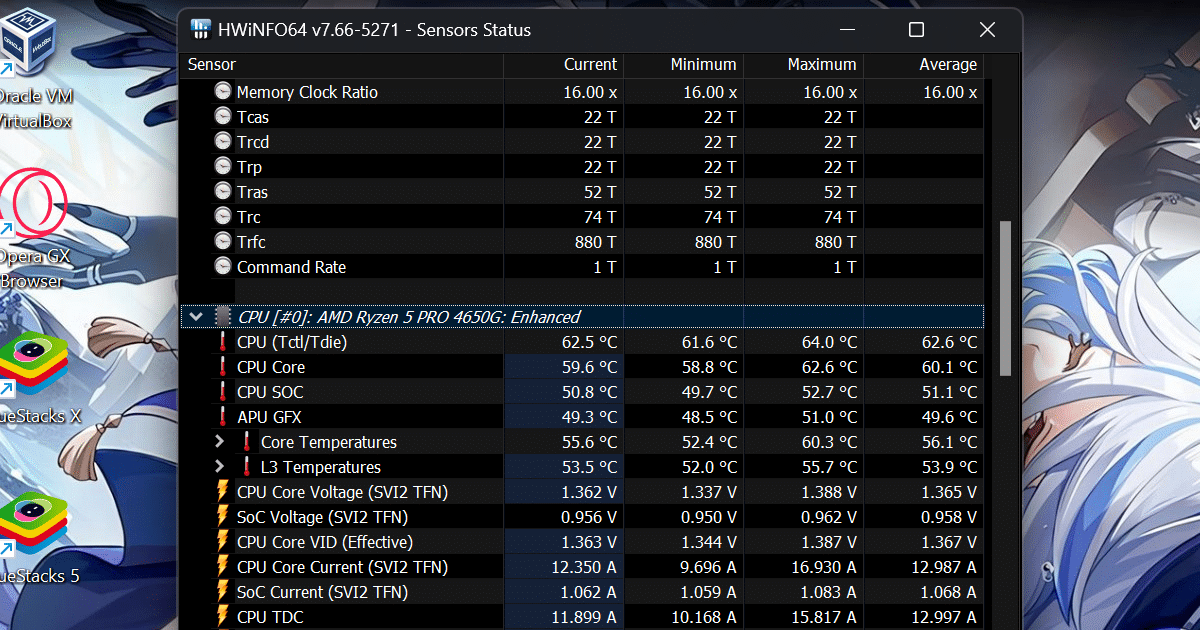
- Select the “CPU [#0]” from the list and confirm the CPU temperature.
Check CPU temp using Core Temp
- Open Start, search for Command Prompt, and select the Run as administrator option.

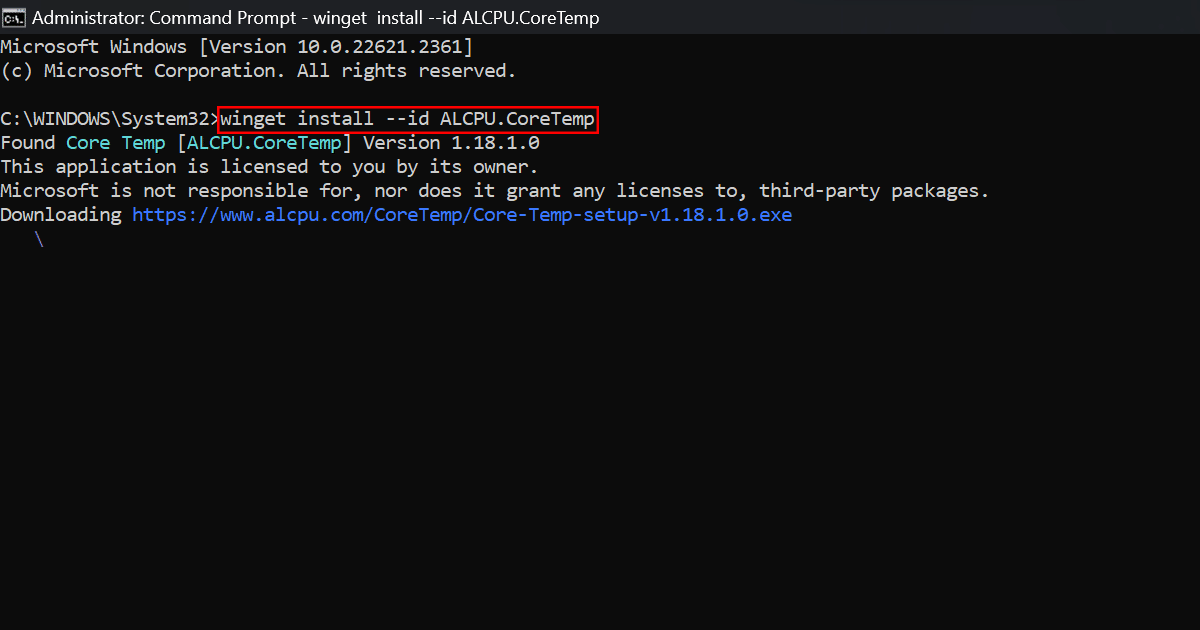
- Type the following command to install the Core Temp app and press Enter:
winget install --id ALCPU.CoreTemp
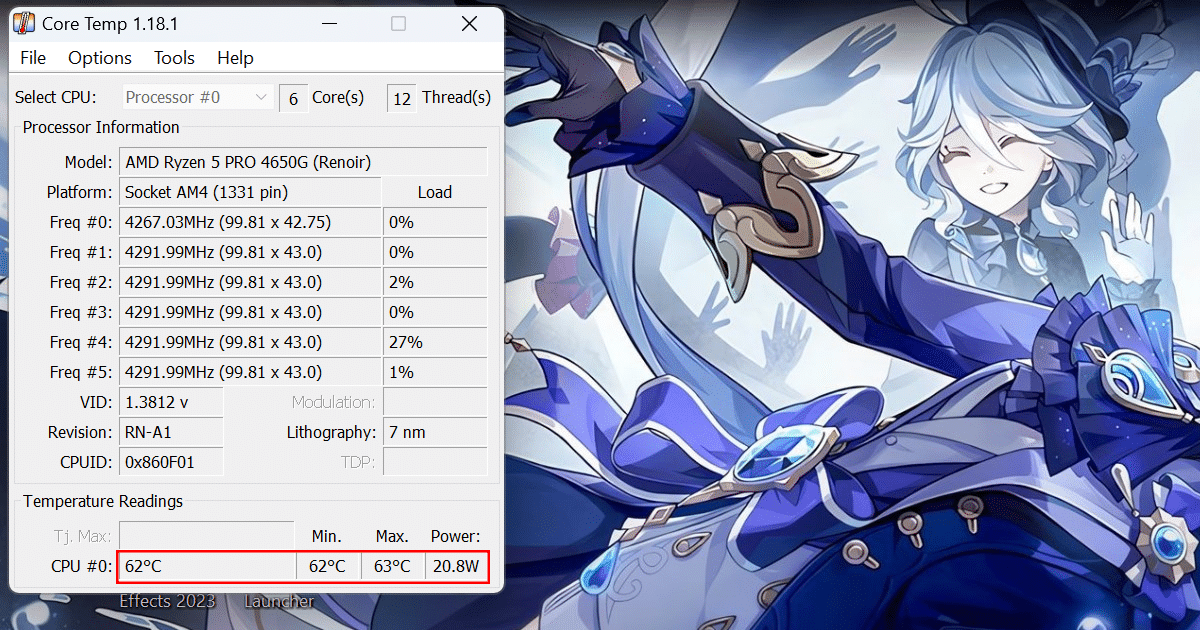
- Click the Start button search for Core Temp and click open.
- Check the CPU temp under the “Temperature Readings” section.
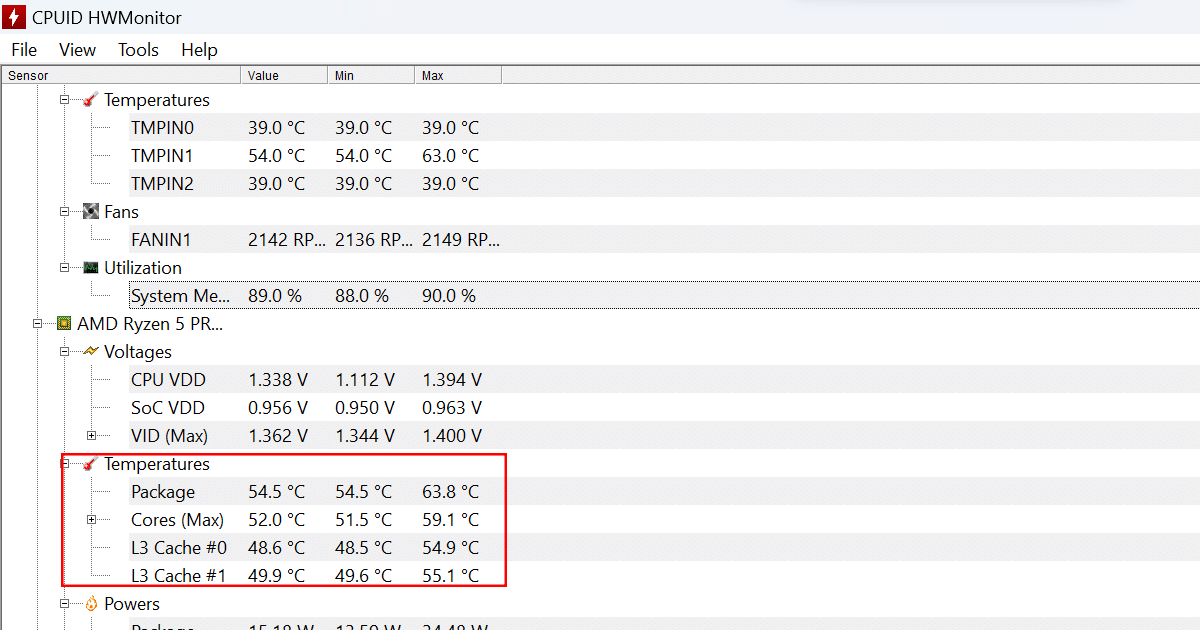
Check CPU temp using HWMonitor
- Open Start, search for Command Prompt, and select the Run as administrator option.

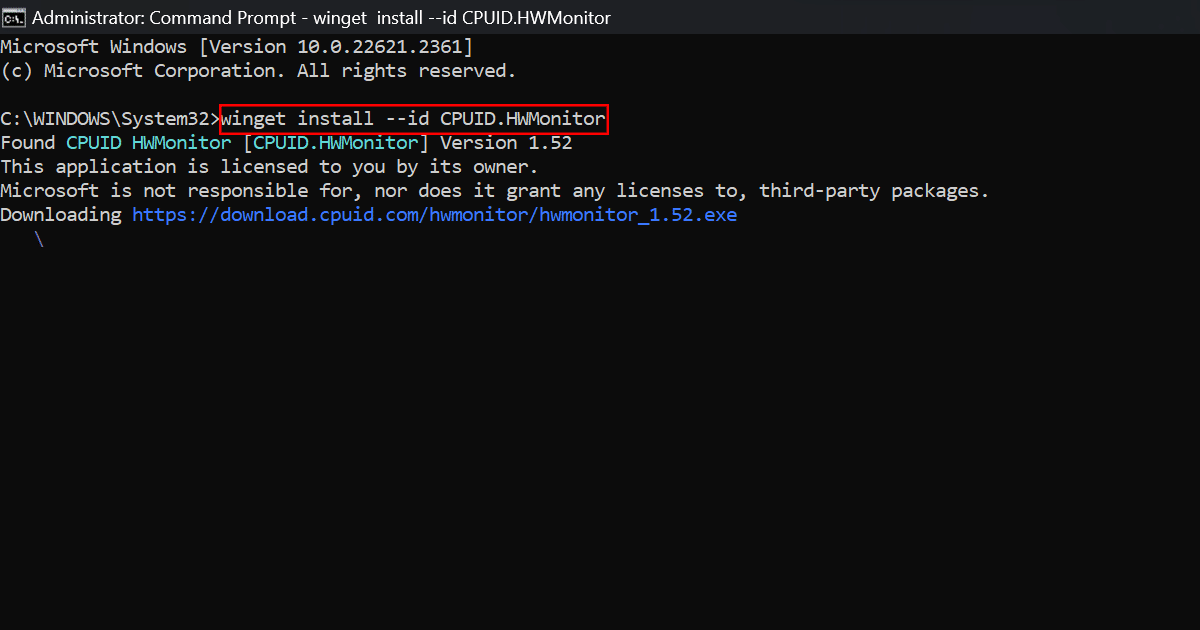
- Type the following command to install the HWMonitor app and press Enter:
winget install --id CPUID.HWMonitor
- Click the Start button, search for HWMonitor, and click Open.
- Select the system processor from the list.
- Confirm the temperature of the CPU on the computer.
Read more: