The Windows 11 computer model number can be useful in many situations, it can make it easier to find the correct hardware for upgrades like memory, storage drive, monitor, and power supply, or if you need to troubleshoot a problem and contact technical support.
In this guide, we will show you how to check the model number and the serial number with the System Information app, Command Prompt, and PowerShell in Windows 11.
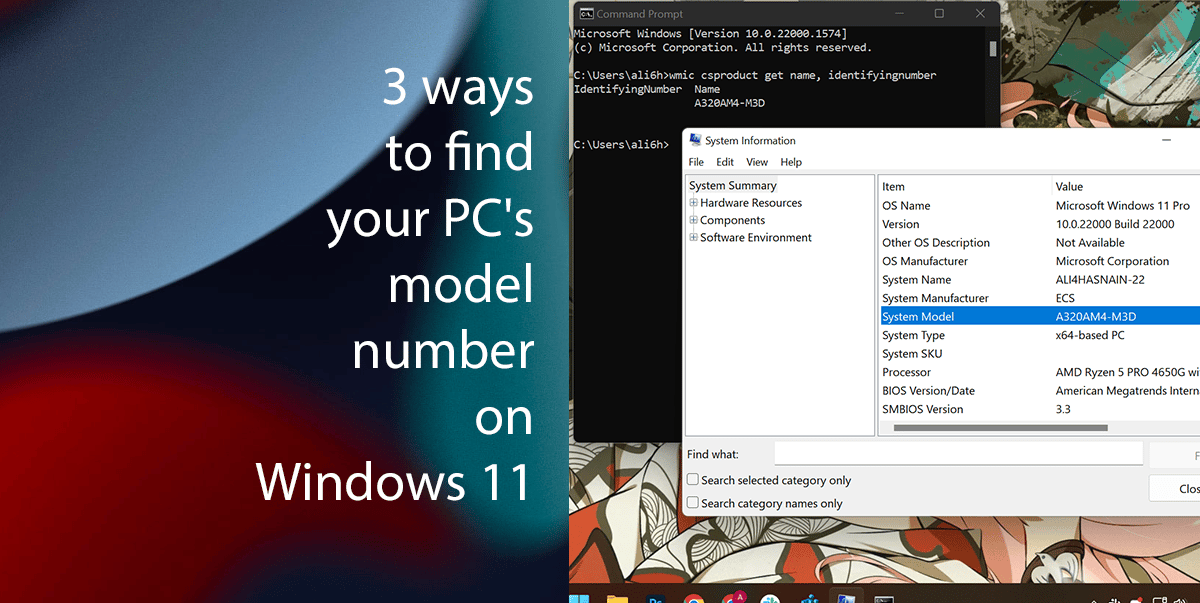
Here are 3 easy steps to find your PC’s model number in Windows 11
How to find PC’s model from System Information
-
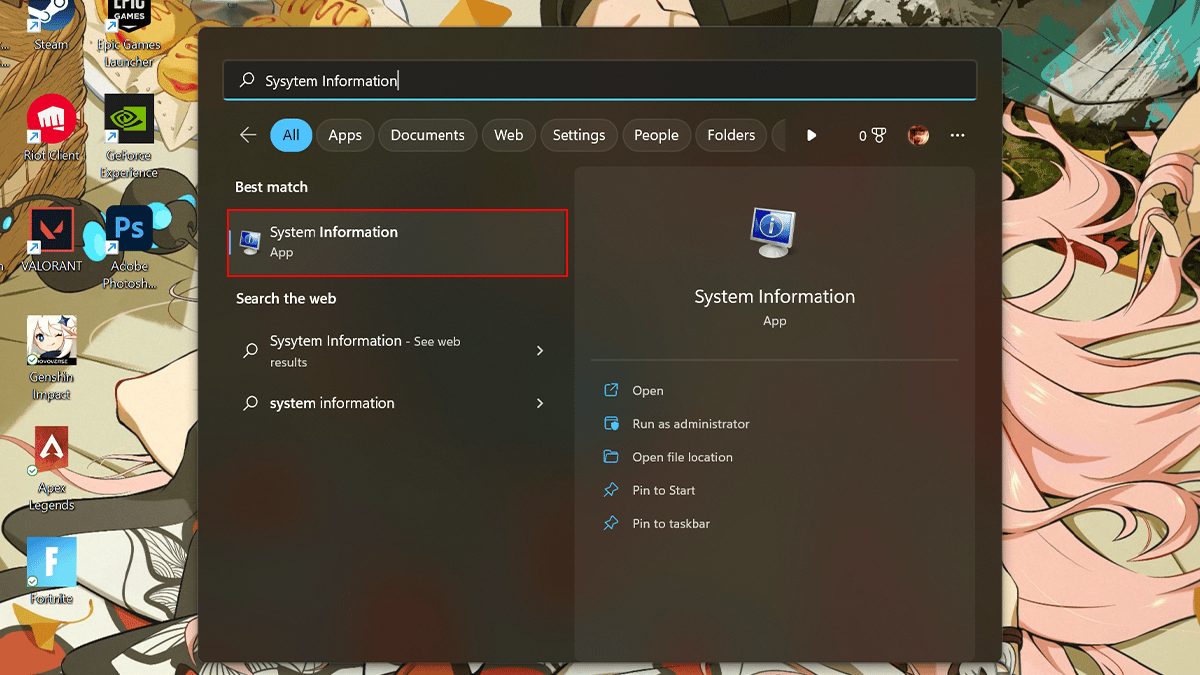
- Open Start > search for System Information > click the top result to open the app.
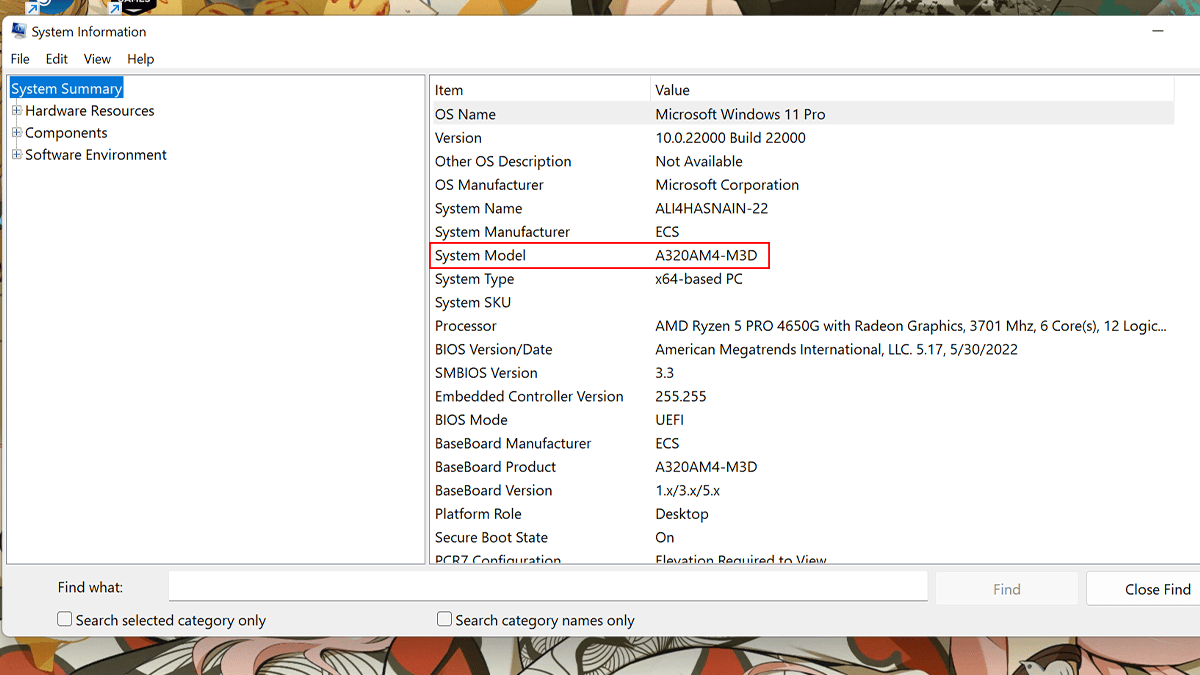
- Click on System Summary > your PC model number will appear in the System Model.
- Open Start > search for System Information > click the top result to open the app.
How to find PC’s model from Command Prompt
-
- Open Start > search for Command Prompt > click the top result to open the app.

- To find your computer model type the following command: wmic csproduct get name
- > press Enter on your keyboard.
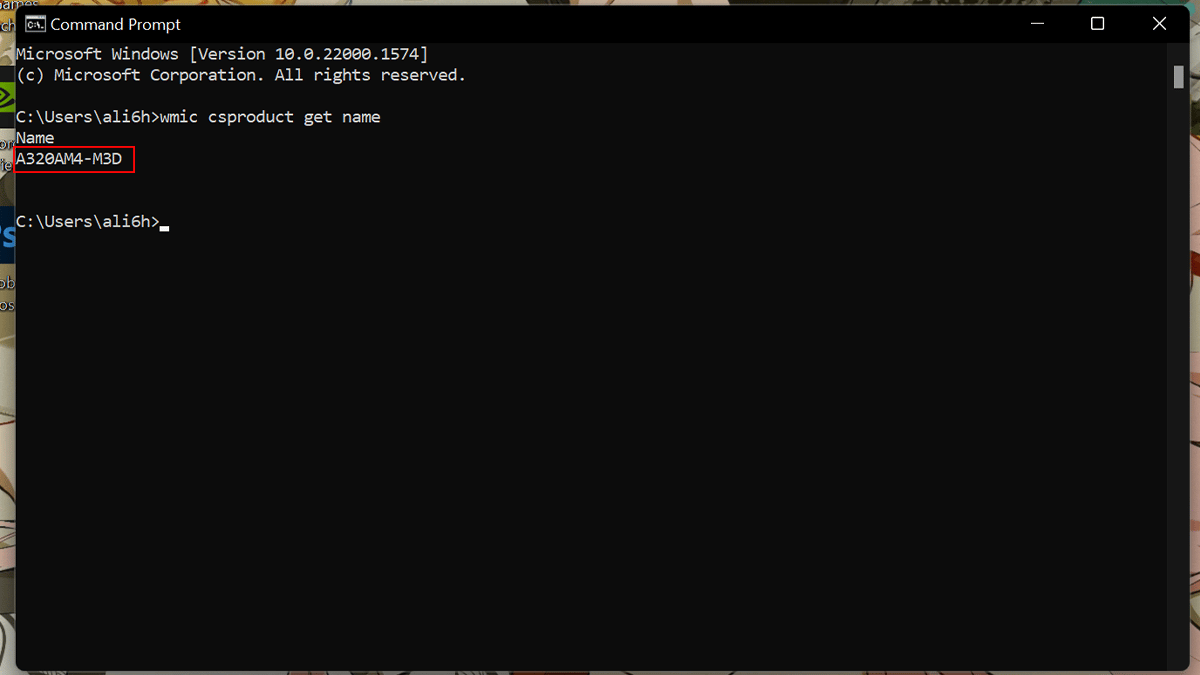
- Open Start > search for Command Prompt > click the top result to open the app.
How to find PC’s model from Command Powershell
-
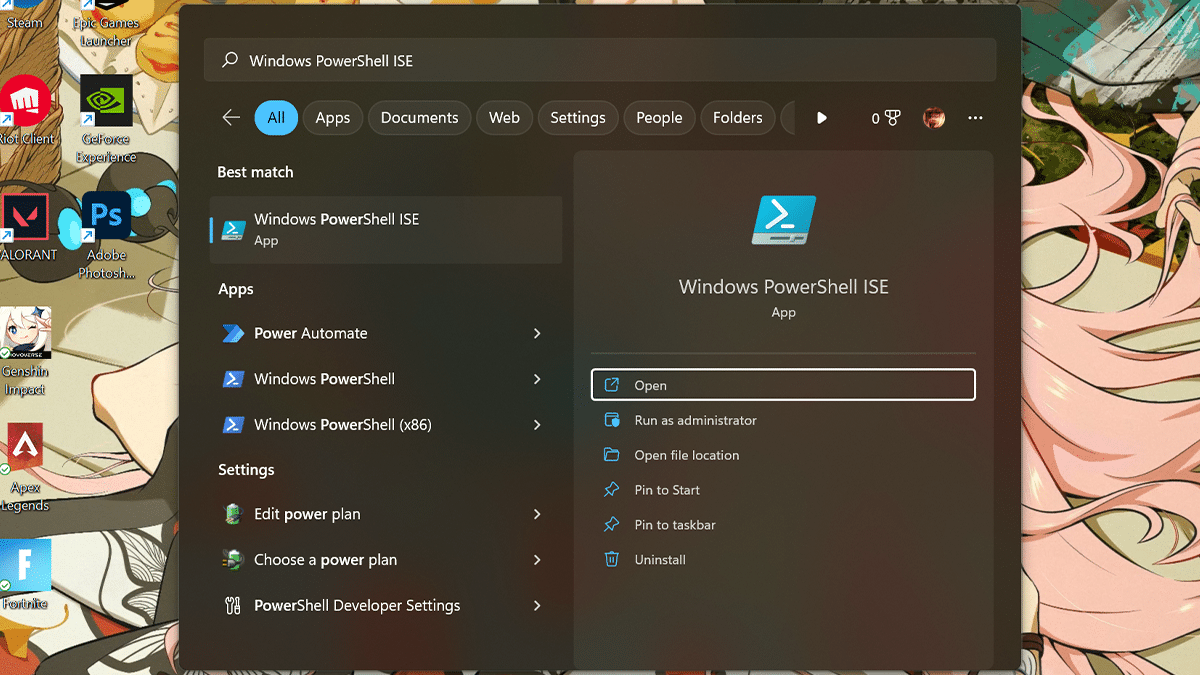
- Open Start > search for PowerShell > click the top result to open the app.
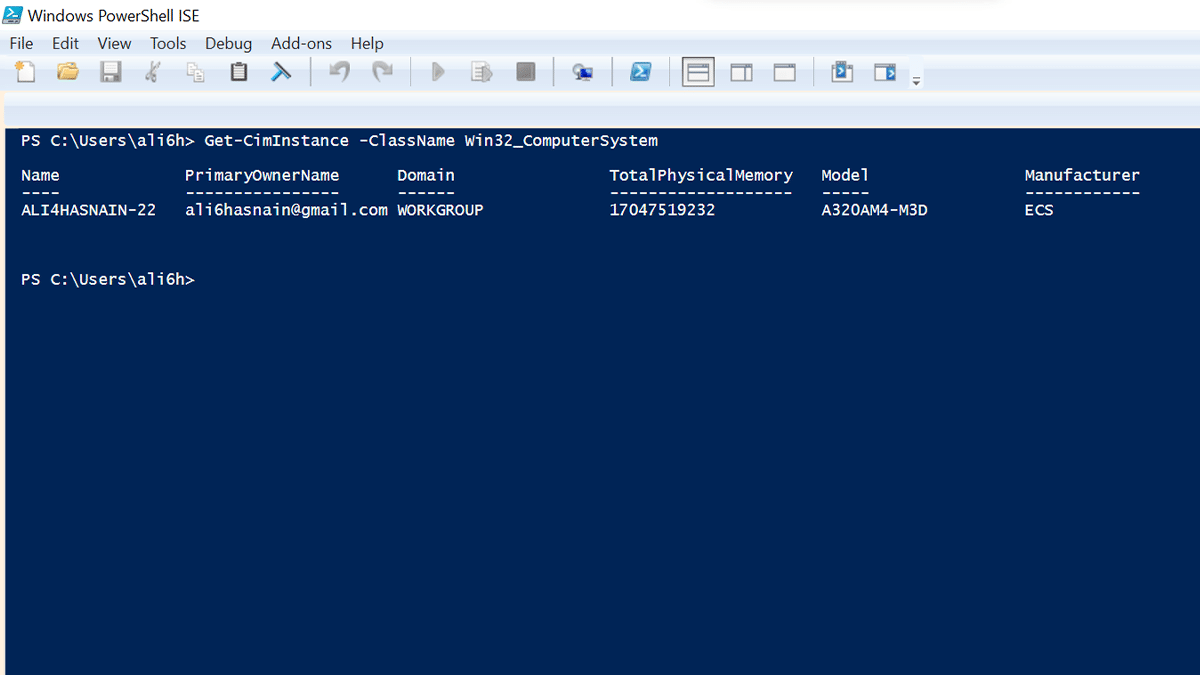
- To check your model and the serial number type the following command: Get-CimInstance -ClassName Win32_ComputerSystem
- Press Enter on your keyboard.
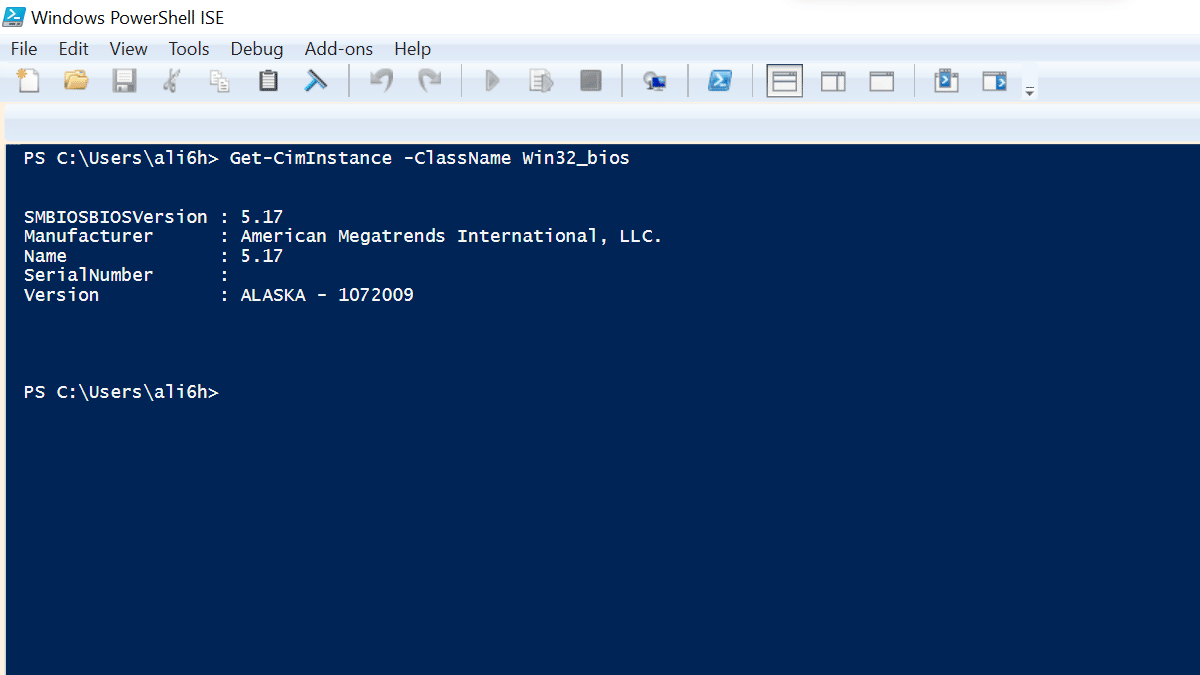
- To check the serial number type the following command: Get-CimInstance -ClassName Win32_bios
- Press Enter on your keyboard.
- Open Start > search for PowerShell > click the top result to open the app.
Read more:
- How to reset audio settings to defaults in Windows 11
- How to add and remove Recycle Bin from the taskbar in Windows 11
- How to change the ear tips of your AirPods Pro
- How to use the emojis keyboard feature on Windows 11
- How to password protect a folder on Windows 11 without Installing any third-party apps
- How to create Siri’s “low battery” alert on the Shortcuts app on iOS 16.3
- How to screen record with sound on iPhone
- How to use Apple Watch to calculate and split tips
- How to turn off web access to iCloud data on iOS 16.2