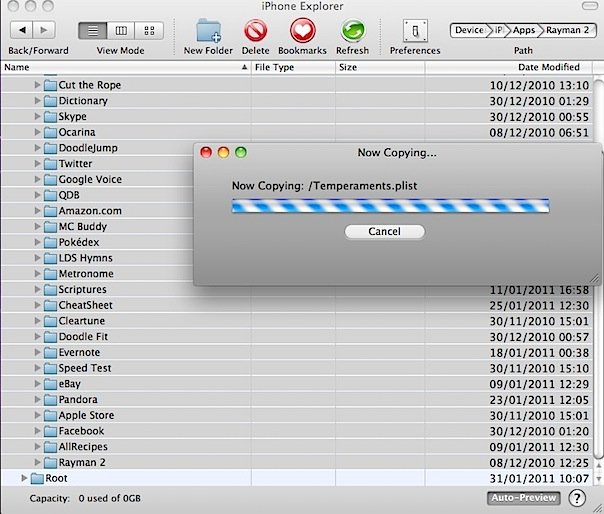
Apple’s iTunes is an overall great media manager. And, when it comes to backing up your iDevice, it does alright. But, iTunes has its shortcomings. What do you do if you got 3 stars on every Angry Birds level and want to transfer that success to another device? What if you spent a great amount of time meticulously setting up a third-party application just the way you like it? Now, there’s an answer.
iPhone Explorer is an iDevice file browser available for both PC and Mac. You can download iPhone Explorer here. Here is a full guide to browsing files and backing up third party app data. This technique does not work with iOS 4.3 beta 2, so be warned. It is recommended that you backup your iDevice prior to trying this.
*Please note that to back up core applications such as the calendar, you will need a jailbroken iDevice.
Step 1: Install iPhone Explorer and run it.
Step 2: Plug in your iDevice. If iTunes mounts it, click the “eject” button next to your iDevice icon, but leave it plugged in. If iTunes tries to sync with the iDevice, iPhone Explorer will tell you the device is inaccessible. One way to prevent iTunes from automatically opening is to disable iTunes Helper. To do this, open Applications > Utilities > Activity Monitor. Scroll down to “iTunes Helper,” and click on “Quit Process.”
Step 3: Click on “Apps” to expand the file tree. The way apps are named can be a pain. On Windows, you will usually see apps labeled similar to com.developer.appname. On Mac, all my apps showed up as appname. *Note that “Root” will only appear if iDevice is jailbroken.
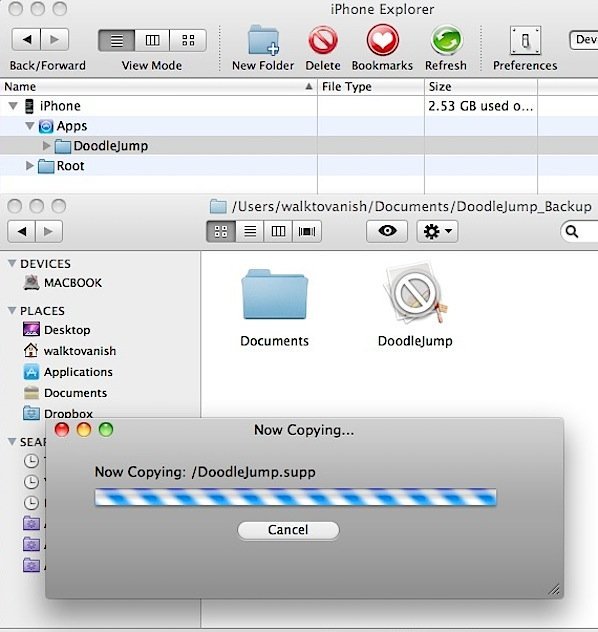
Step 4: Click on the app you would like to backup, and then drag it to a folder on your computer where you would like to store the backup.
Step 5: Once the files are stored on your computer, you can archive them for safekeeping, or copy them to another iDevice. To transfer data to another iDevice, simply reverse the process. Navigate to the correct location on iPhone Explorer, then drag the backup files to copy them.
Now you have the tools and know-how to backup third-party app data and copy it between iDevices.
*Please note once again that this will not work on iOS 4.3 beta 2.


