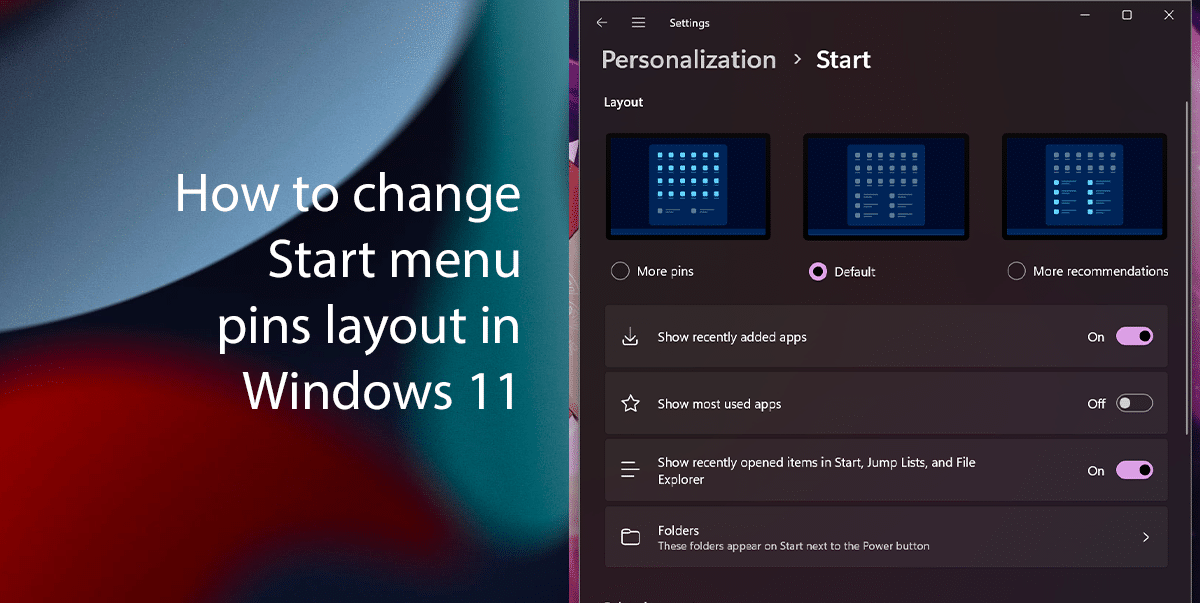
The Start menu pins layout in Windows 11 is the way that the pinned apps are displayed in the Start menu.
The default layout shows three rows of pinned apps per page, with one row of recommended items. You can change the layout to show more pins or more recommendations, or you can customize the layout to show your favorite apps in a specific order.
There are a few reasons why you might want to change the Start menu pins layout on Windows 11.
- Personalization: You might want to change the layout to match your personal preferences. For example, if you use a lot of apps, you might want to choose the More Pins layout to see more of your pinned apps at once. Or, if you prefer to see more recommended items, you might choose the More Recommendations layout.
- Accessibility: If you have difficulty seeing or using the mouse, you might want to change the layout to make it easier to use. For example, you might choose the More Pins layout to make the pinned apps easier to see, or you might choose the More Recommendations layout to make the recommended items easier to reach.
- Organization: You might want to change the layout to organize your pinned apps in a way that makes sense to you. For example, you might group your pinned apps by category, or you might put your most frequently used apps at the top of the list.
In this guide, we will show you how to customize the Start menu layout to gain more space to pin more apps in Windows 11.

Here is how to change the Start menu pins layout in Windows 11
- Open Settings.
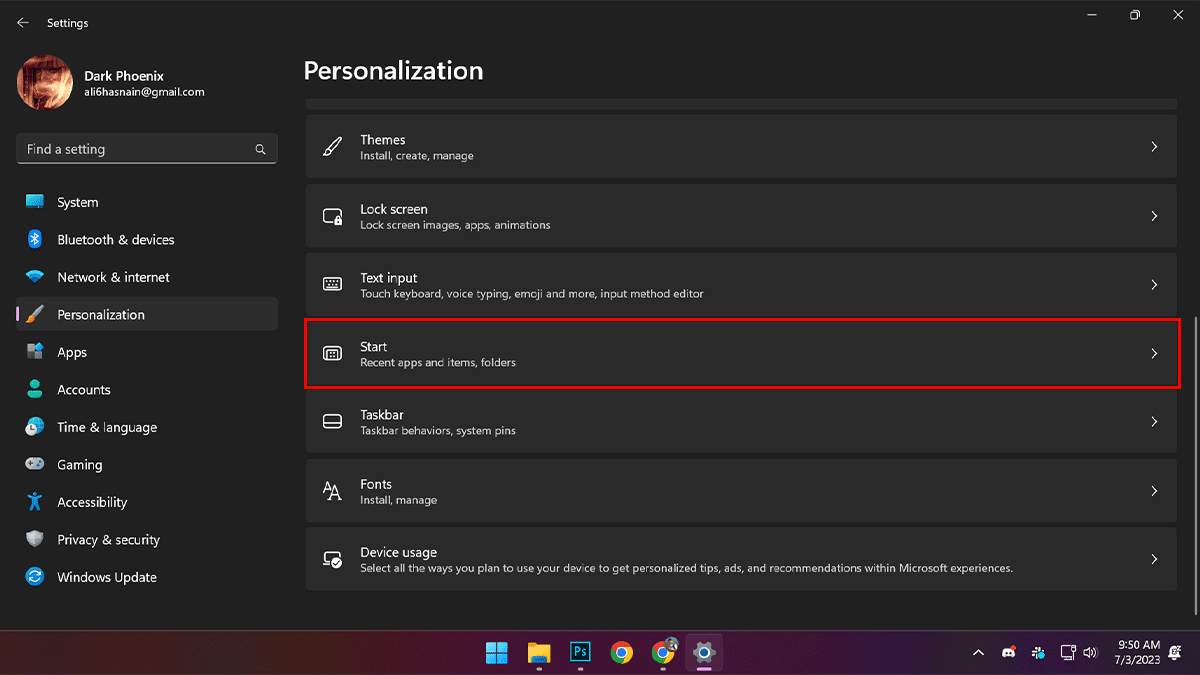
- Click on Personalization and select Start.

- Under the Layout section, select the layout you want to use:

- More pins – adds two additional rows of pins per page and shows only one row for recommended items.
- Default – shows three rows of pins and three rows of recommended items.
- More recommendations – adds an extra row of recommendations and shows only two rows of pins.
- When done, the next time you open the Start menu, you will be able to pin more apps per page.
Read more:


