Windows 11 gives you the ability to connect your Android phone to your Windows 11 PC using the Phone Link app.
Phone Link app connects your Android phone to your Windows 11 PC to give you instant access to your smartphone via computer like reading and replying to text messages with ease, viewing recent photos from your phone, making and receiving calls, and managing your Android device’s notifications right on your PC.
In this guide, we will show you how to connect your Android phone to Windows 11 PC using Phone Link.
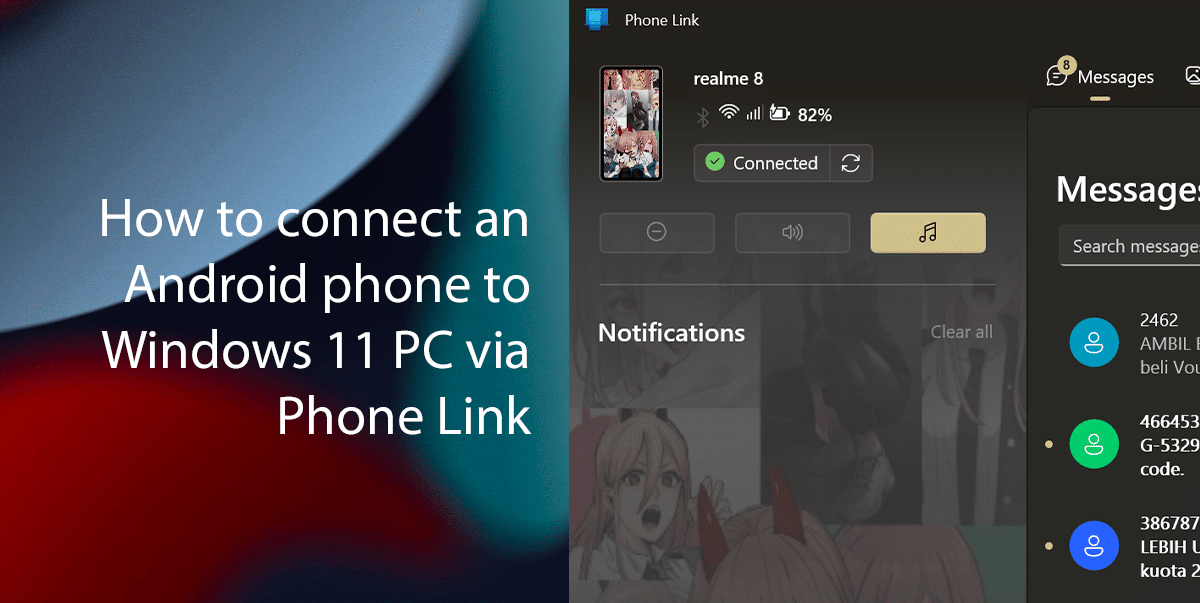
Here is how to connect an Android phone to Windows 11 PC via Phone Link
Usually, Phone Link is pre-installed on your Windows 11 PC but if Phone Link isn’t installed, you can install it from the Microsoft Store.
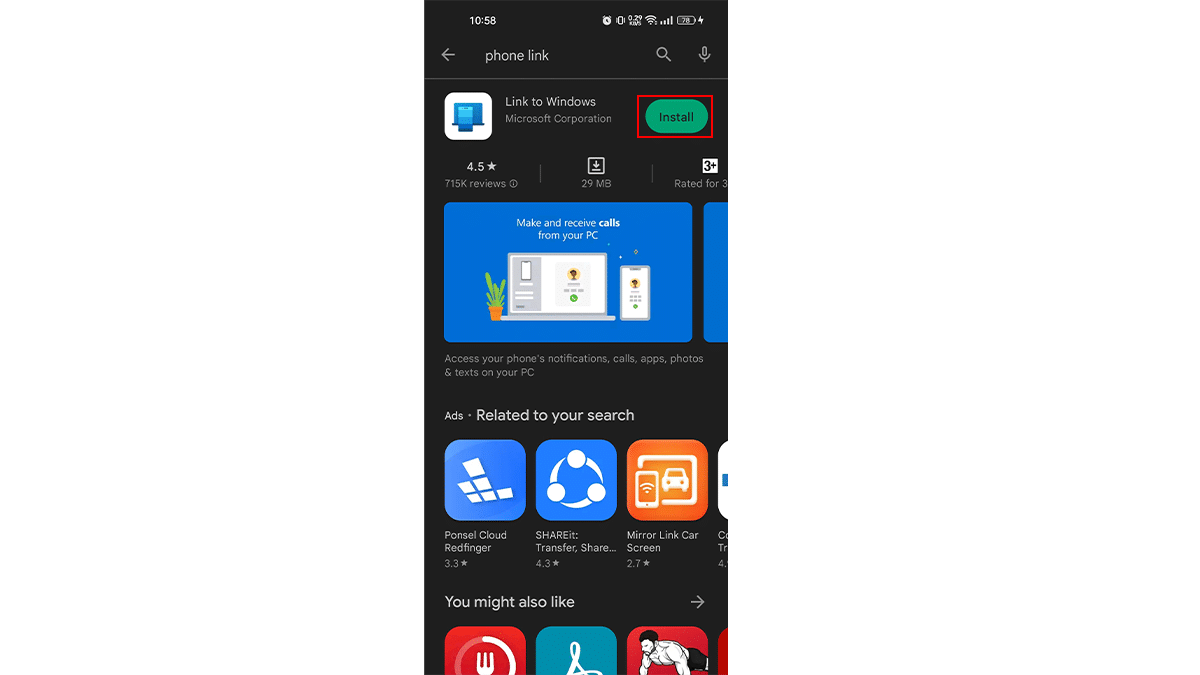
- On your Android device > Open the Play Store and install the Phone Link app.
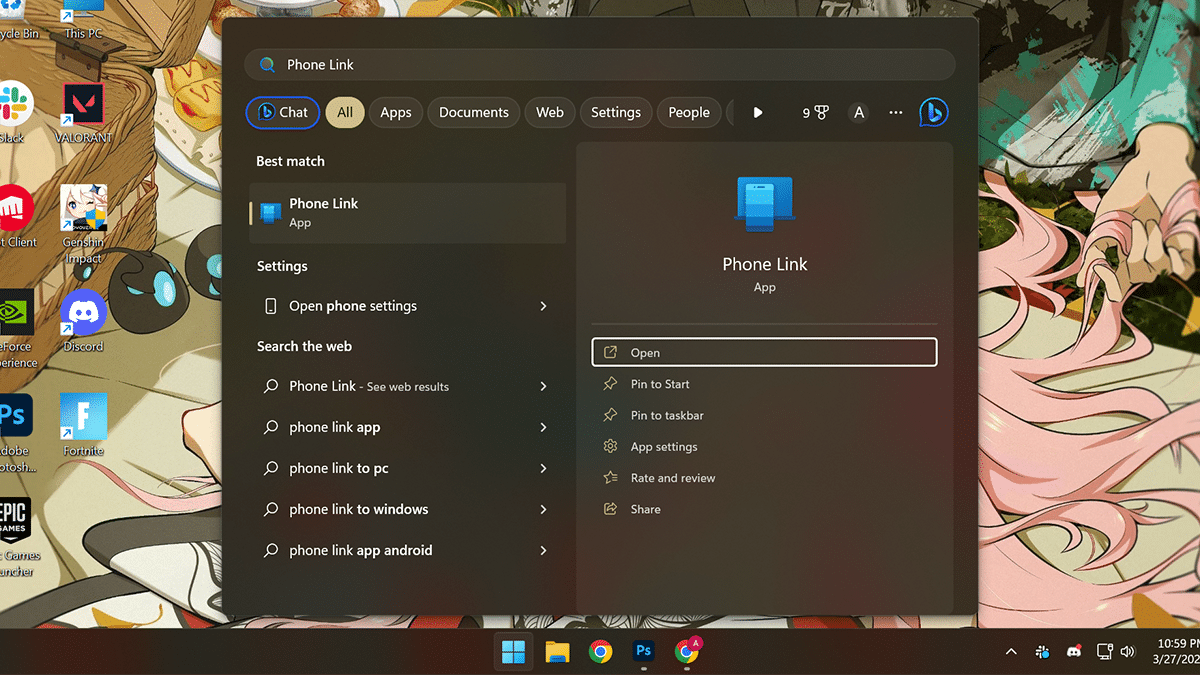
- On your Windows PC > open Start > search for Phone Link > click on the Open button.
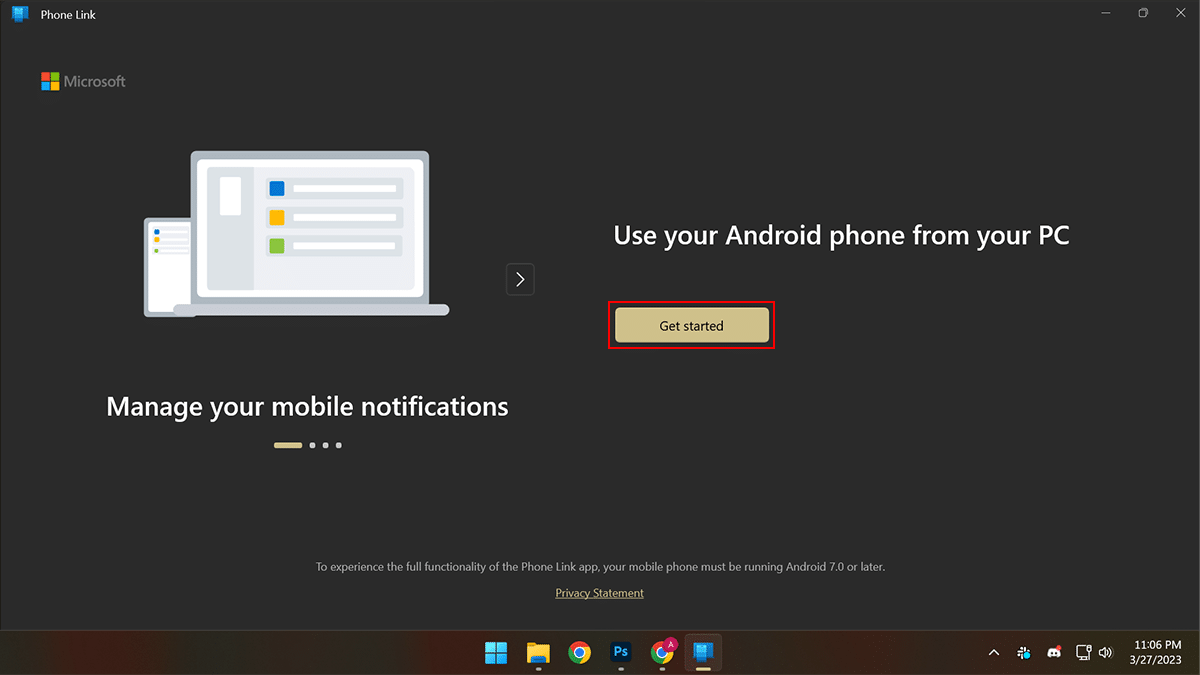
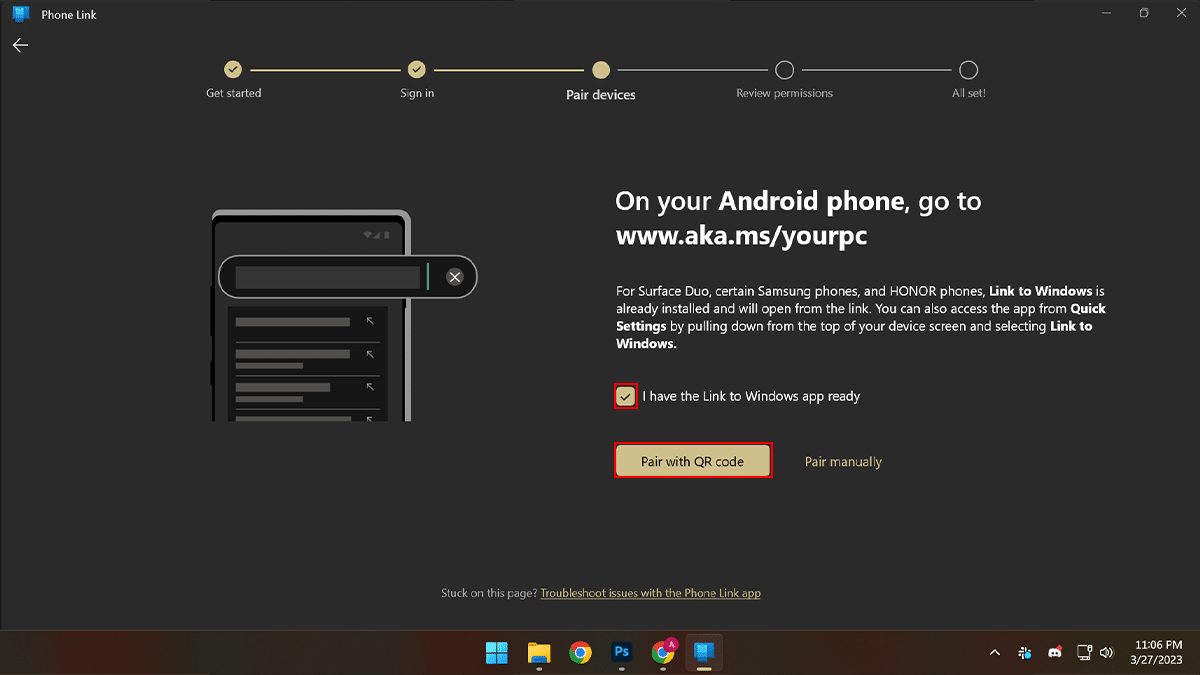
- Click Get started.
- Check the I have the Link to Windows app ready checkbox and click Pair with QR.
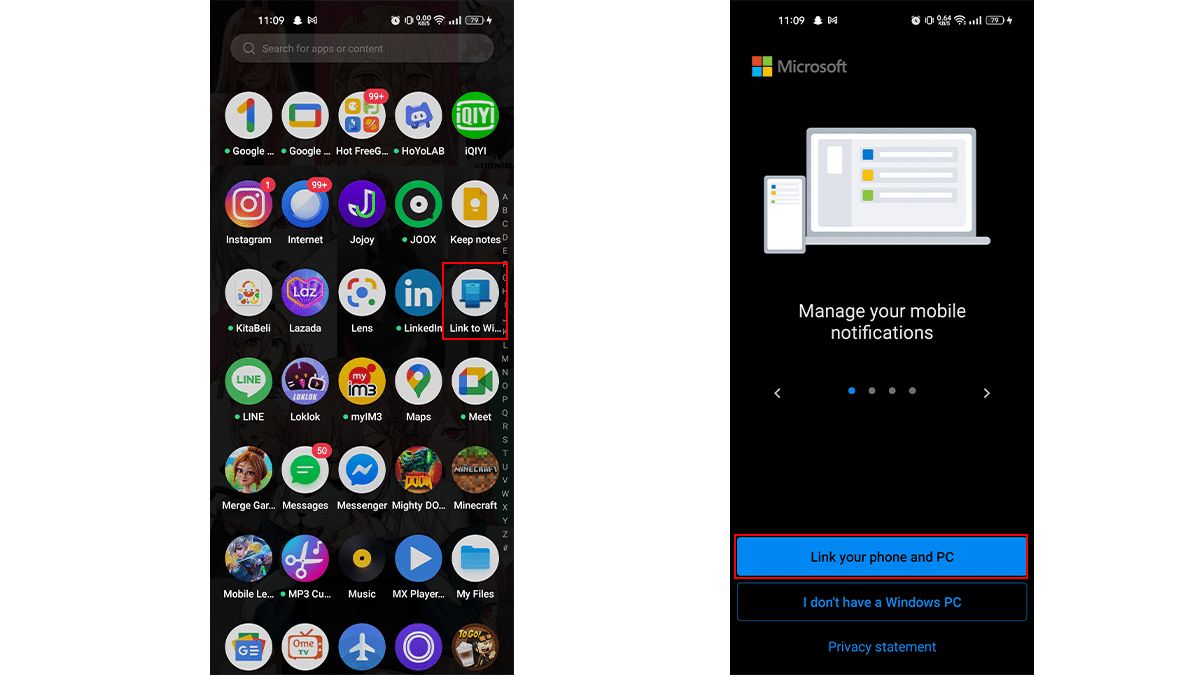
- Open the “Link to Windows” app on your Android device > Tap on “Link your phone and PC”.
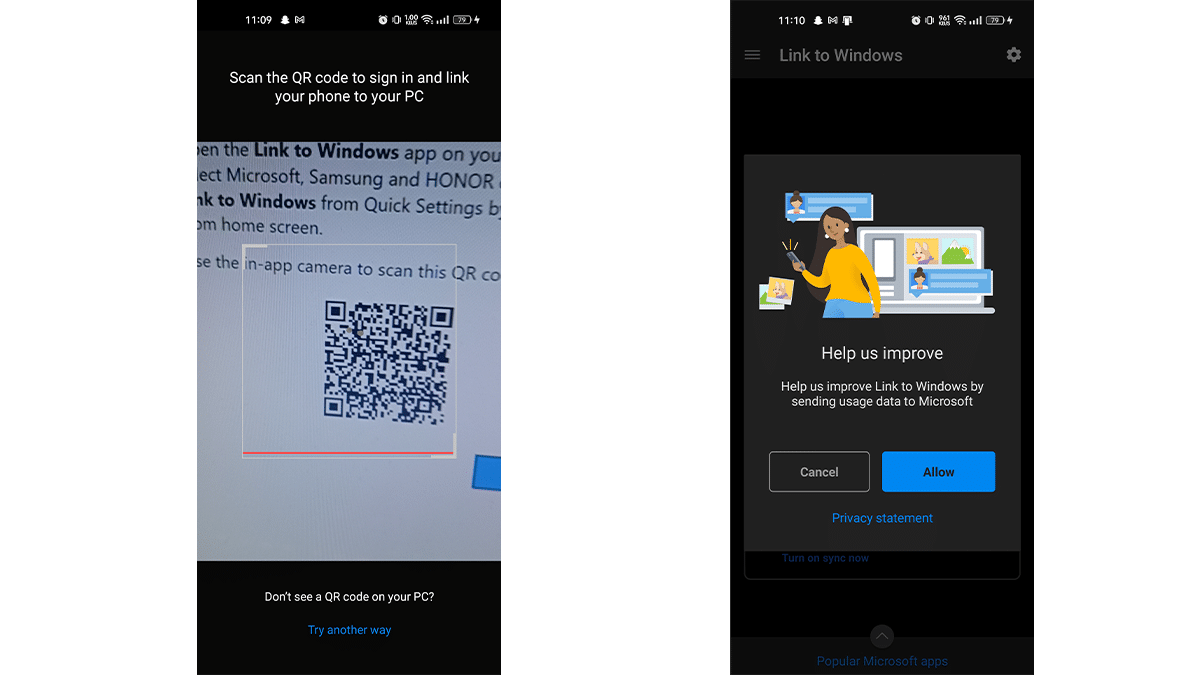
- Scan the QR code > once done, tap Continue and allow permission for the app to run in the background > grant all the permissions like Phone, Media, and SMS > click Allow.
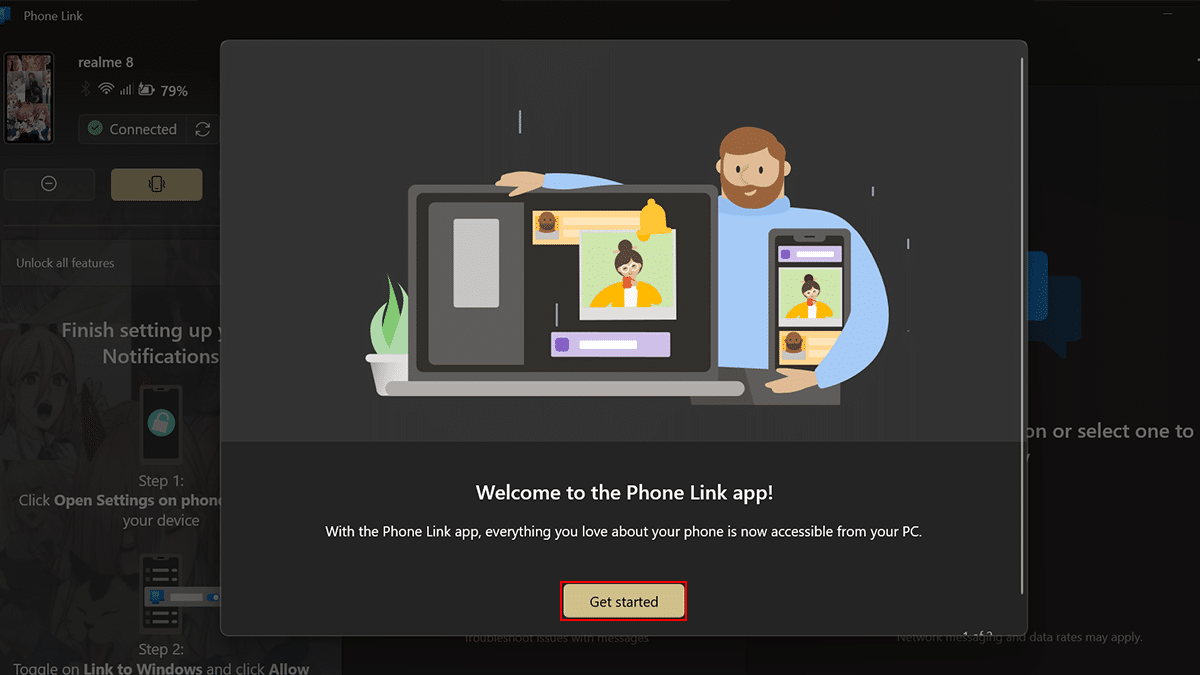
- After successfully logging in > go to your Windows 11 PC and click on Get started.
- Click on Skip > then click Skip for now.
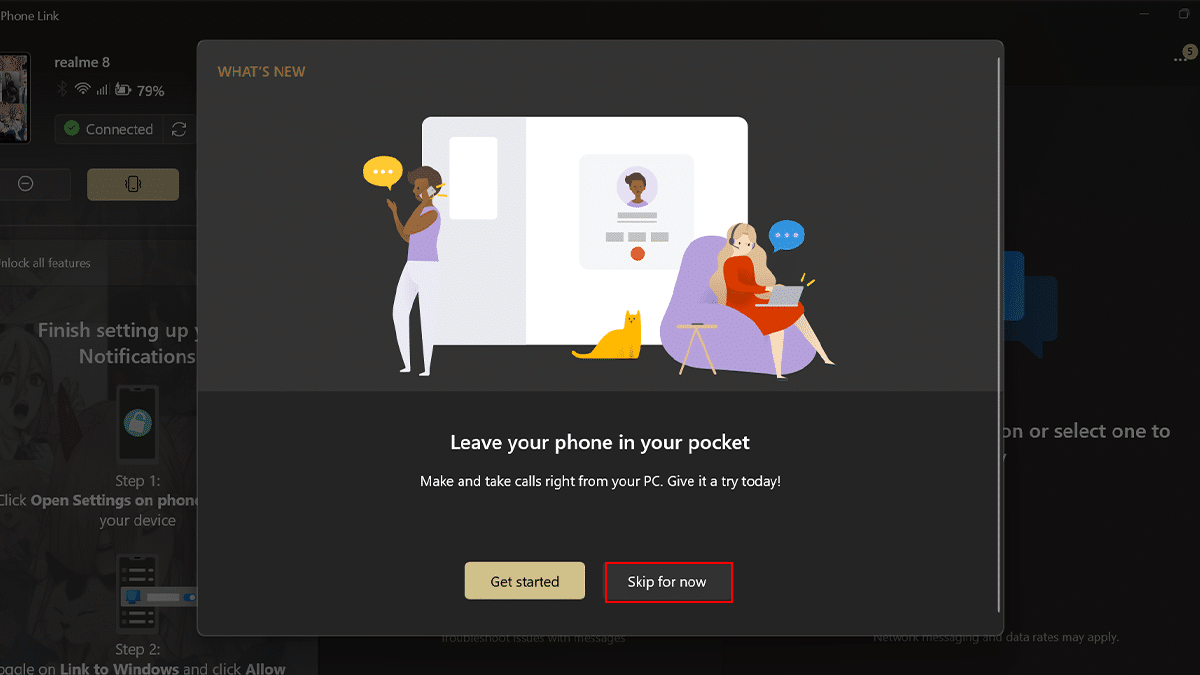
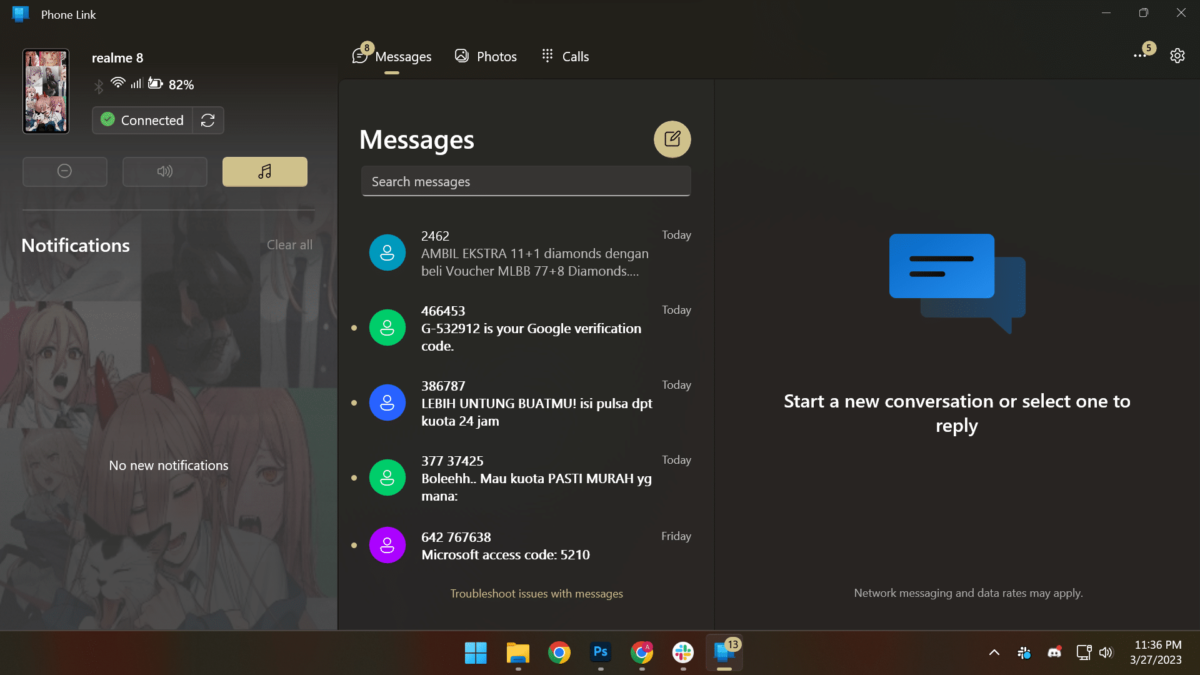
- When done, you will have full access to your Android device.
Read more:
- How to enable battery saver on Windows 11
- How to enable Dark Mode in Gmail on iPhone
- How to log out of your Gmail account on iPhone
- How to schedule emails in Gmail on iPhone
- iOS 16.4 RC expands Voice Isolation mode to cellular calls, here is how to enable it
- How to perform an offline virus scan with Microsoft Defender on Windows 11