Here is how you can create a macOS Catalina bootable USB install drive to clean install the operating system on your Mac.
Apple’s operating system macOS Catalina 10.15 is the latest version available at the time of writing. Although the upgrade is easy to do from System Preference > Software Update, for a clean install, users have to create their own bootable USB drive, which lets users boot their Mac using the drive and start the installer.
Before we proceed, make sure that you have the following ready:
- A USB drive with at least 8GB storage size to store macOS Catalina installer on.
- macOS Catalina installer on your Mac. This is downloaded from Software Update, once you enroll your Mac for the beta.
Creating macOS Catalina bootable USB Installer
- Plugin your USB drive to your Mac. Make sure to remove any useful data from it and back it up to your Mac as it will be formatted during the process and all data will be lost.
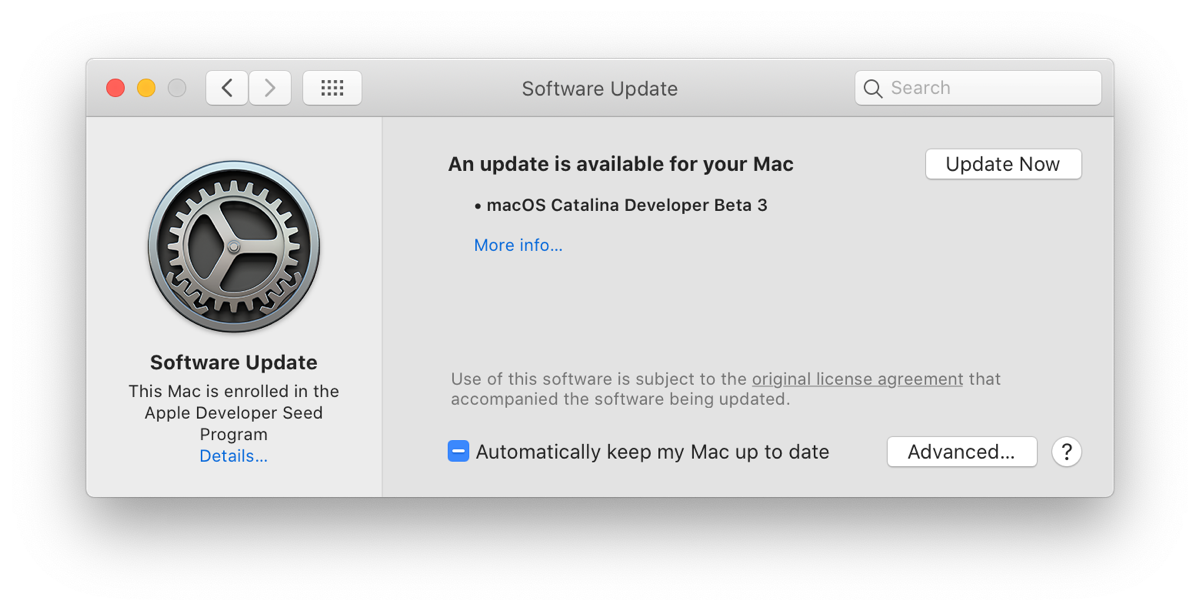
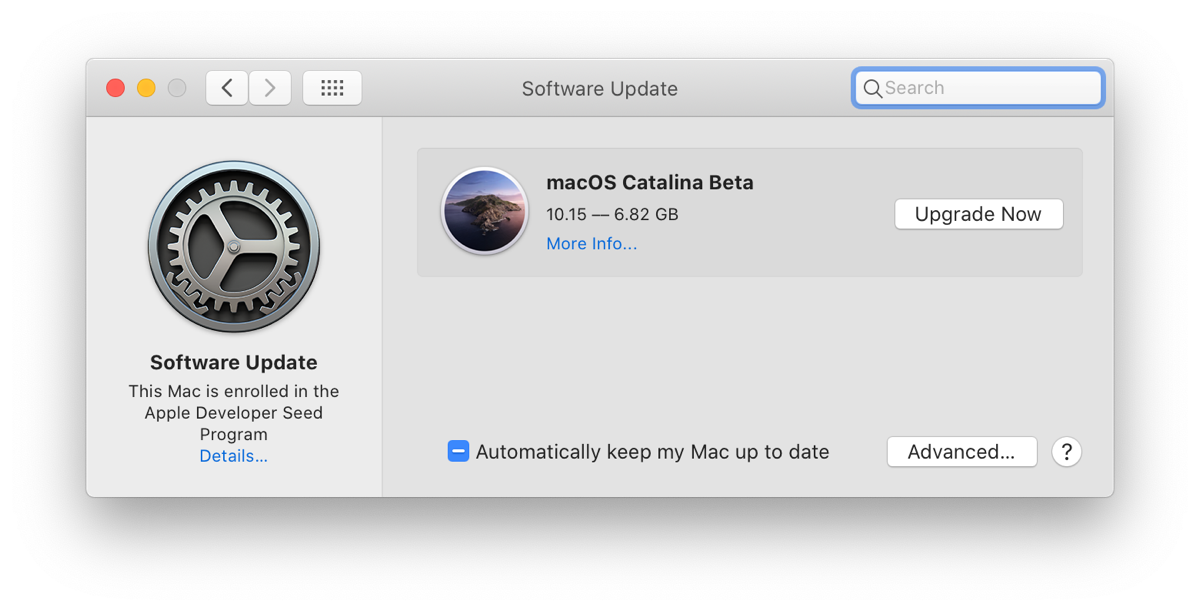
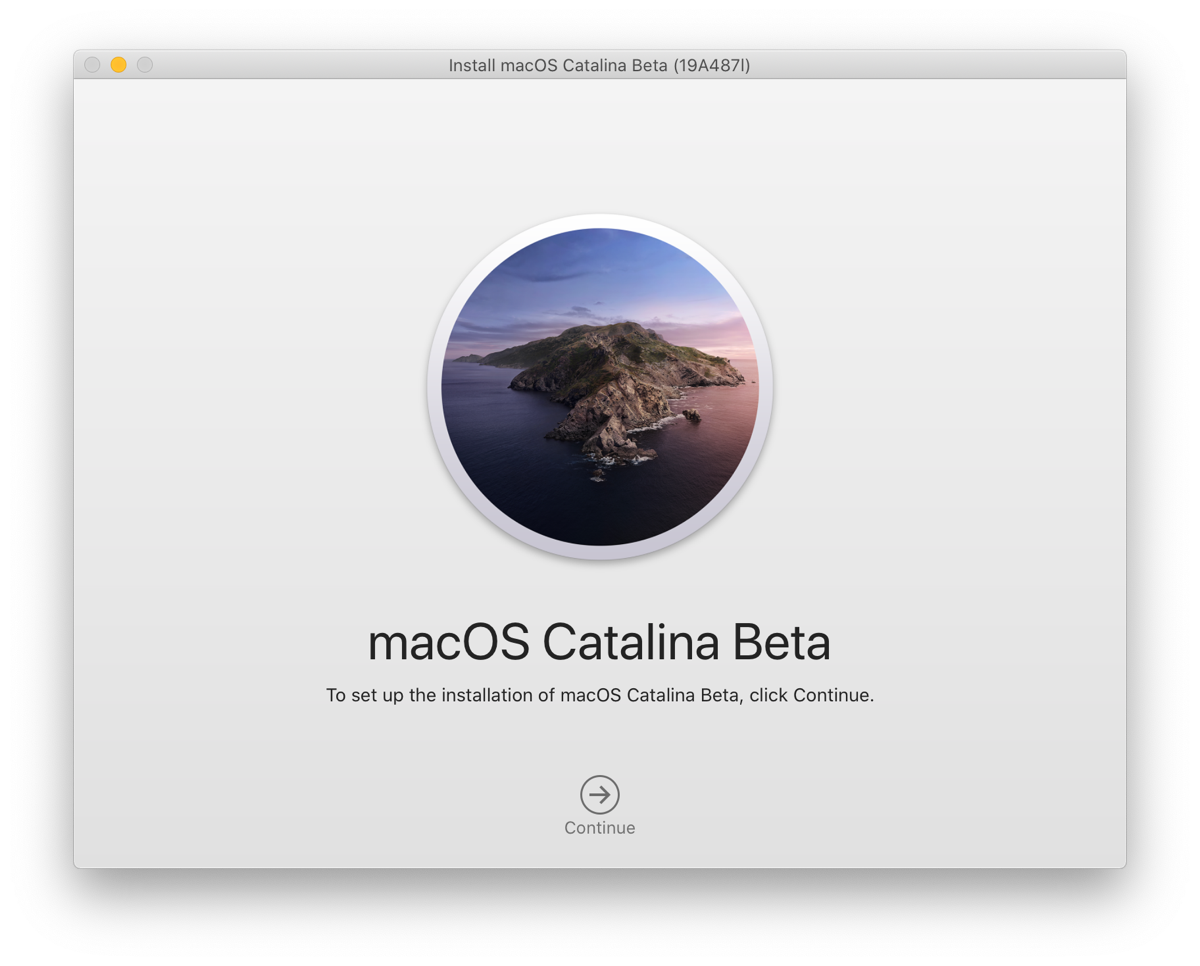
- Enroll your Mac for the developer or public beta program and download macOS Catalina via System Preferences > Software Update. However, when the installer screen shows up, close it.


- Open Terminal app from the Applications folder. You can also open Spotlight search by pressing command + space bar, and typing Terminal to find it.
- Now that you have your USB drive plugged in and the macOS Catalina installer downloaded, enter the following command in Terminal and hit Return. Enter your password when Terminal asks you for it.
sudo /Applications/Install\ macOS\ Catalina.app/Contents/Resources/createinstallmedia --volume /Volumes/Catalina —nointeraction - Once the process is complete, your macOS Catalina bootable USB installer will be ready.
Using macOS Catalina Bootable USB Drive
The next step is to use the bootable USB drive on a Mac. To do so, follow the below steps:
- Plugin the USB drive in the Mac where you want to install macOS Catalina. Make sure that it is on the list of supported Macs.
- Restart the Mac.
- Right after the Mac turns on, press and hold the Option key until you see the Startup Manager. This screen lets you select the drive from which you want to boot the Mac.
- Select your USB drive named Catalina here and hit Return.
Once the boot process completes, you will arrive at the macOS Recovery system. This screens lets you do the following:
- Restore Mac from Time Machine Backup.
- Reinstall macOS.
- Get Help Online by browsing Apple’s website.
- Use Disk Utility to repair or format drives.
From here on, you can start the installation process, if you don’t need to use anything else from the above list.
Let us know if you have created a macOS Catalina bootable USB drive and how your experience was, in the comments below.
1 comment
Comments are closed.