On Windows 11, users can easily create new folders in many ways. Folders are essential to group files and other folders to organize contents on the PC.
While creating a folder is easy for many people, however, that may not be the case for everyone. You can create folders from File Explorer and PowerShell. In this guide, we will show you three easy ways to create folders on Windows 11.
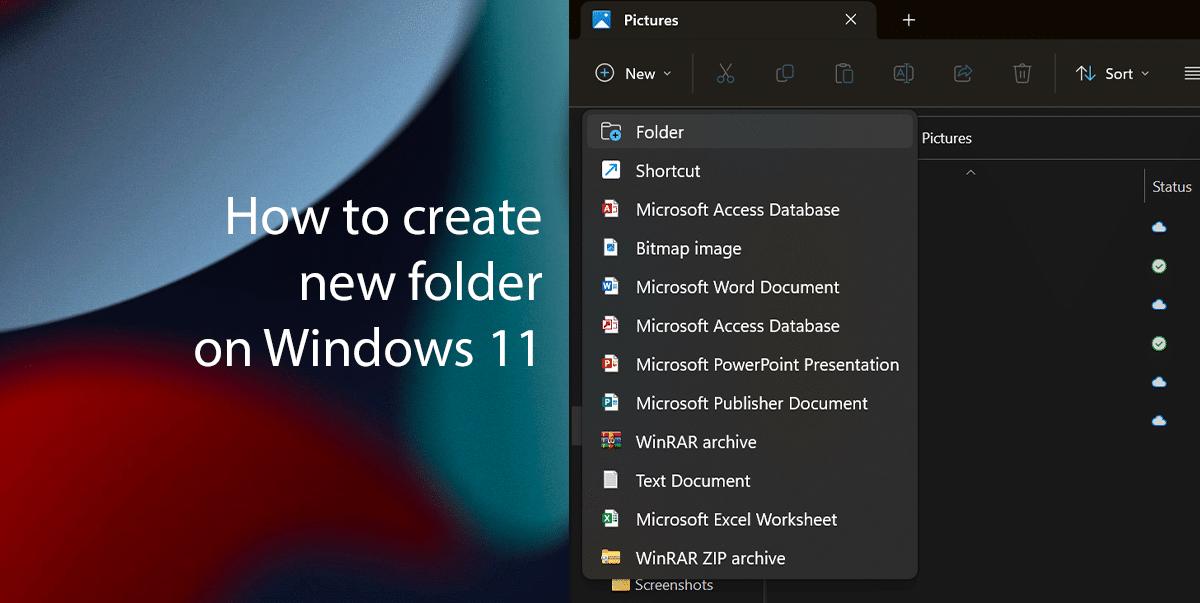
3 easiest ways to create folders on Windows 11
How to create a new folder from the File Explorer command bar on Windows 11
- Open File Explorer > Open the folder location of choice, such as Documents, Pictures, or Downloads.
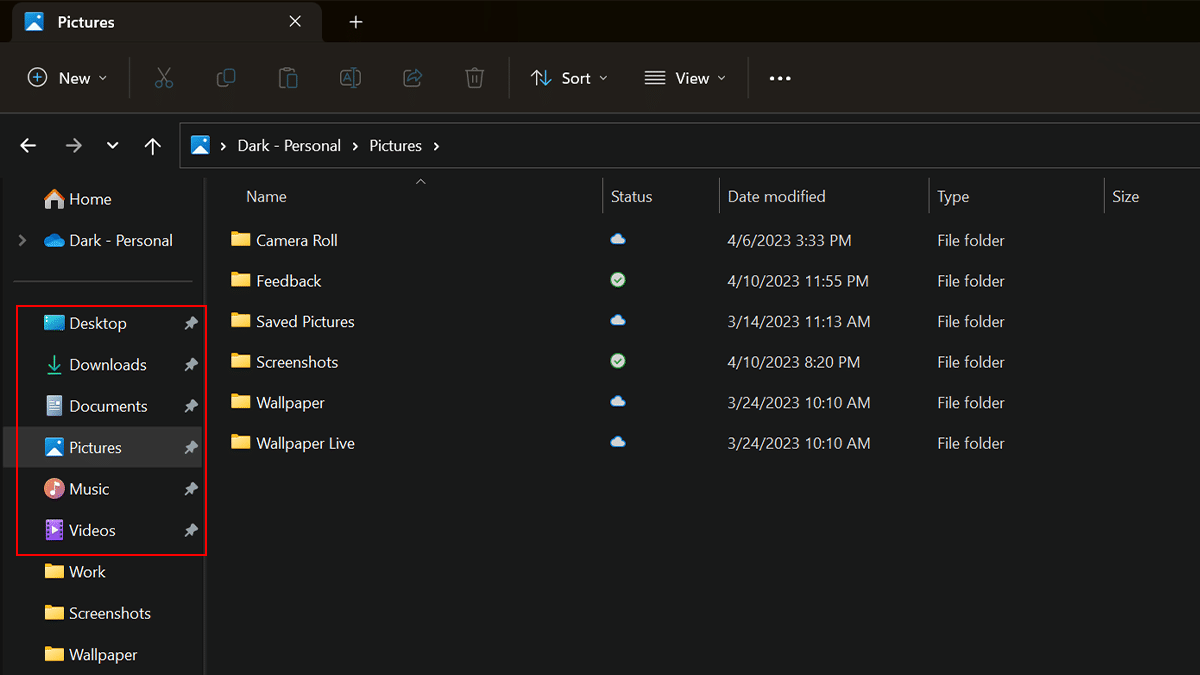
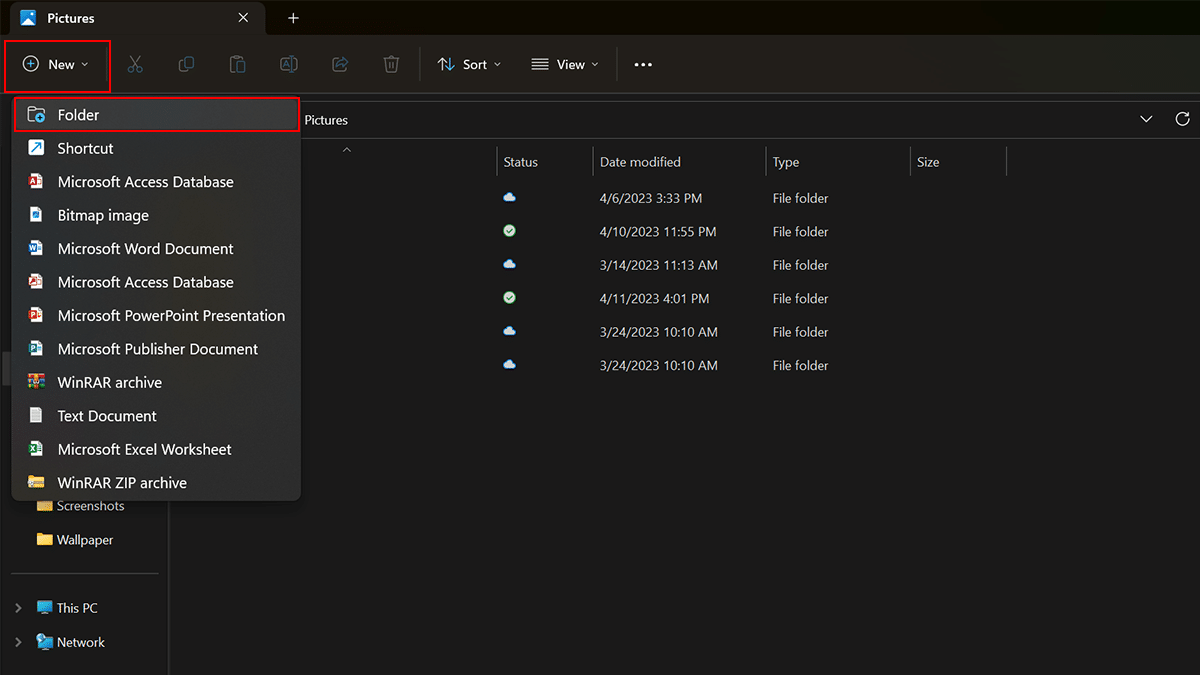
- Click the New menu and select the Folder option.
- Confirm a name for the new folder and press Enter on the keyboard.
- When done, the folder will be created in the location.
How to create a new folder from the File Explorer context menu on Windows 11
- Open File Explorer > Open the folder location of choice, such as Documents, Pictures, or Downloads.

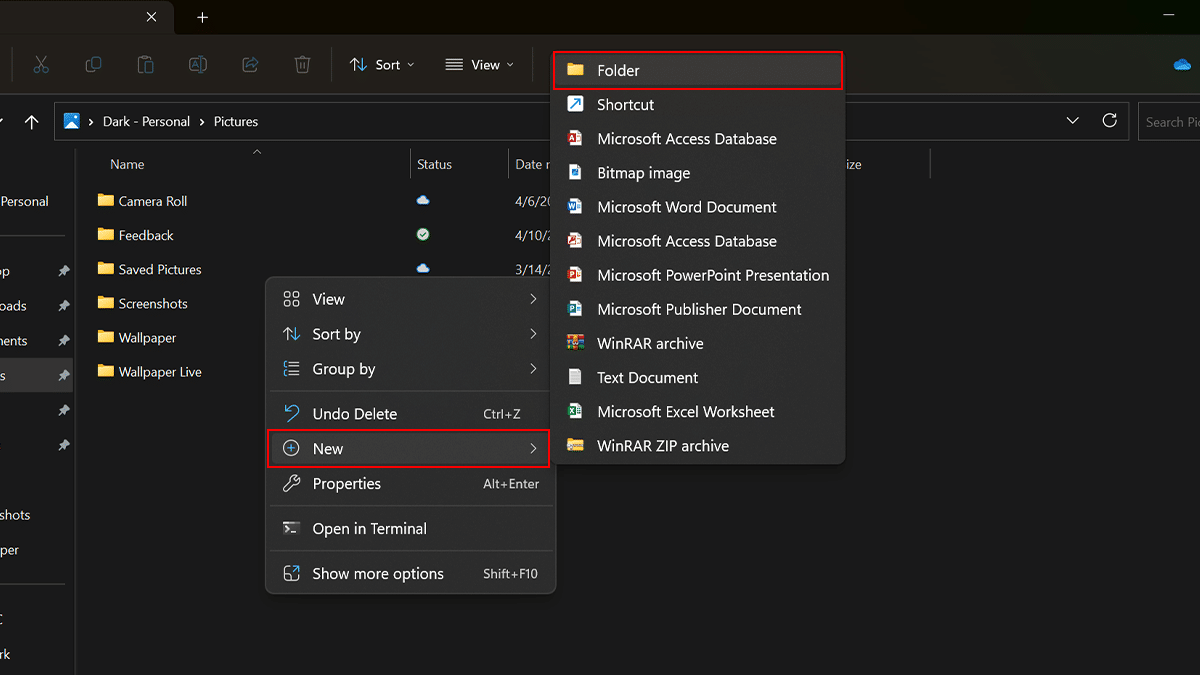
- Right-click on the location, select New > choose the Folder option.
- Confirm a name for the new folder and press Enter.
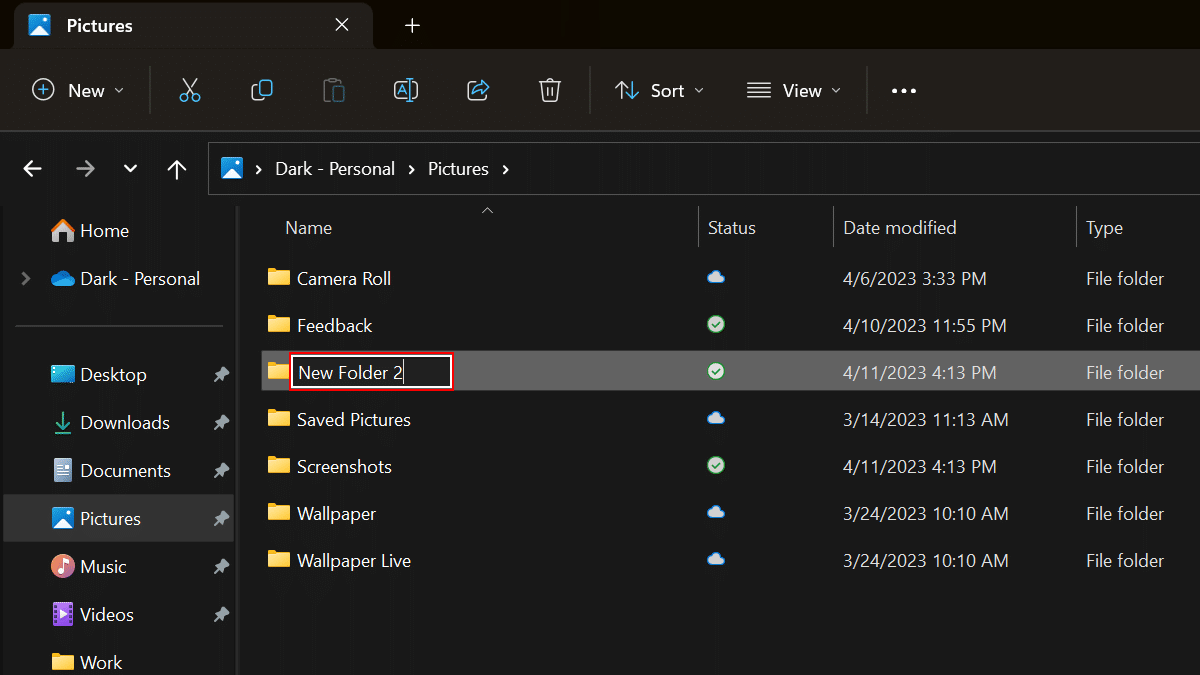
- When done, the folder will be created in the location.
How to Create a new folder with Powershell on Windows 11
- Open Start > search for PowerShell > select the Run as administrator option.
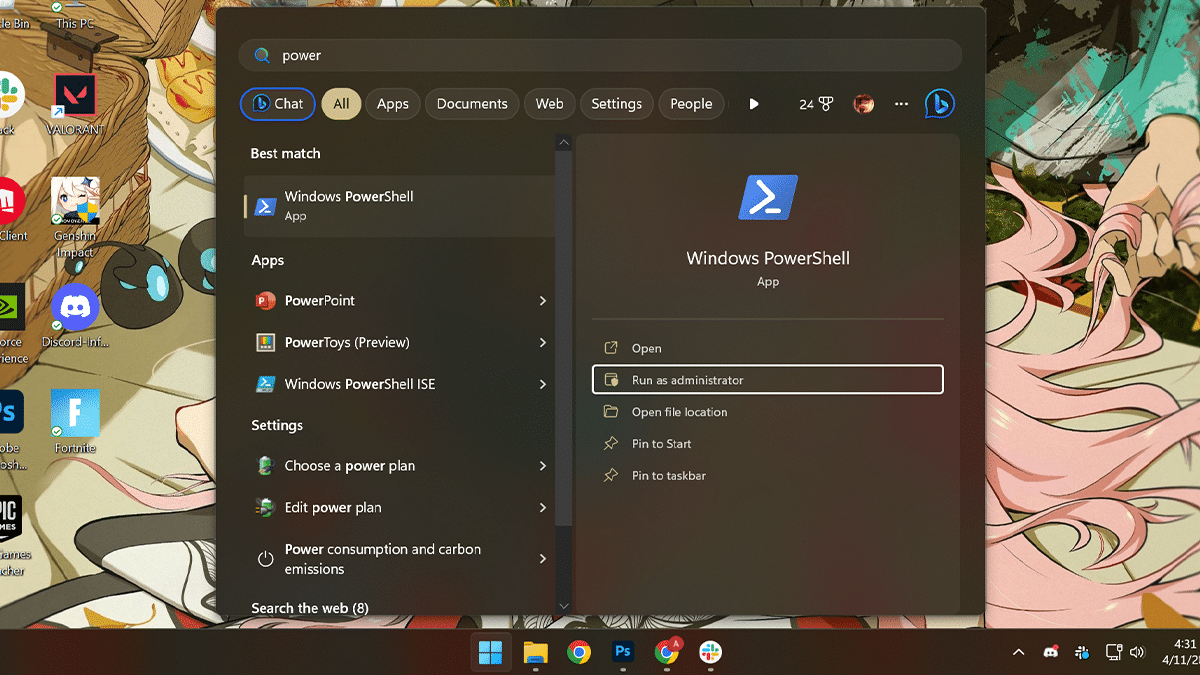
- Type the following command to create a new folder: New-Item -Path “PATH-TO-FOLDER” -Name “FOLDER-NAME” -ItemType “directory” > press Enter on the keyboard.
- In the command, replace “PATH-TO-FOLDER” with the path where you want to create the folder and “FOLDER-NAME” with the name of the folder you want to create.
- This example creates the “TestFile” folder in the C drive: New-Item -Path “c:\” -Name “TestFile” -ItemType “directory”
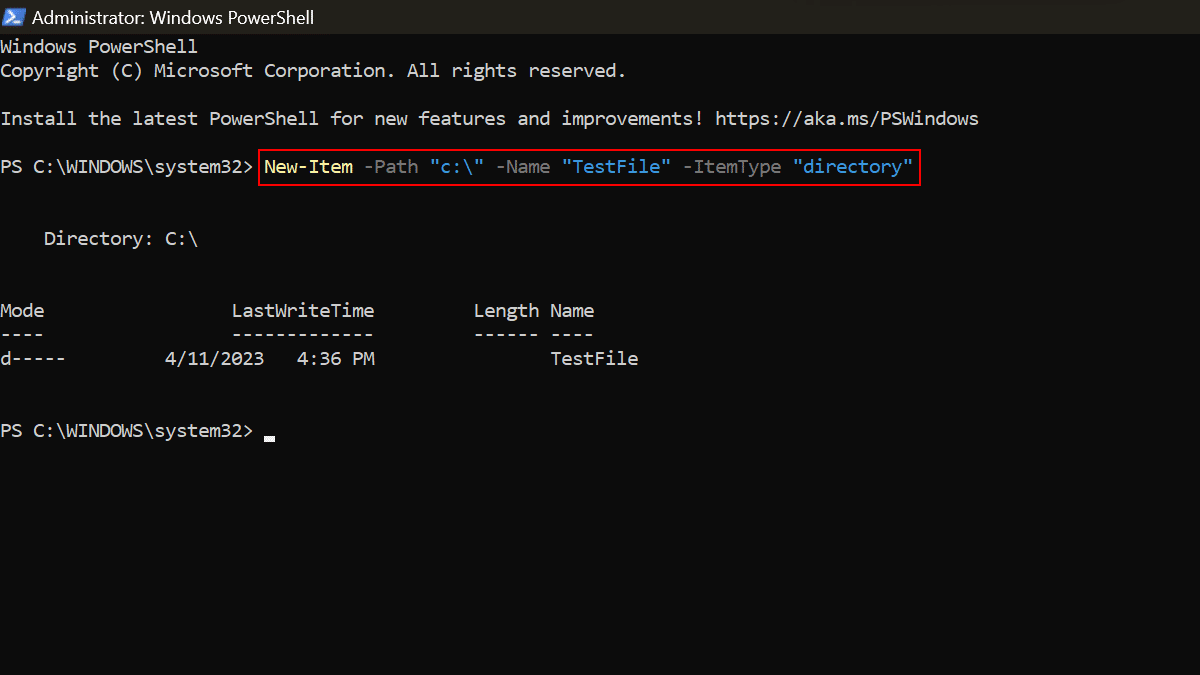
- When done, PowerShell will create the directory in the path you specified, and it’ll be also accessible from File Explorer.
Read more:


