Sometimes Windows 11 apps from the Microsoft Store can keep running in the background to download data and provide notifications for updates, but you can prevent them from running in the background to improve the performance and battery life of the operating system.
In the prior version of the operating system, the “Privacy” settings included a page to change if the apps should run in the background globally or per application, however, that’s not the case anymore on Windows 11. In the newer version of the OS, you will need to configure the background permissions per app individually through the “Installed apps” settings page.
In this guide, we will show you how to decide which application should keep running in the background on Windows 11.
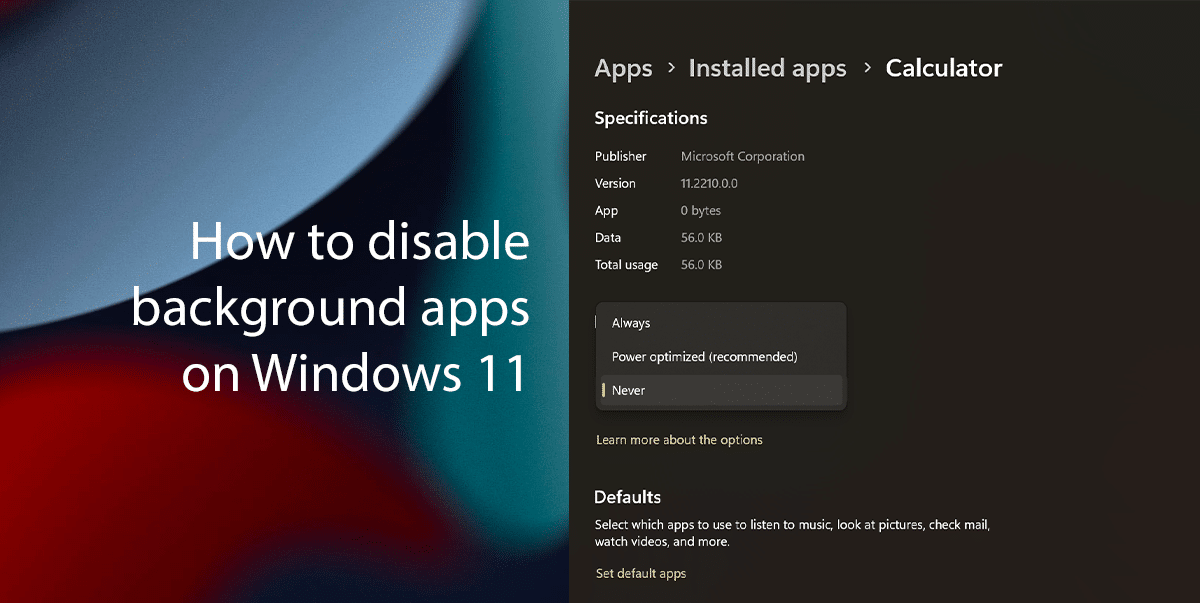
How to disable background apps on Windows 11
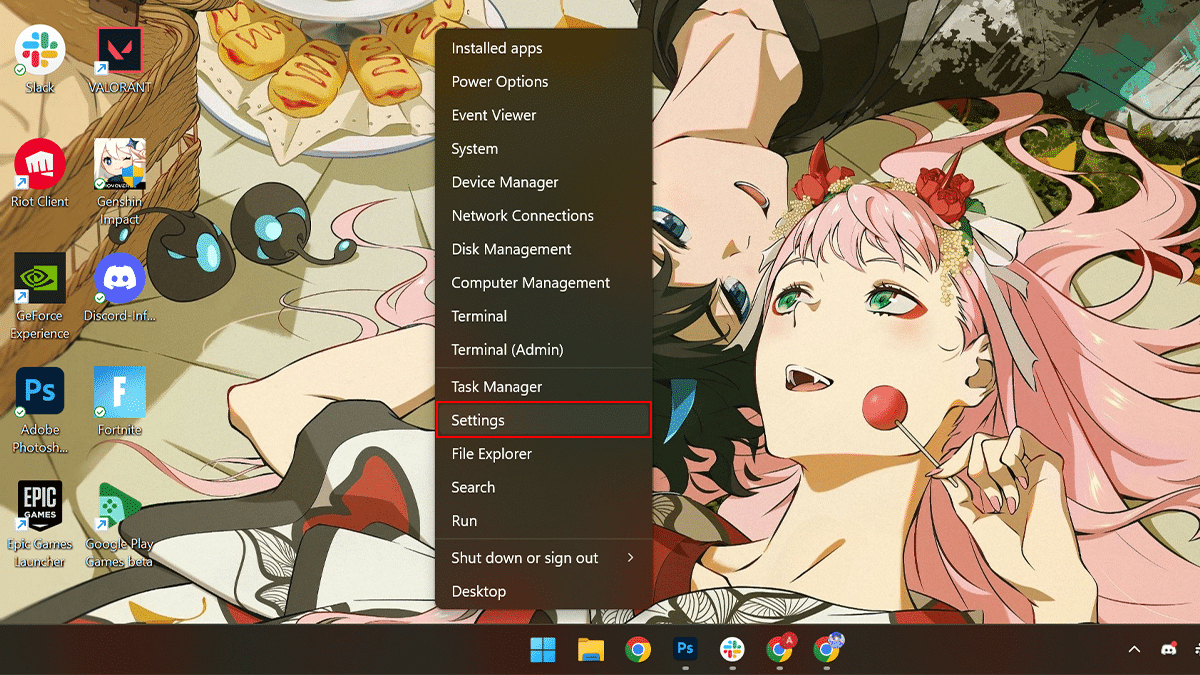
- Right-click on the Start > click on the Settings option.
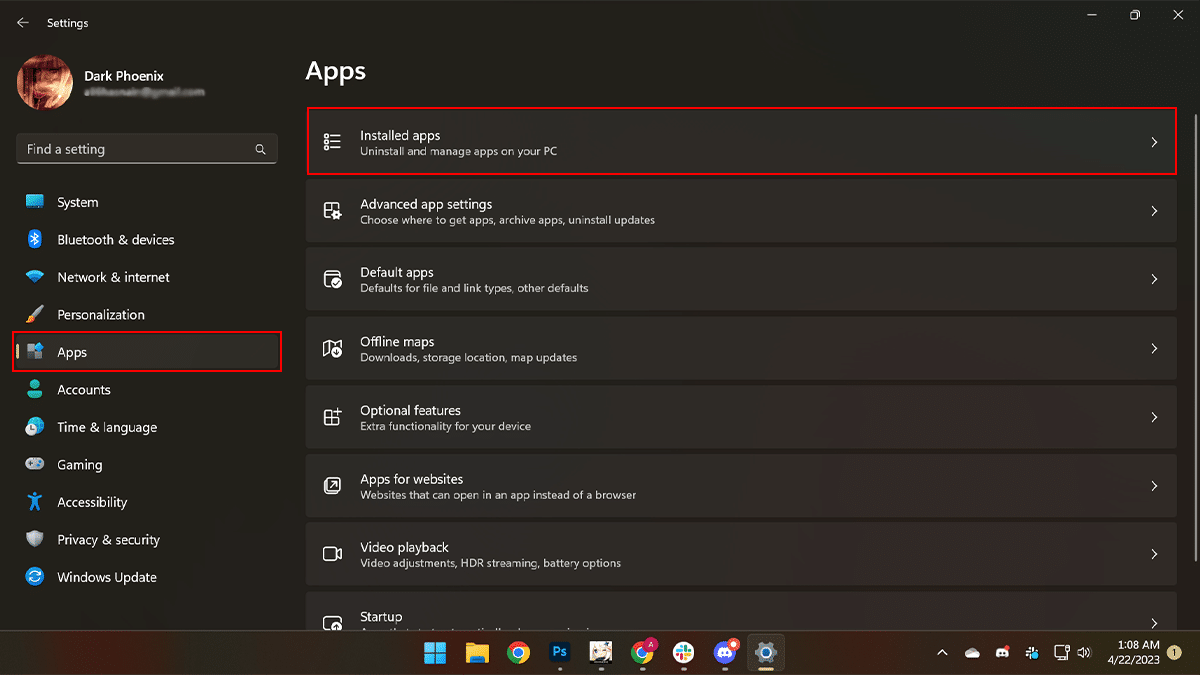
- Click on Apps > click the “Installed apps” tab.
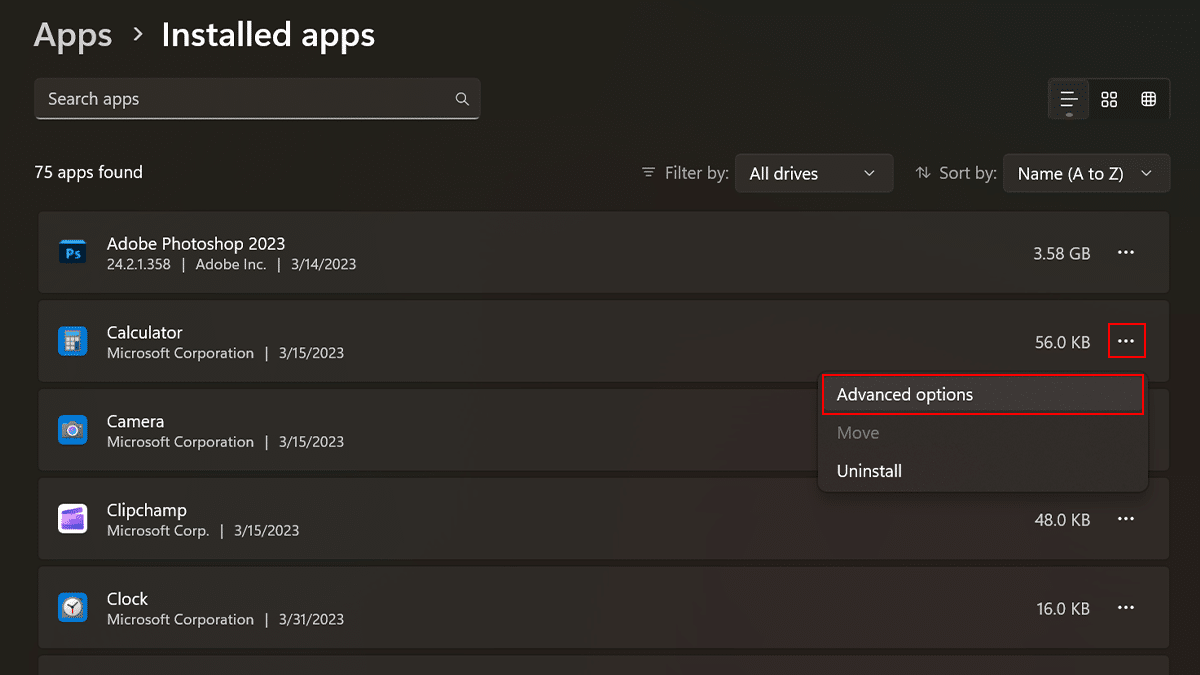
- Click the menu (three-dotted) button for the app you want to disable background settings > click on Advanced options.
- Under the “Background apps permissions” section > use the drop-down menu > select the Never option to stop the app from running in the background.
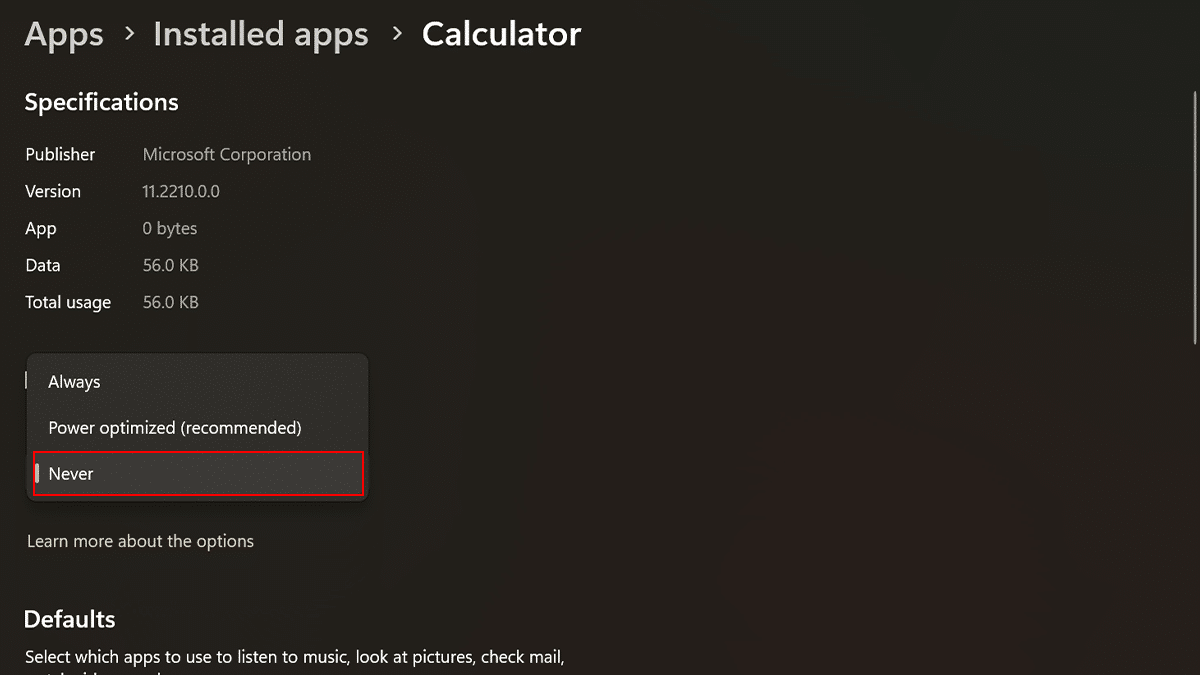
- The default option is “Power optimized,” which means that Windows 11 will manage the app automatically. The Always option can be used to allow an app to always run in the background.
- Follow the same steps 6 and 7 to change the background permissions for other Microsoft Store apps. When done, the app you configured will no longer run in the background.
Read more:
- How to enable Night light on Windows 11
- How to disable Search highlights on Windows 11
- How to enable Defender Antivirus periodic scanning on Windows 11
- How to clear Bing Chat AI search history
- How to enable new Copilot on Microsoft Word
- How to switch from a Microsoft account to a local account on Windows 11
- How to adjust active hours to avoid random restarts on Windows 11