Windows 11 is now the default operating system that manufacturers configure on new devices. If you have a device (laptop or desktop) with Windows 11, you can downgrade it to Windows 10 at any time.
While the new operating system introduces a redesigned interface and packs a slew of new features and improvements (even more on version 22H2), it’s still not a system everyone wants to use because Windows 11 is quite buggy and sometimes even causes damage to some components of the PC.
In case you’re one of those who don’t like Windows 11 and want to downgrade to Windows 10, then this is possible. Since Windows 11 is based on Windows 10, its product key works to activate either version. In this guide, we will show you how to downgrade your PC from Windows 11 to Windows 10.
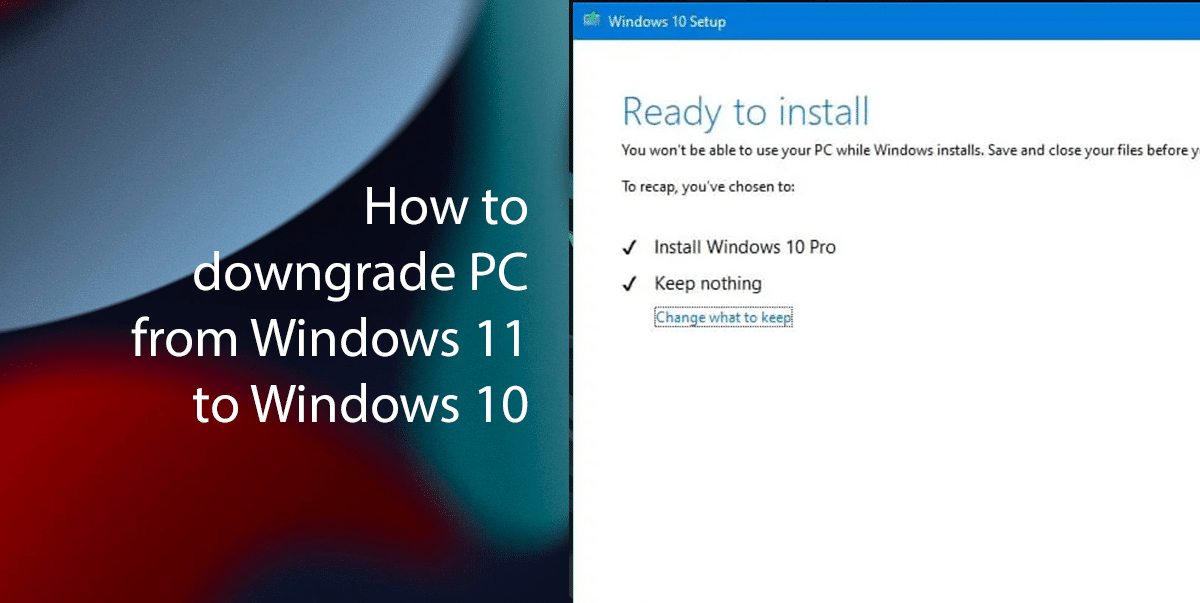
Here is how to downgrade a PC from Windows 11 to Windows 10
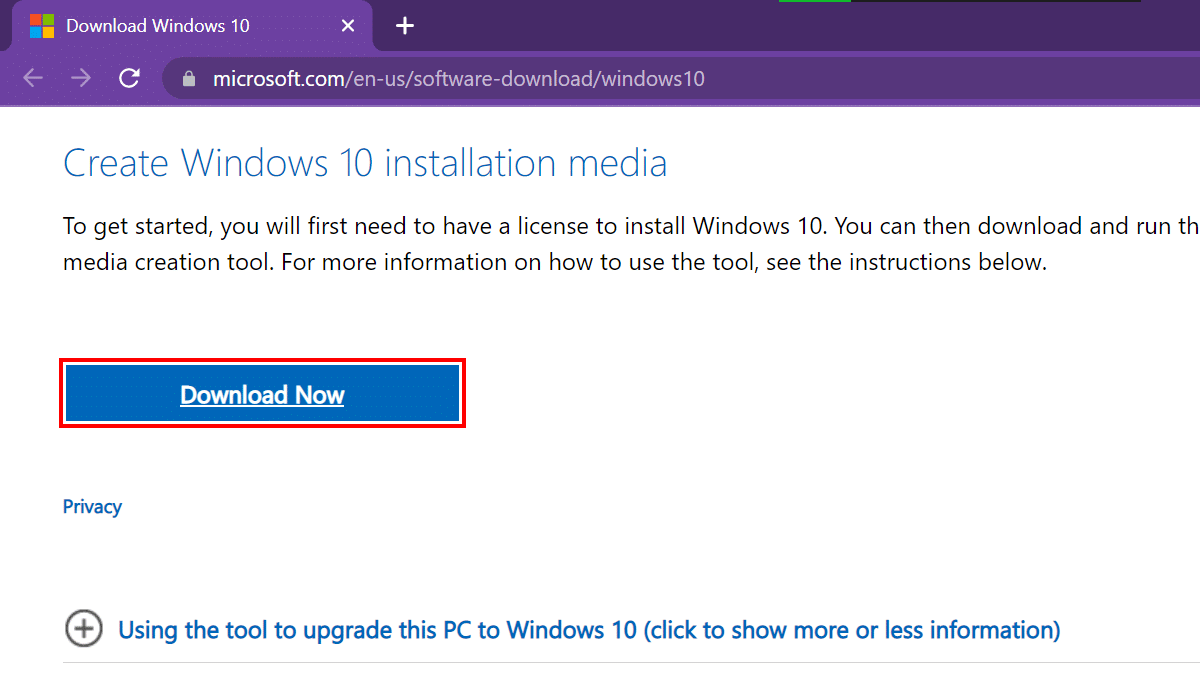
- Open the Microsoft support website > under the “Create Windows 10 installation media” section > click the “Download Now” button.
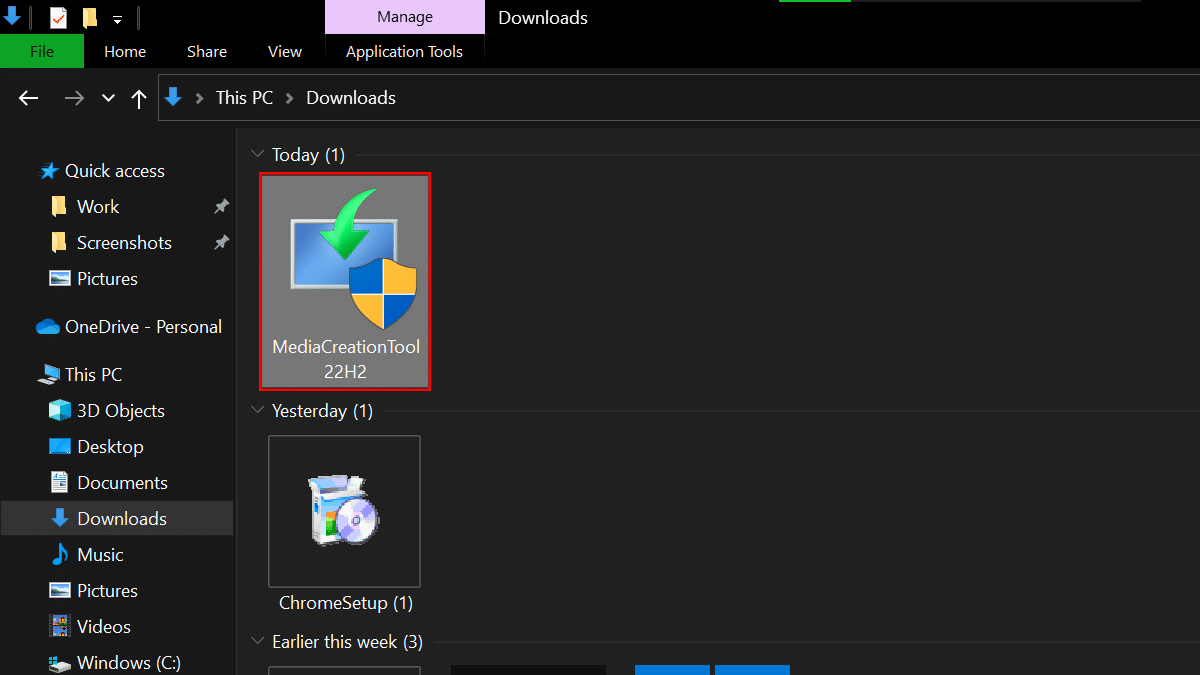
- Double-click the MediaCreationTool22H2.exe file to launch the tool.
- Click the Accept button.
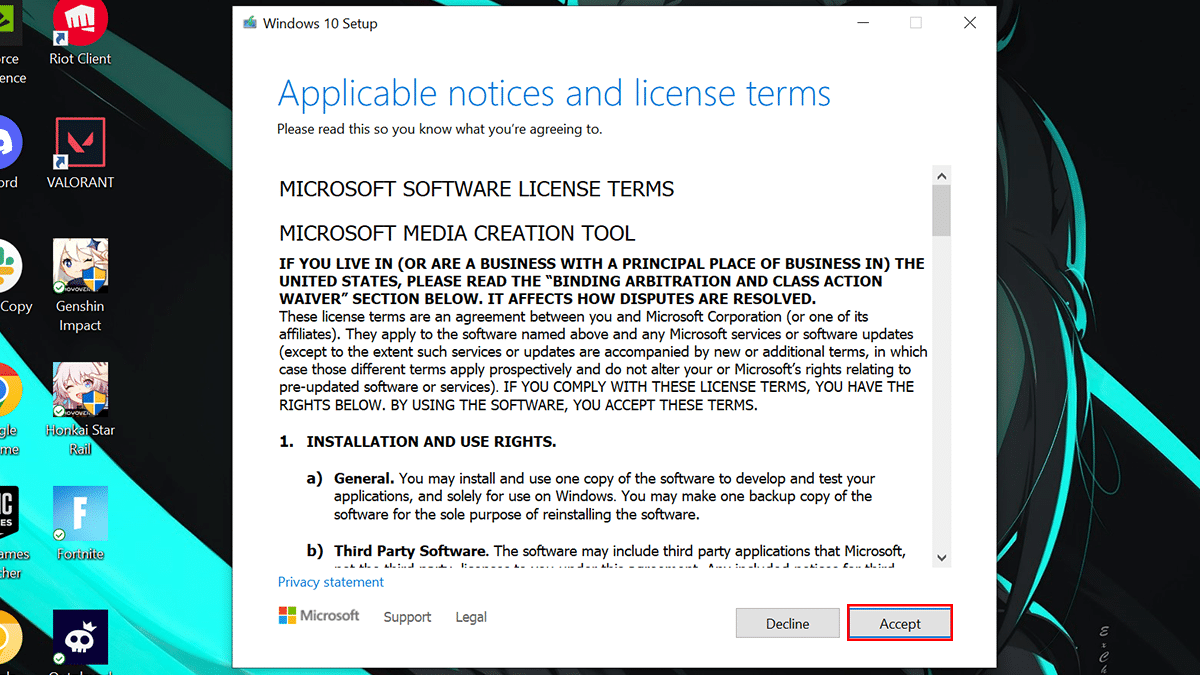
- Select the “Upgrade this PC now” option > click the Accept button again.
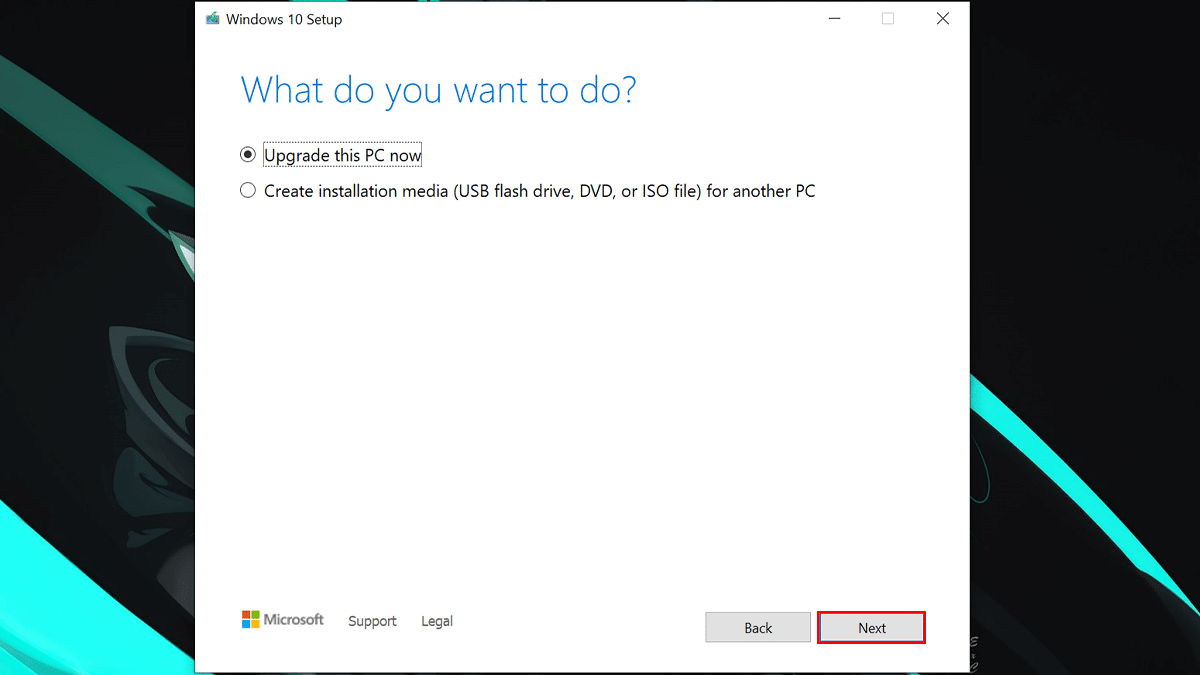
- Click the “Change what to keep” option.
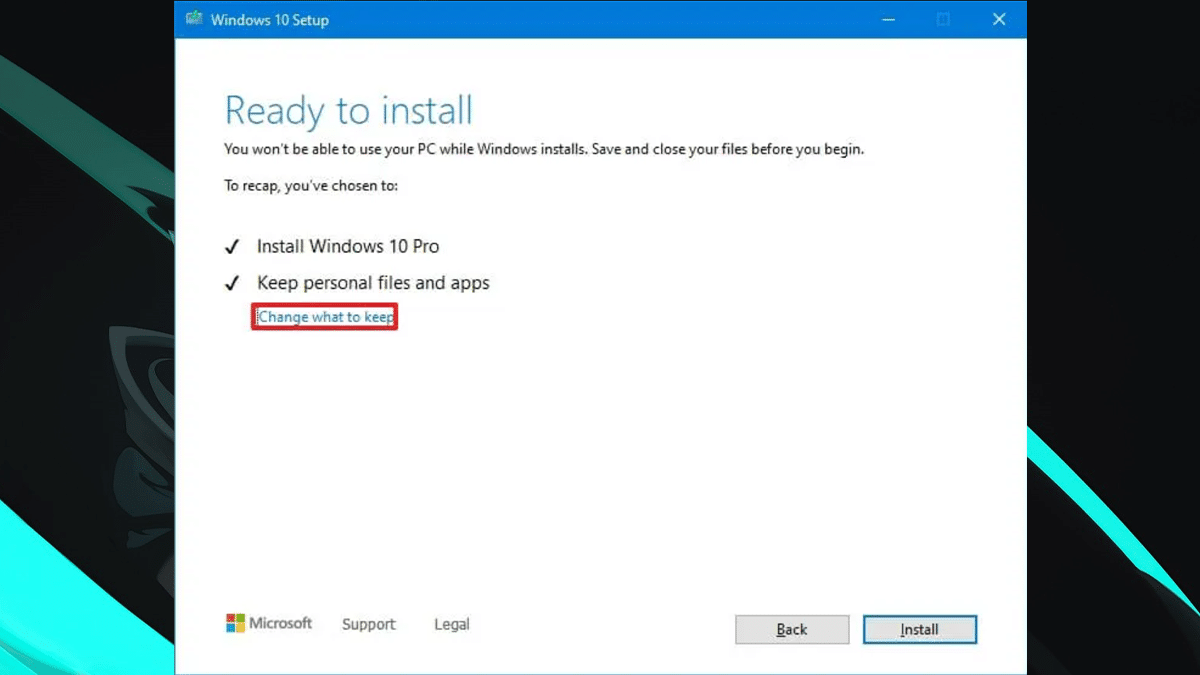
- Optional: If you don’t want to lose your files or app just proceed with the Install button.
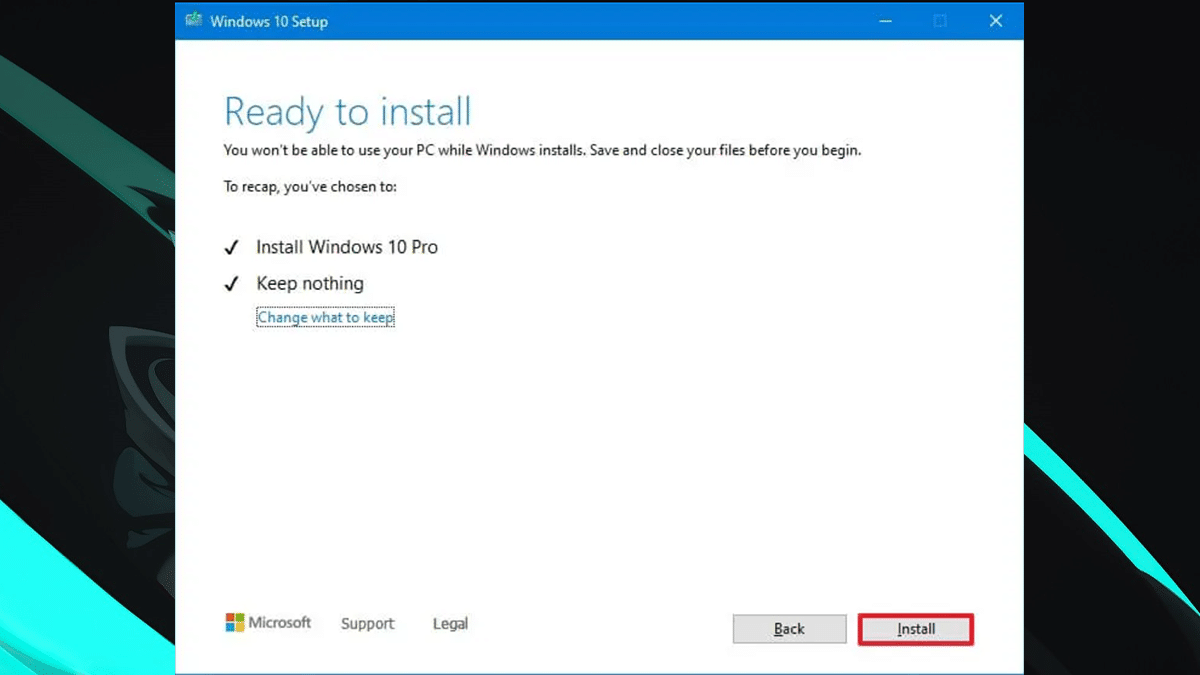
- Optional: If you don’t want to lose your files or app just proceed with the Install button.
- Select the Nothing option > click the Next button.

- Click the Install button.

- When done, your computer will restart and will downgrade to Windows 10. You will just need to finish setting up your Windows 10.
If the time comes when you are ready for Windows 11 or Windows 10 is nearing close to October 14, 2025, you can upgrade your computer using Windows Update, Installation Assistant, or ISO file.
Read more: