Instead of replacing your existing macOS Sierra installation with macOS High Sierra, you can dual boot both versions of the operating system. This way, you can keep your existing installation safe while testing out the new beta version of macOS 10.13 High Sierra.
Before starting, please note the following:
- Backup your data with Time Machine to an external drive, to avoid any data loss.
- Ensure that your Mac system is compatible with macOS by going through the compatibility list here.
- Download the latest version of macOS High Sierra. At the time of writing, only the first developer preview is out while a public beta is expected later this month.
- Use a fast USB flash drive which should have at least 8 GB storage. We will use this to create a bootable USB drive for High Sierra.
Dual boot macOS High Sierra with macOS Sierra
- Download macOS High Sierra from the Mac App Store and make sure that it shows up in your Applications folder. Follow our guide here to download it.
- Plugin your USB flash drive. Rename it to macOS drive or something easy to remember with.
- Open Terminal in macOS and paste this command to create a bootable macOS USB drive:
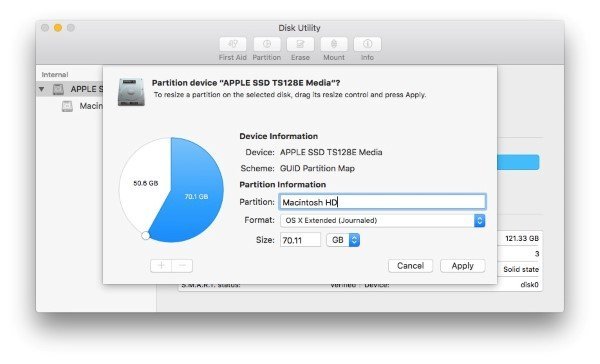
sudo /Applications/Install\ macOS\ 10.13\ Beta.app/Contents/Resources/createinstallmedia --volume /Volumes/macOS--applicationpath /Applications/Install\ macOS\ 10.13\ Beta.app --nointeraction &&say Ready - After your bootable USB is created, we will re-partition the disk in your Mac to make space for High Sierra. Open Disk Utility, select your drive and click Partition. Resize the new partition with this file format: macOS Extended (Journaled). You now have to enter the size of the new partition. Entering 70 GB would mean that your Sierra partition would be resized to 70 GB and the rest will be reserved for your High Sierra installation.

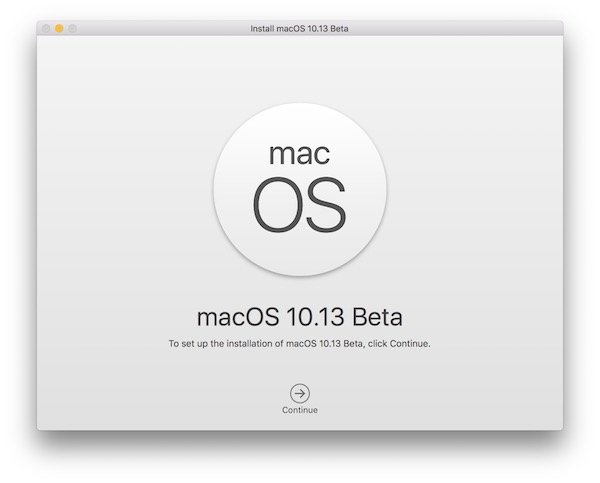
- Now starts the last step and most important step. We have the partition ready as well as the bootable USB drive. Reboot your Mac and press and hold the Option key while it boots. You will see the startup manager. Select your USB drive as the boot device to load the installer.

- During the installation procedure, select the new partition that was created in step number 4, so you can dual boot both operating systems. Select ‘Upgrade Macintosh HD to APFS’ option in the installer. This is a non-destructive upgrade and will take some time but you will end up using Apple’s new file system, which is one of the headline features of High Sierra.
If you run into any issues while following the above guide, let us know in the comments below and we would be glad to help.