In Windows 11, users can easily clear the thumbnail cache using Settings, Disk Cleanup, and File Explorer, and we will show you how.
A thumbnail cache is a collection of small image files that Windows 11 uses to quickly display previews of files and folders in File Explorer. This can save time, as Windows does not have to generate these previews from scratch every time you open a folder.
Here are some of the reasons why you might want to clear the thumbnail cache on Windows 11:
- If you are having problems with thumbnails not showing up in File Explorer: This can happen if the thumbnail cache is corrupted or if the file system is damaged. Clearing the thumbnail cache can sometimes fix these problems.
- If you are running out of disk space: The thumbnail cache can take up a significant amount of disk space, especially if you have a lot of files and folders. Clearing the thumbnail cache can free up some disk space.
- If you want to delete all of the thumbnails for security reasons: The thumbnail cache can contain thumbnails of files that you might not want others to see. Clearing the thumbnail cache can help to protect your privacy.
In this guide, we will show you how to easily clear the thumbnail cache in Windows 11.
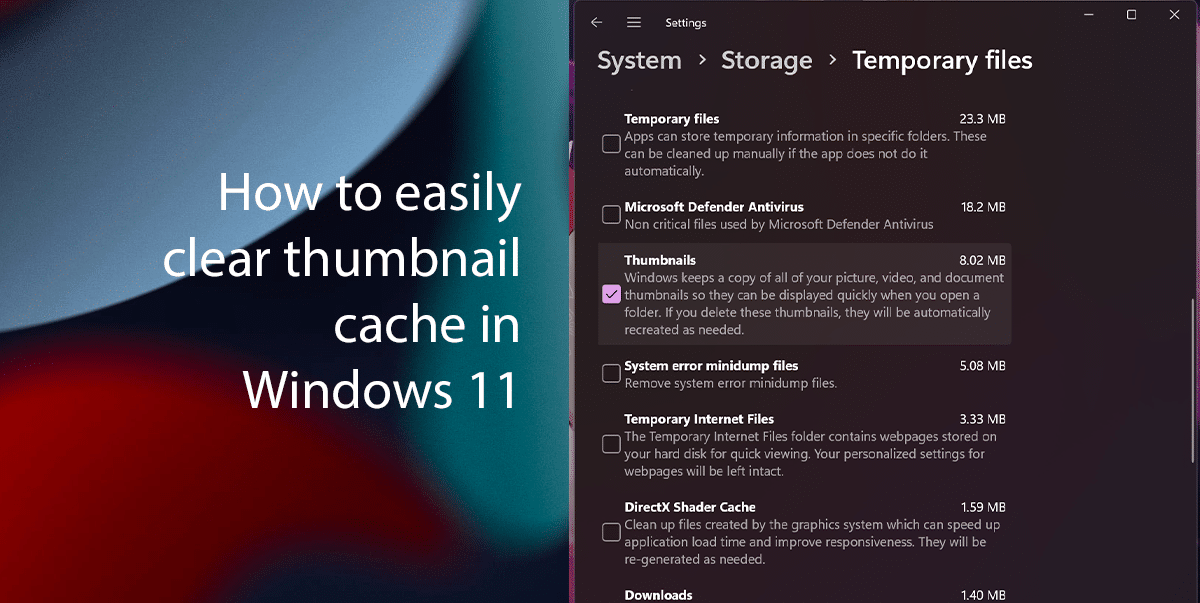
Here are 3 easy ways to clear the thumbnail cache in Windows 11
Before we start, it is important to note that clearing the thumbnail cache will not delete the original files. It will only delete the thumbnails that Windows uses to display previews of files and folders in File Explorer.
How to clear the thumbnail cache from Settings in Windows 11
- Open Settings.
- Click on System and click on the Storage tab.
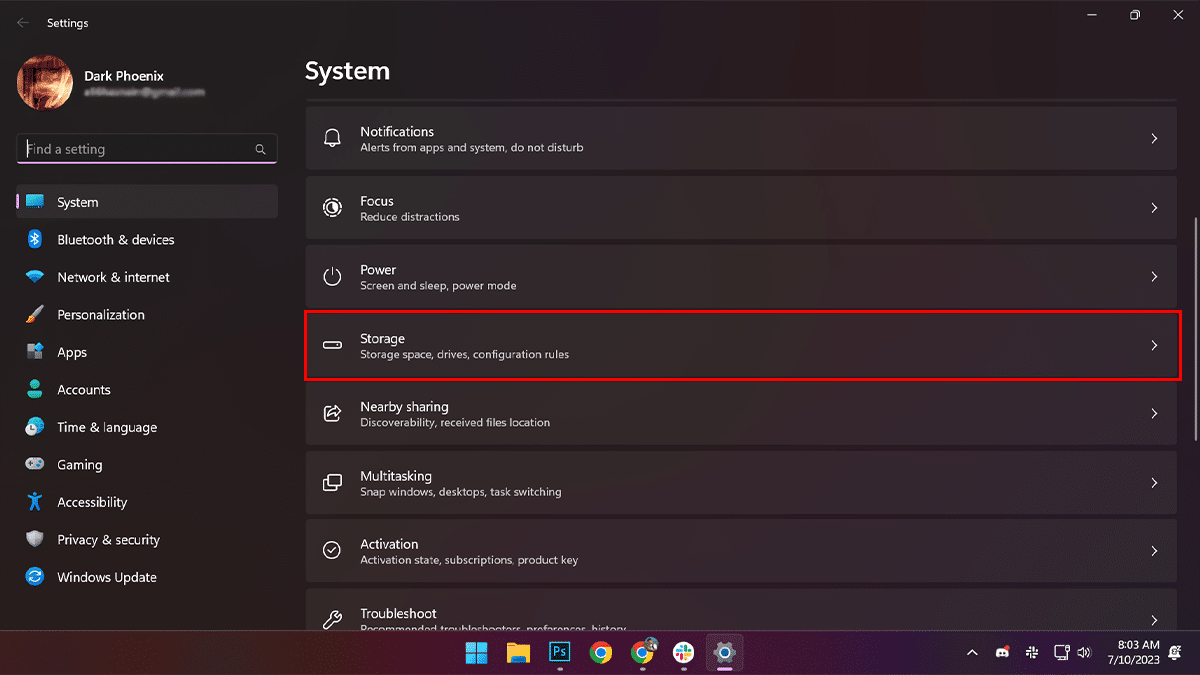
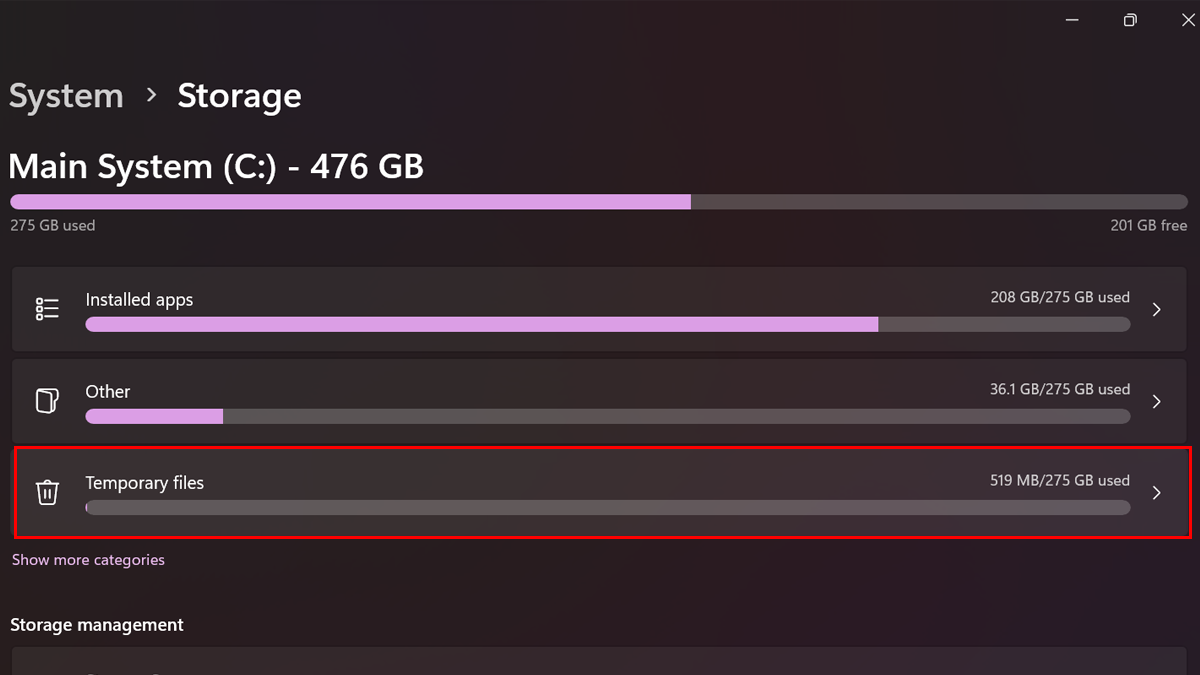
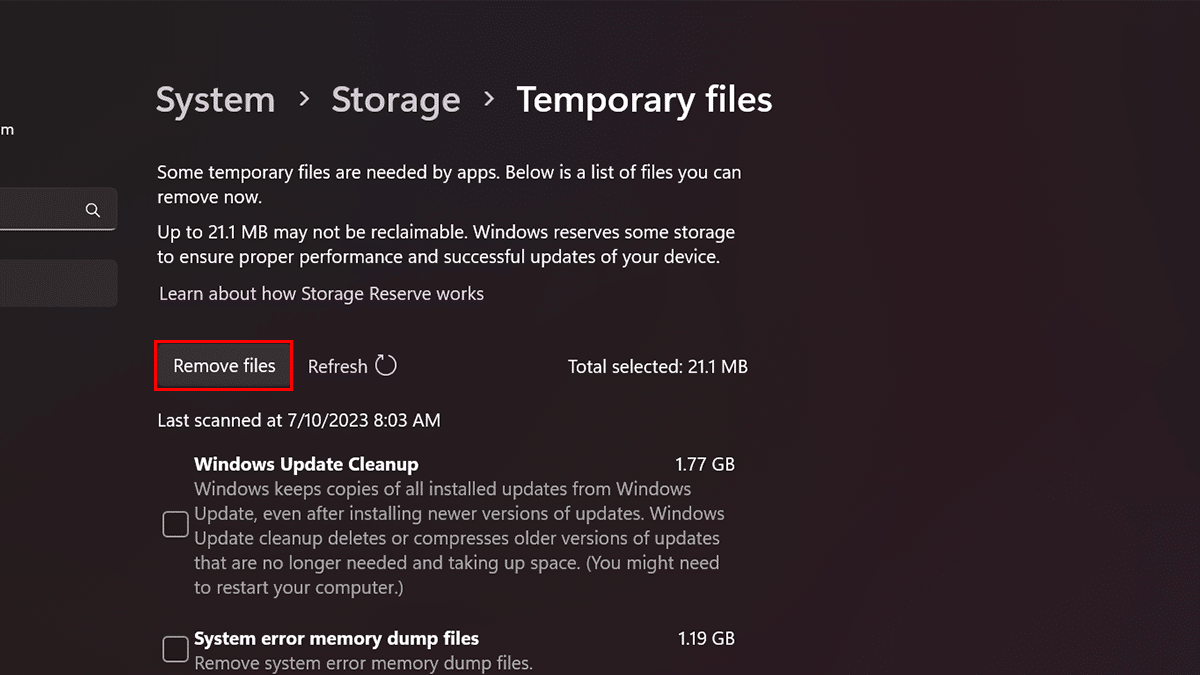
- Click the Temporary files setting.
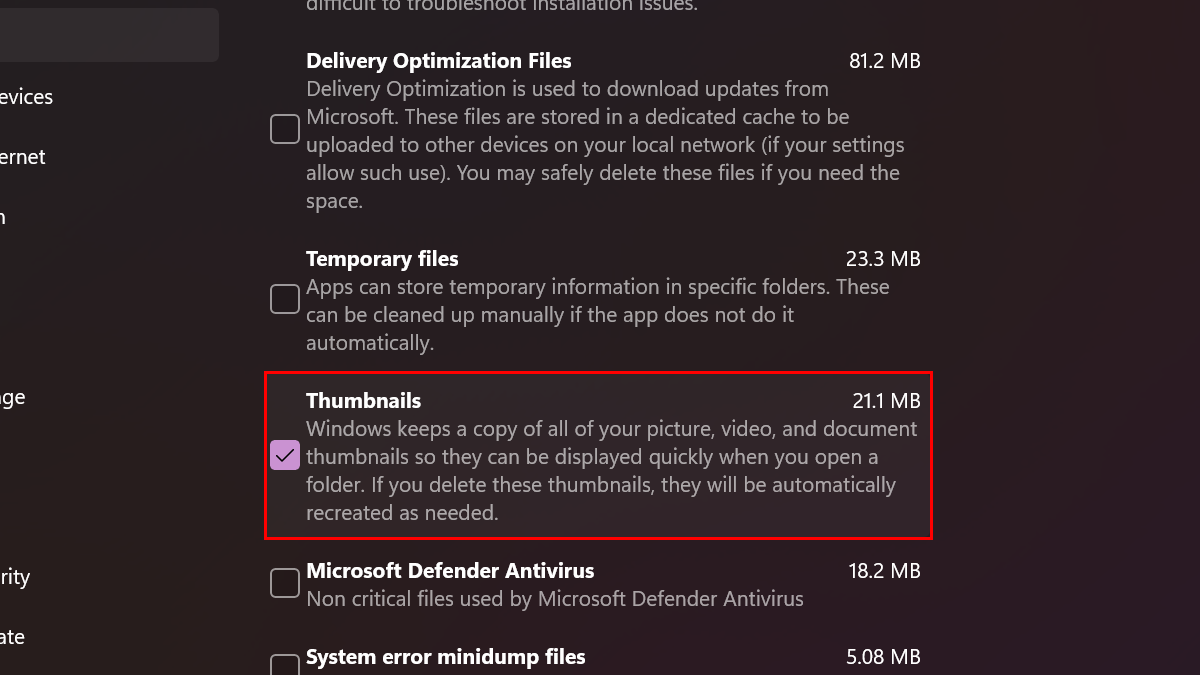
- Clear the current item selections and check the Thumbnails option.
- Click the Remove Files button.
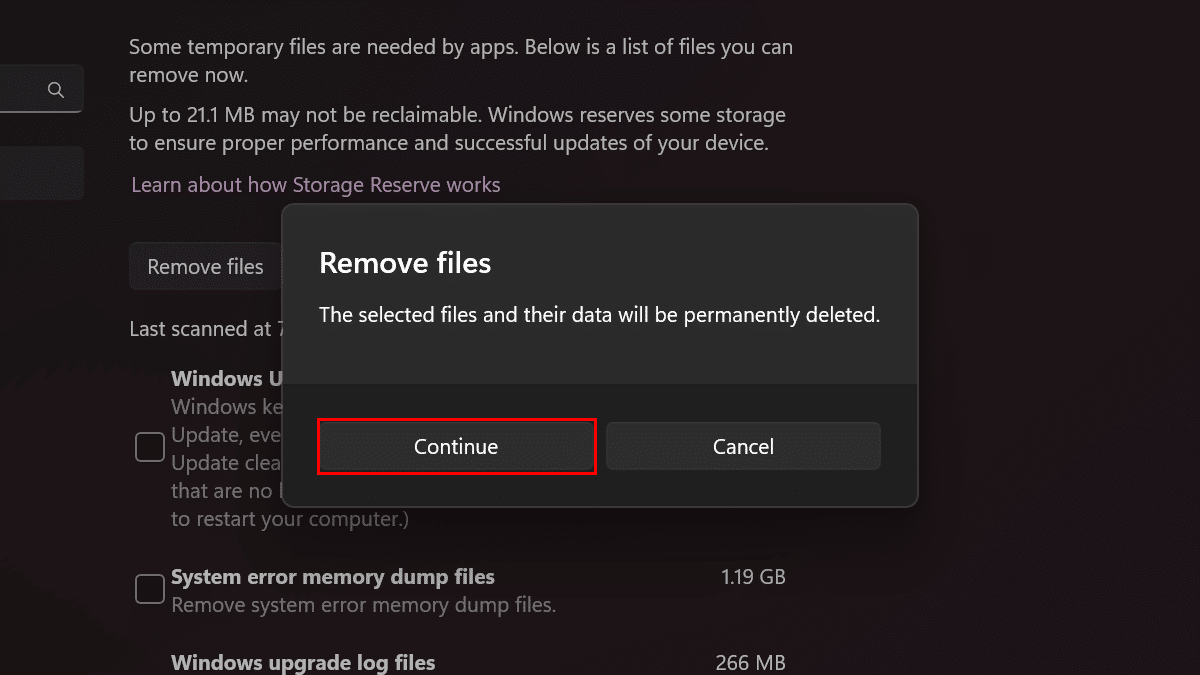
- Click the Continue button.
- When done, the system will automatically recreate the database.
How to clear the thumbnail cache from Disk Cleanup in Windows 11
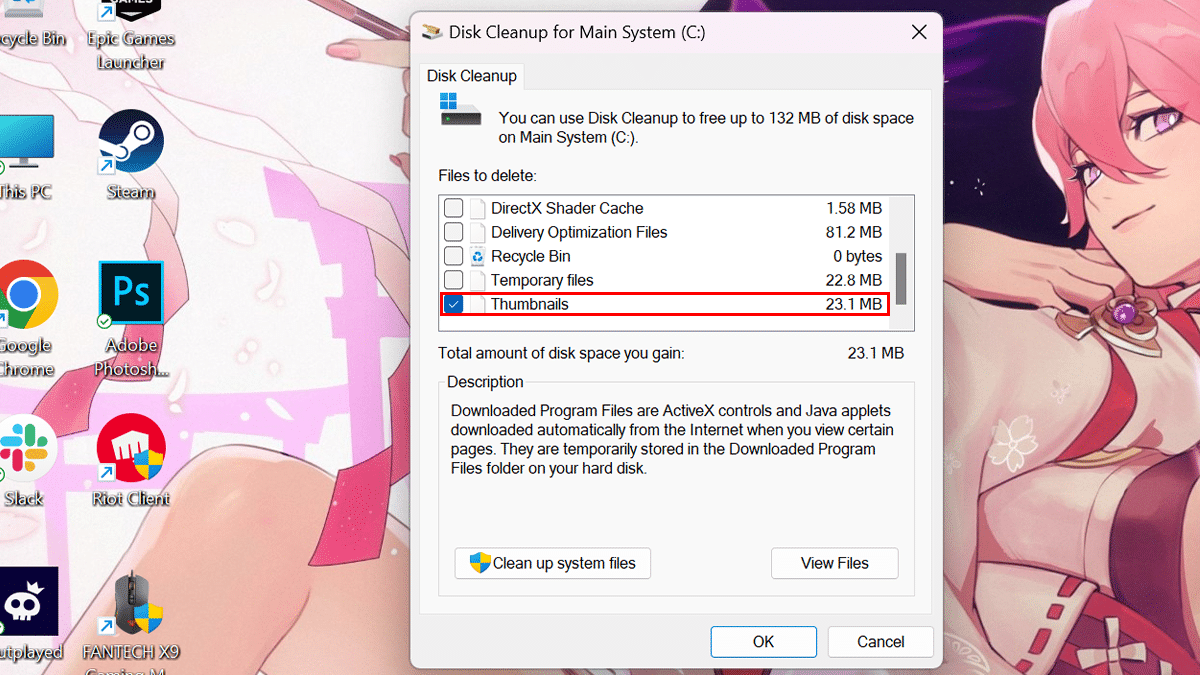
- Open Start, search for Disk Cleanup, and select Open.

- Select the System C drive (if applicable) and click the OK button.

- Clear the current item selections, check the Thumbnails option, and click the OK button.
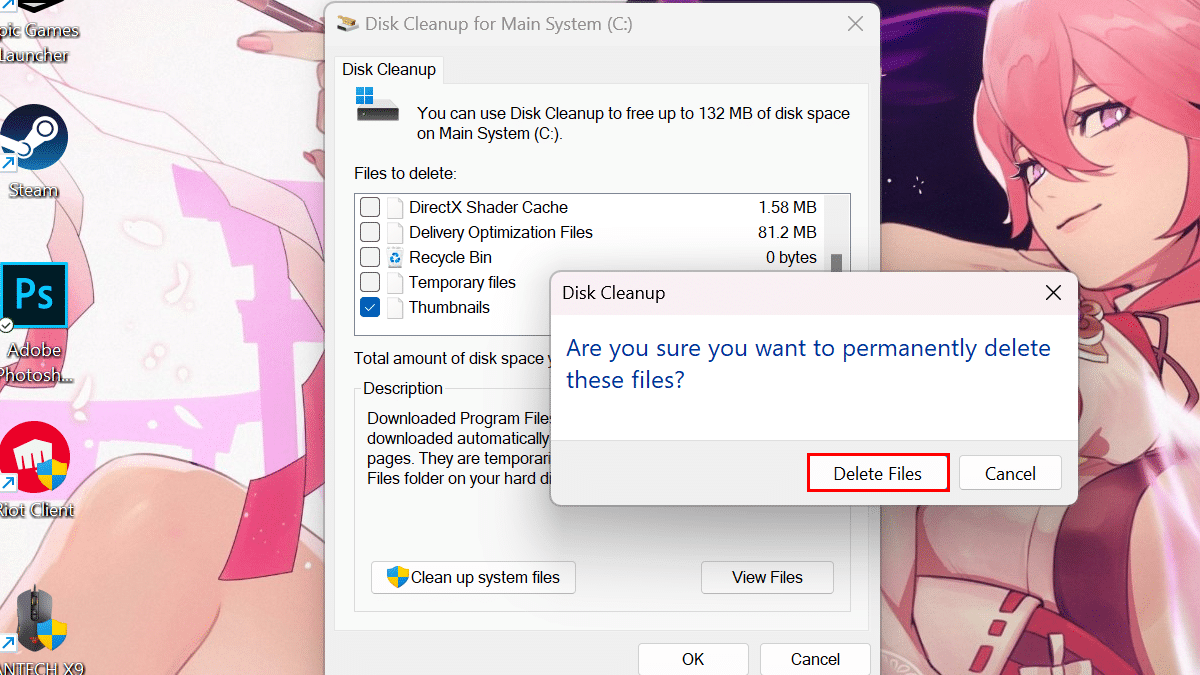
- Click the Delete Files button.
- When done, the thumbnail cache will delete from Windows 11, and the system will create a new database to store thumbnails again.
How to clear the thumbnail cache from File Explorer in Windows 11
- Open File Explorer.
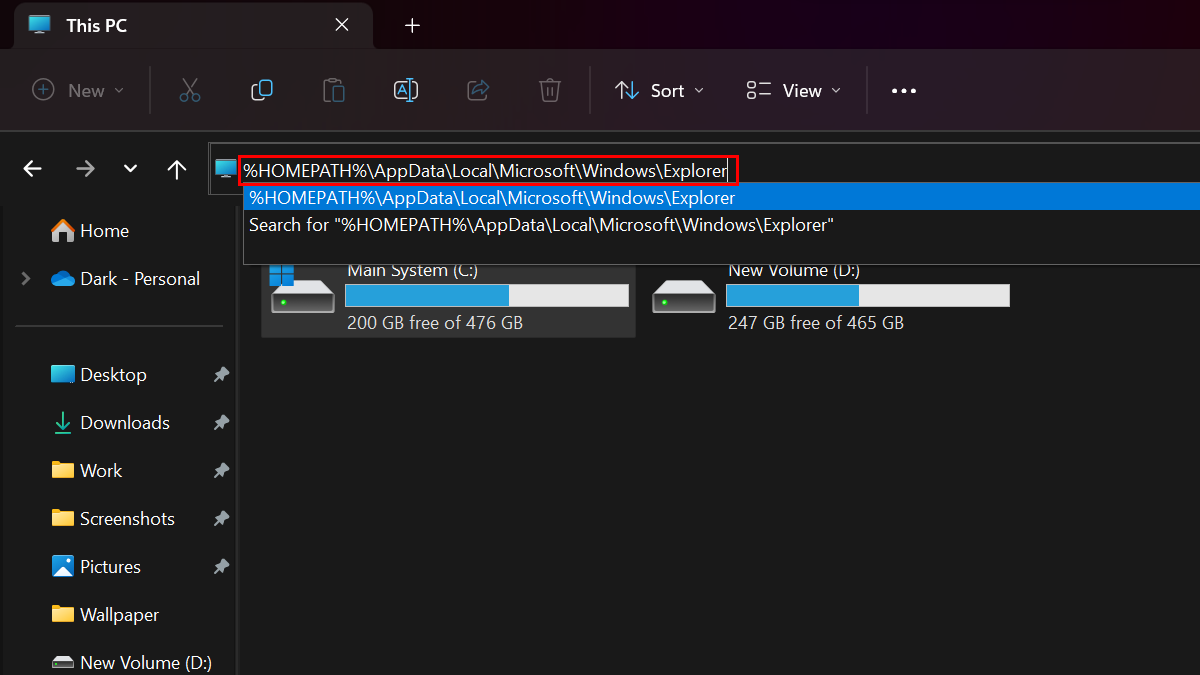
- Type the following path in the address bar and press Enter on the keyboard:
%HOMEPATH%\AppData\Local\Microsoft\Windows\Explorer
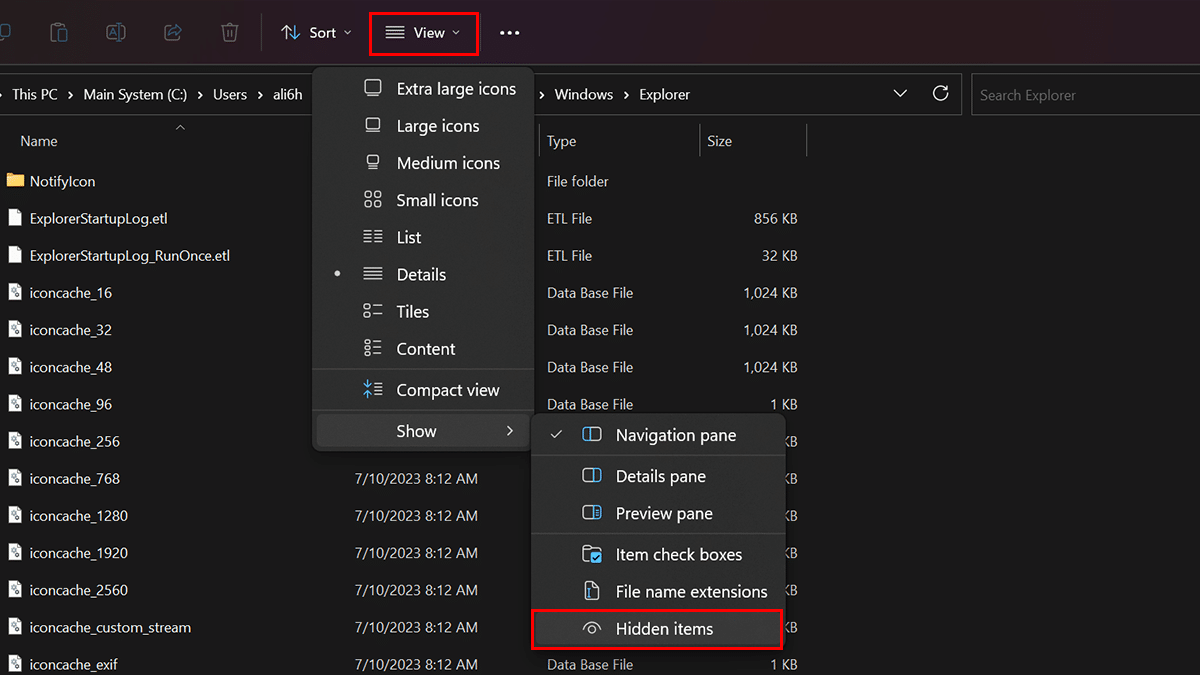
- Open the “View” menu, select the “Show” submenu, and choose the “Hidden items” option.
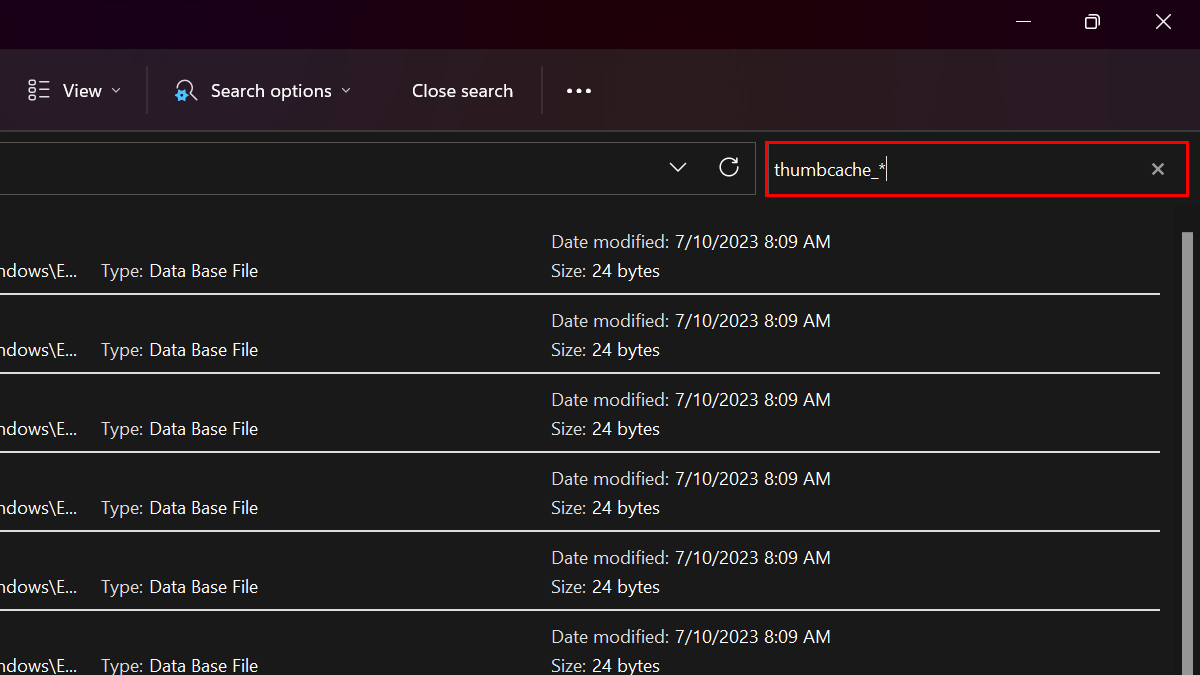
- Type the following search term in the search box and press Enter on the keyboard:
thumbcache_*
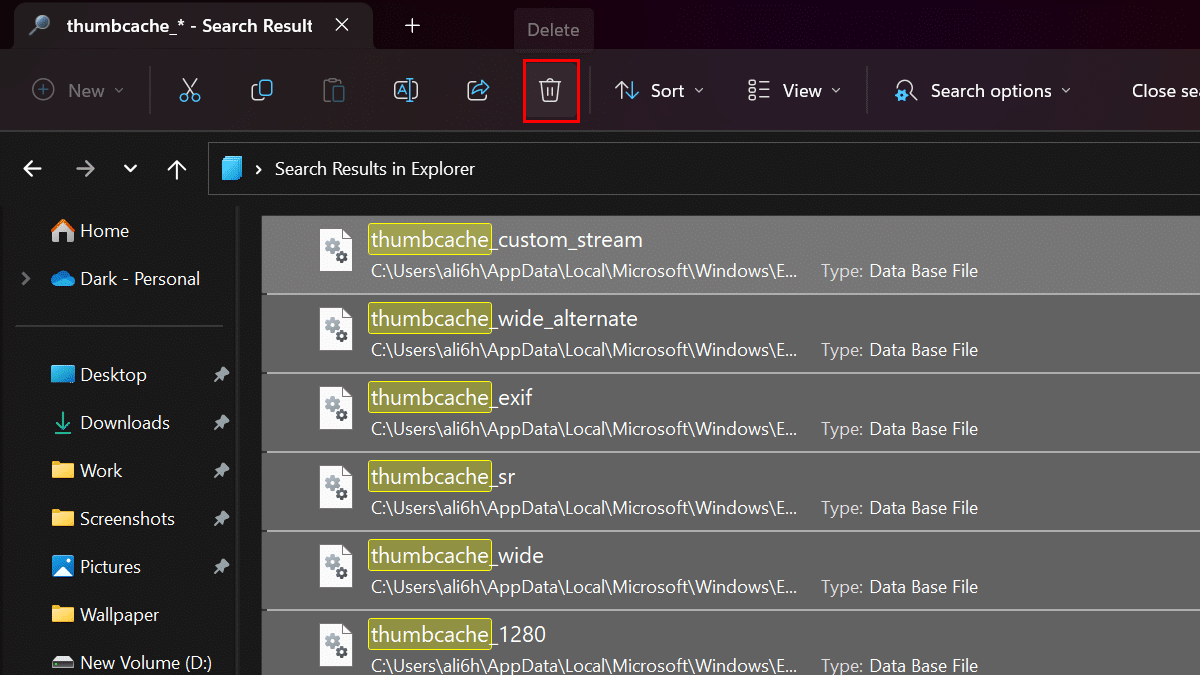
- Select the “thumbcache” files and click the Delete button.
- When done, the system will recreate the cache.
Read more: