Google has introduced the ability to use passkeys to access your account and services. It is a secure and convenient alternative that uses biometric authentication methods such as fingerprint, face scan, and PIN on the device to sign in to websites and apps to deliver a passwordless experience. This is the “passwordless future” that protects users from phishing and hacking attacks.
Previously, Google brought the passkey experience to Chrome and Android only. Luckily, you can now also configure your Google Account. While passkeys make your account more secure, remember that each key is unique to each device. This means you will have to configure a new passkey for each computer or phone you want to access that specific Google Account from.
In this guide, we will show you how to easily create and set a passkey on your Google Account in Windows 11.
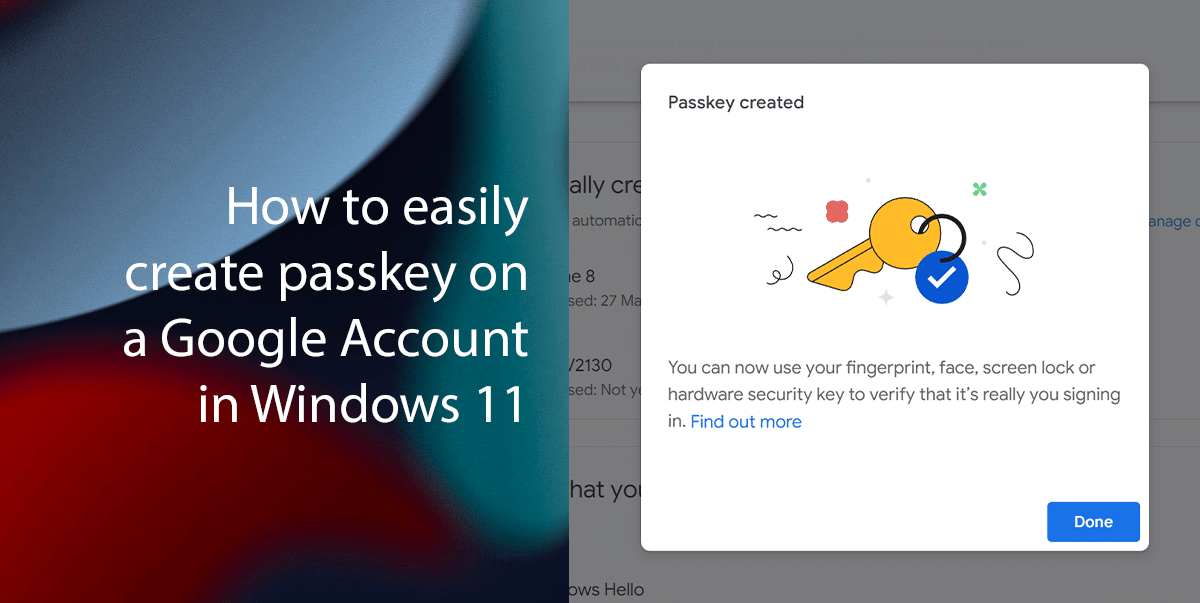
Here is how to easily create a passkey on a Google Account in Windows 11
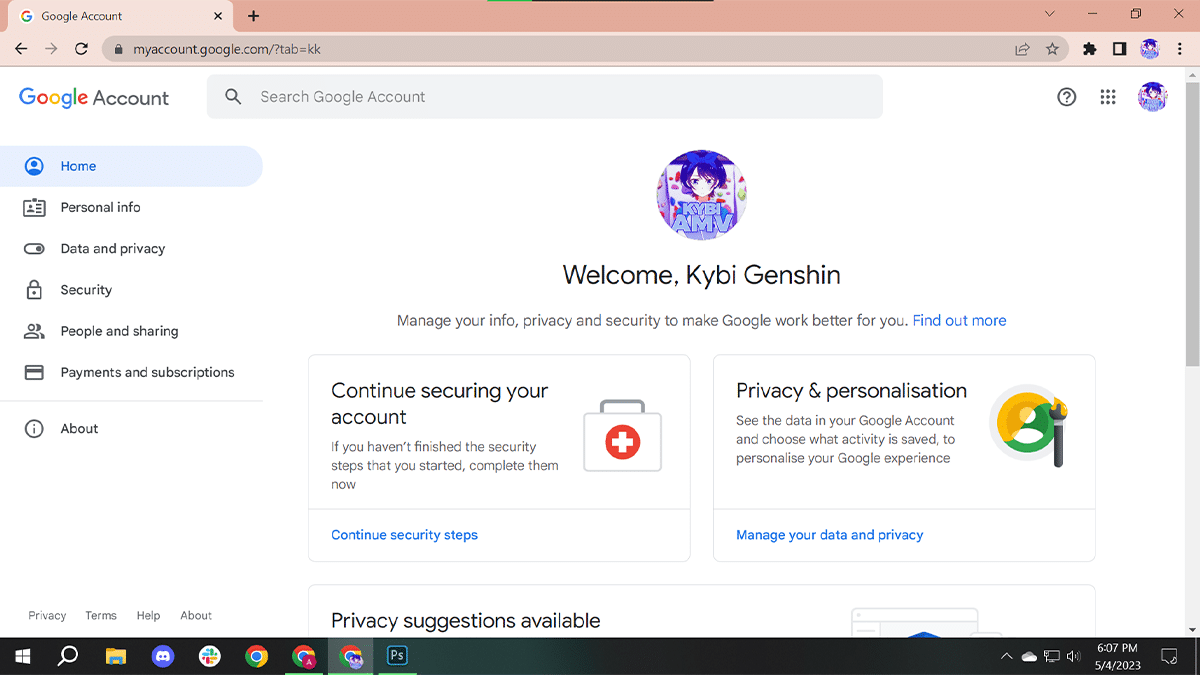
- Open Google Account (web) > sign in with your account.
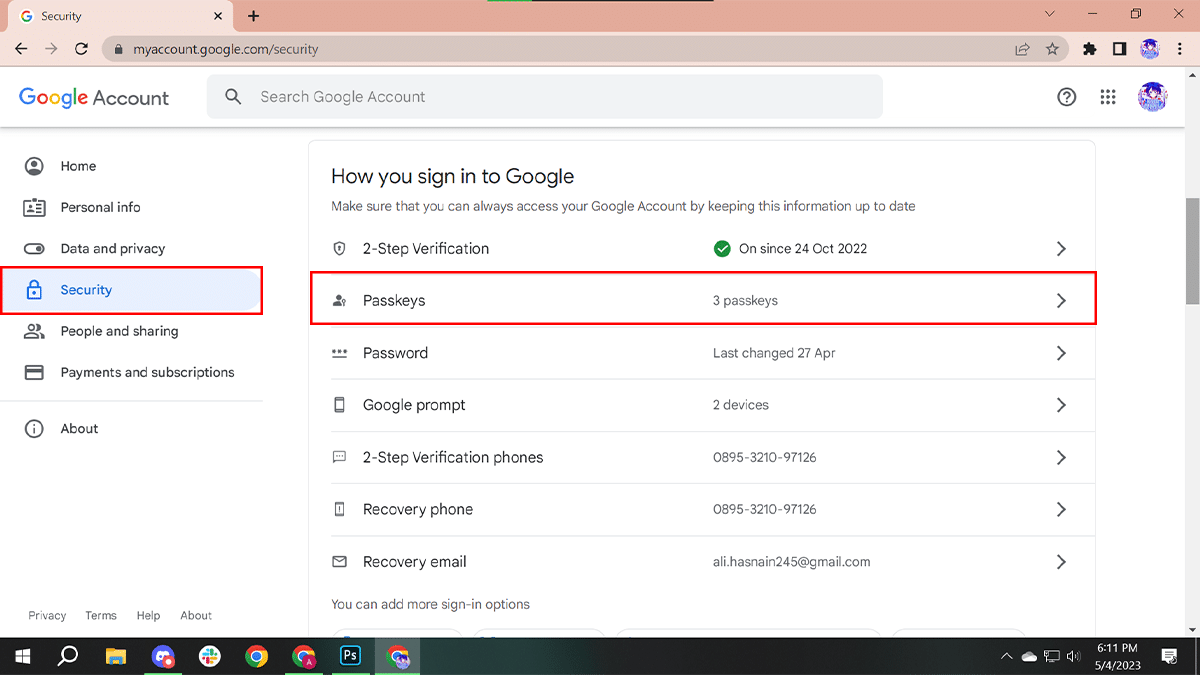
- Click on Security on the left pane > under the “How you sign in to Google” section > click the Passkeys button.
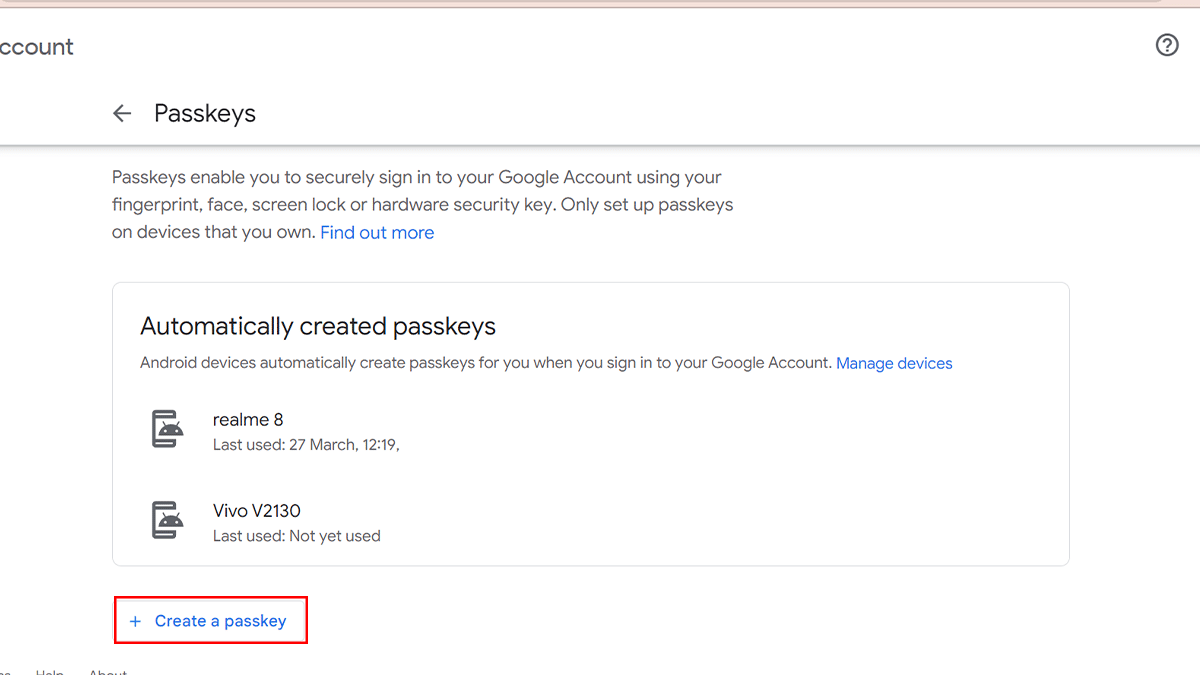
- Click the “Create a Passkey” button.
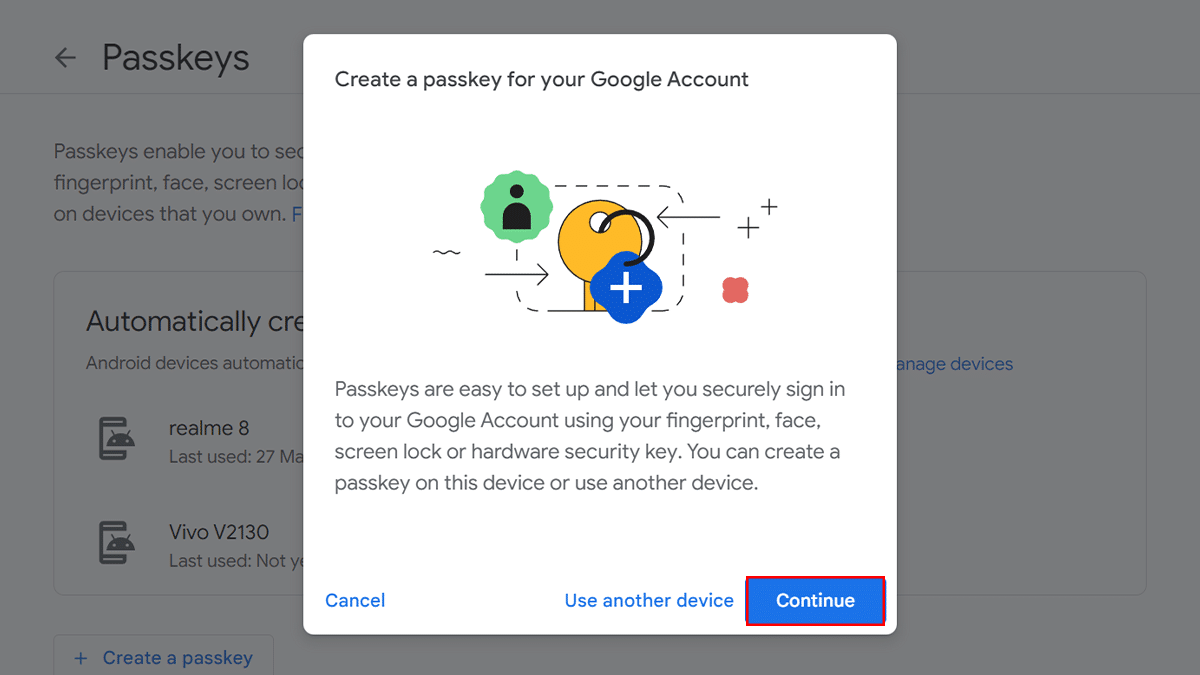
- Click the Continue button.
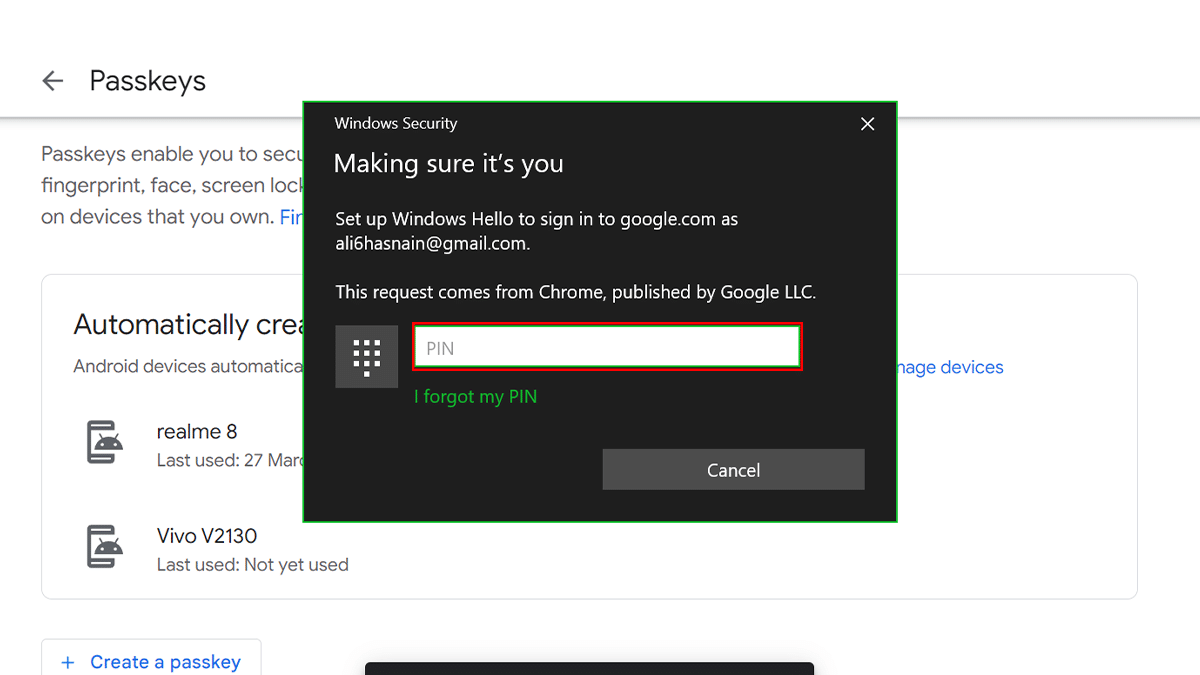
- Confirm your device account credentials. For example, Windows Hello PIN, Face, or Fingerprint.
- Click the Done button.
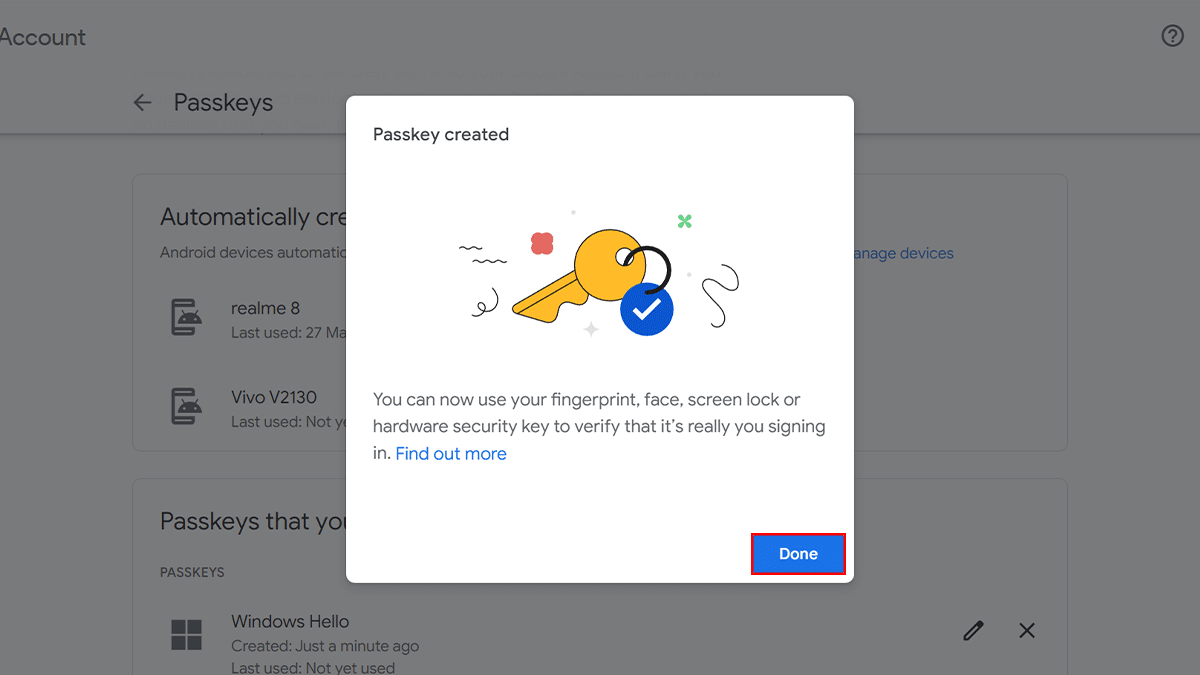
- When done, you can use your fingerprint, face, screen lock, or hardware security key to verify as you sign in to your Google services (such as Gmail, Google Search, Maps, Google Play Store, Google One, etc.) on that particular device.
Read more:
- How to “print to PDF” from any app in Windows 11 and Windows 10
- How to install the YouTube web app on Windows 11 and Windows 10
- How to change Chrome tabs’ memory saver time in Windows 11
- How to easily change font size in Windows 11
- How to install Optional Features in Windows 11
- How to hide clock and date from Taskbar on Windows 11 stable build