Windows 11 assigns a default name to newly connected audio devices. This may not cause an issue when you have only a set of speakers or one microphone, but it may cause confusion when you have multiple devices.
If you have multiple audio devices like speakers, headphones, and microphones connected to your PC, Windows 11 allows you to change their names to make them easier to identify when you need to switch inputs or outputs from the Settings app.
In this guide, we will show you how to assign a more identifiable name for sound devices on Windows 11.
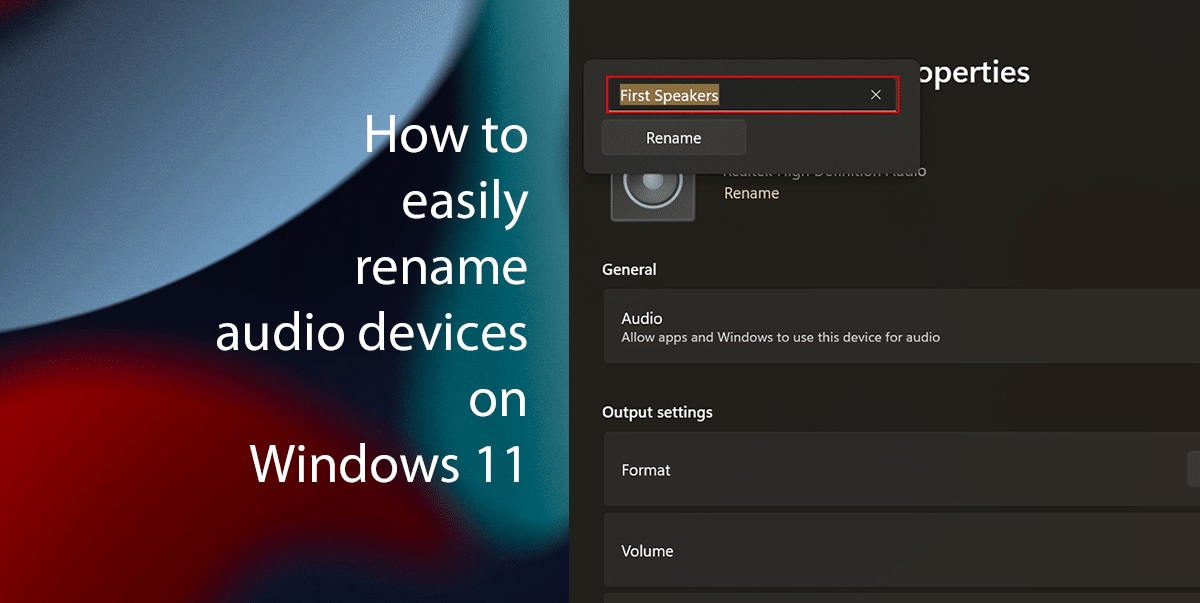
Here is how to easily rename audio devices on Windows 11
How to change the speakers’ name
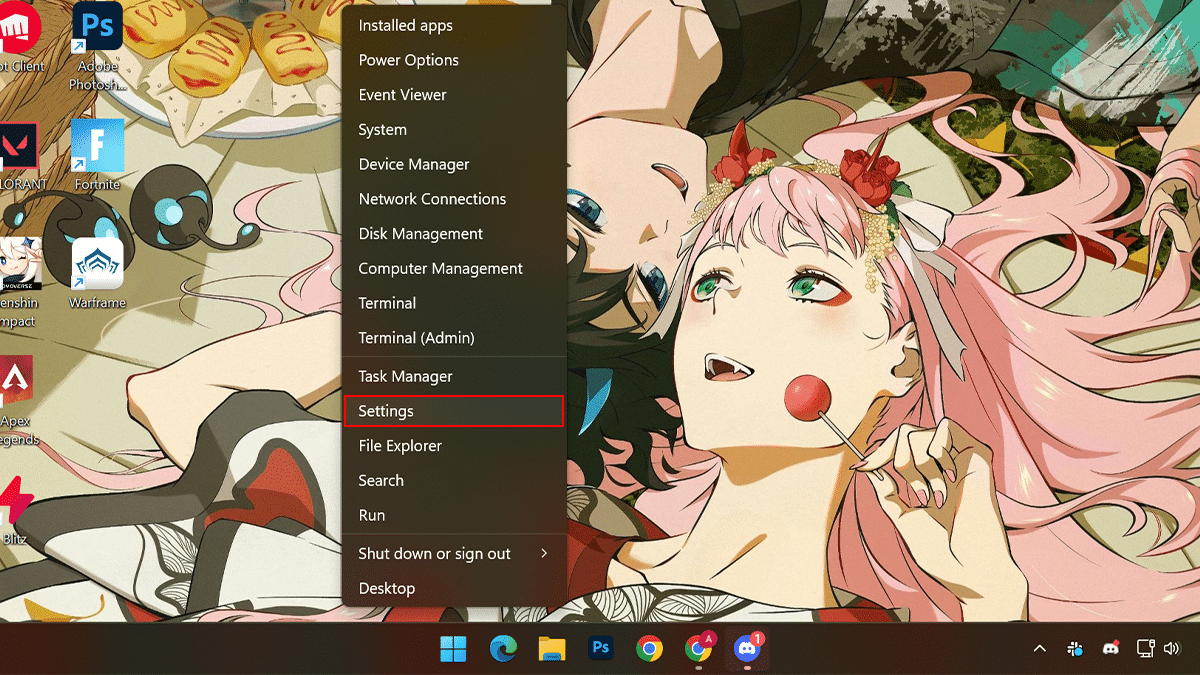
- Right-click on Start > click on the Settings option.
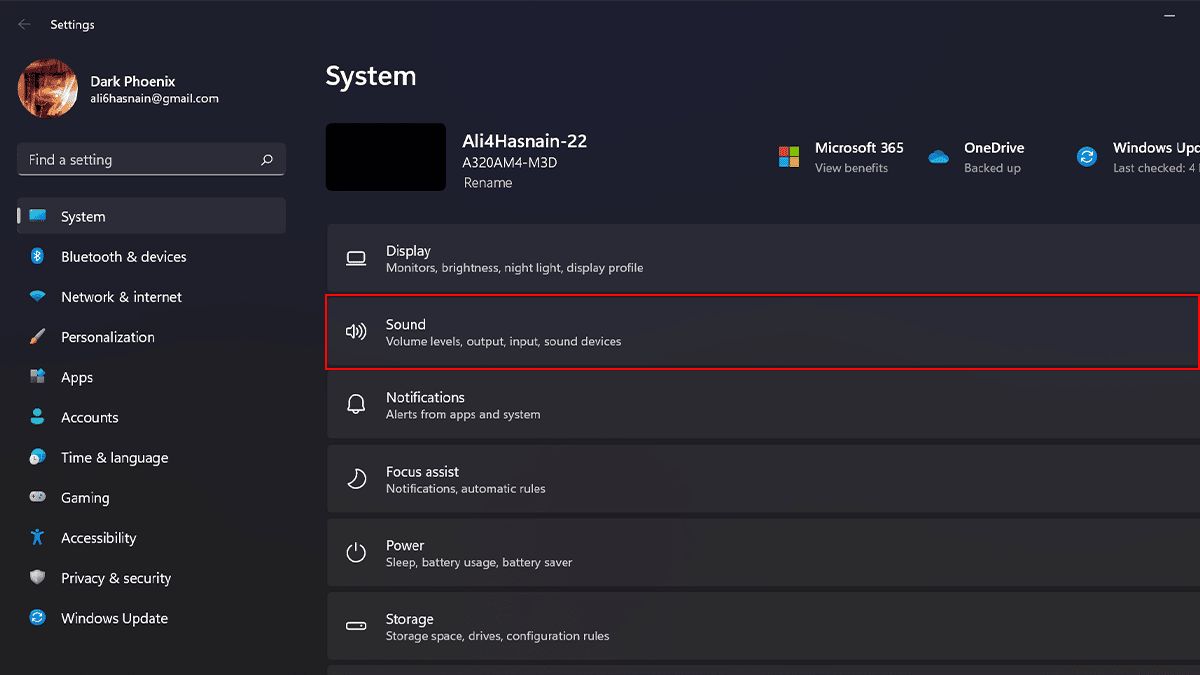
- Click on System > click the Sound tab.
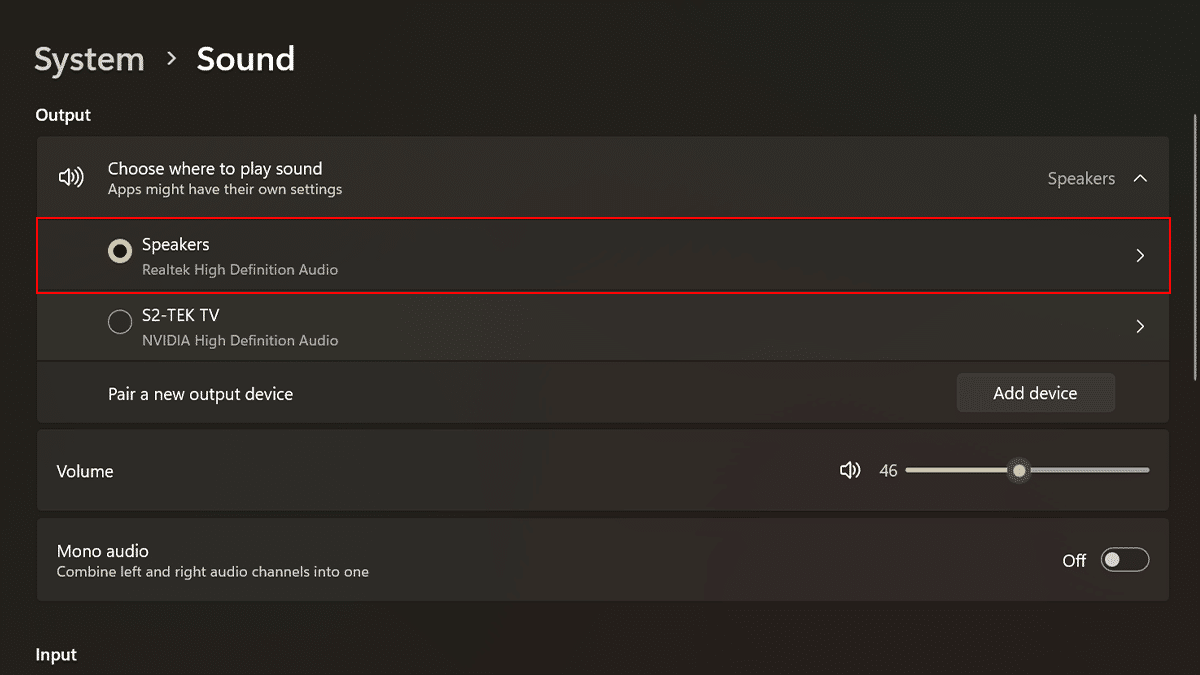
- Under the Output section > select the speakers (or headphones) to rename.
- Click the Rename button.
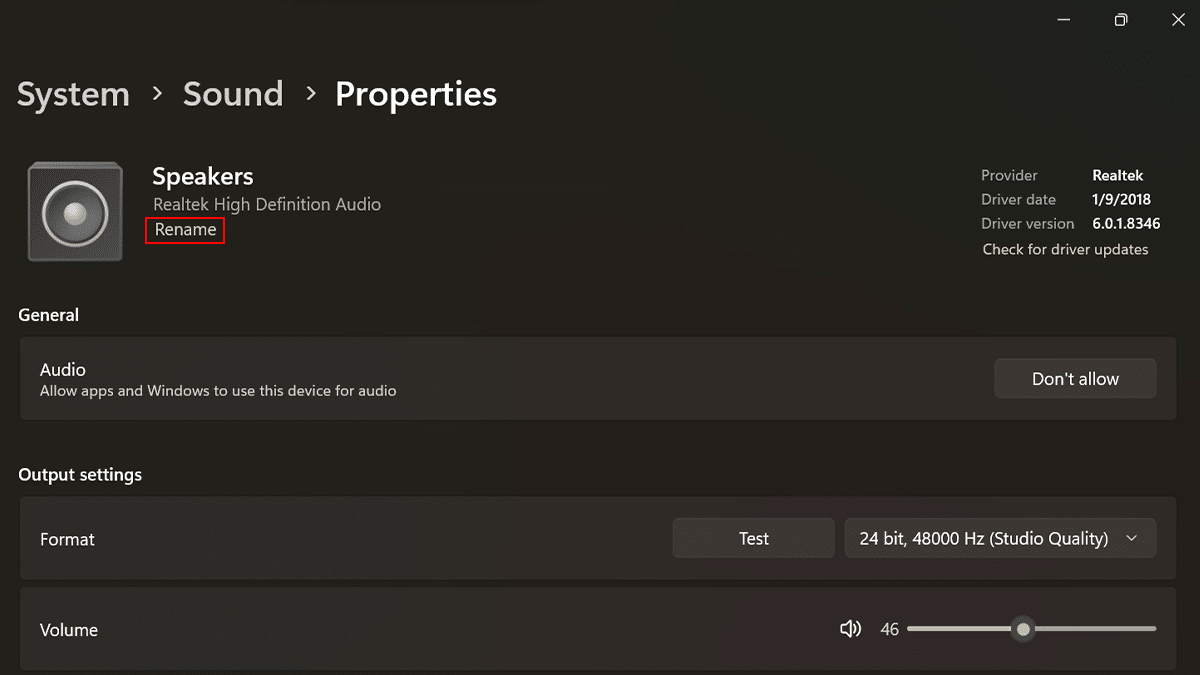
- Confirm a short and descriptive name for the audio device.
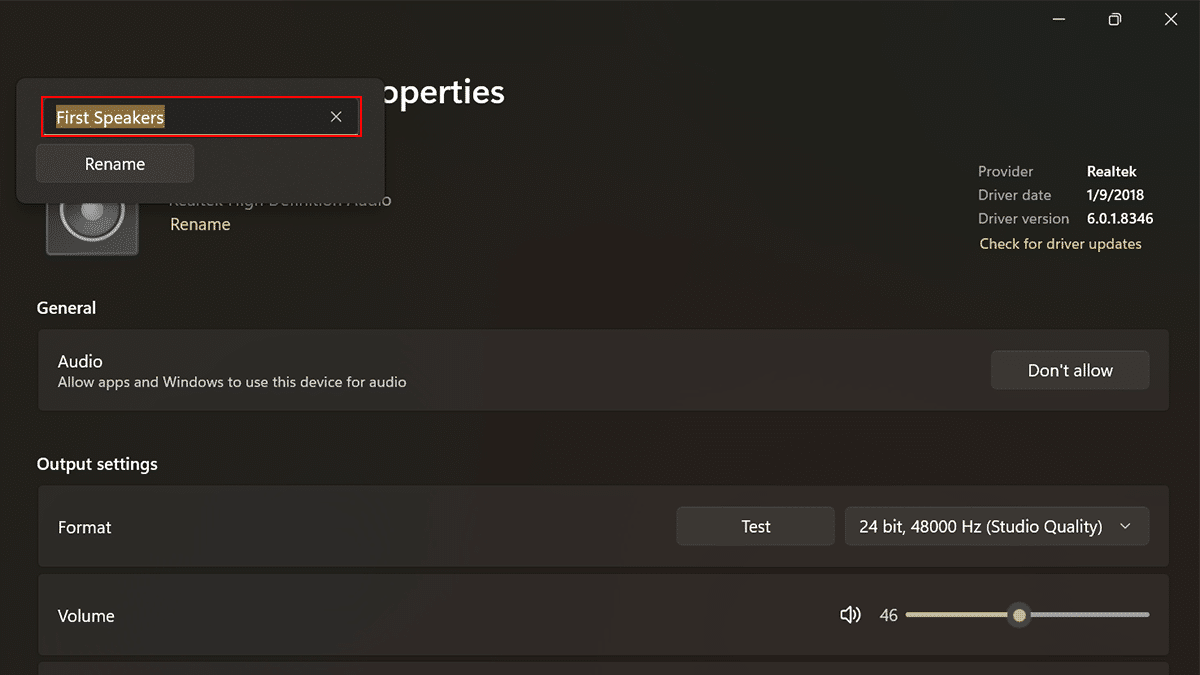
- When done > click the Rename button.
- After you complete the steps, the new name will apply, and it’ll be easier to identify.
How to change the microphone name
- Right-click on Start > click on the Settings option.

- Click on System > click the Sound tab.

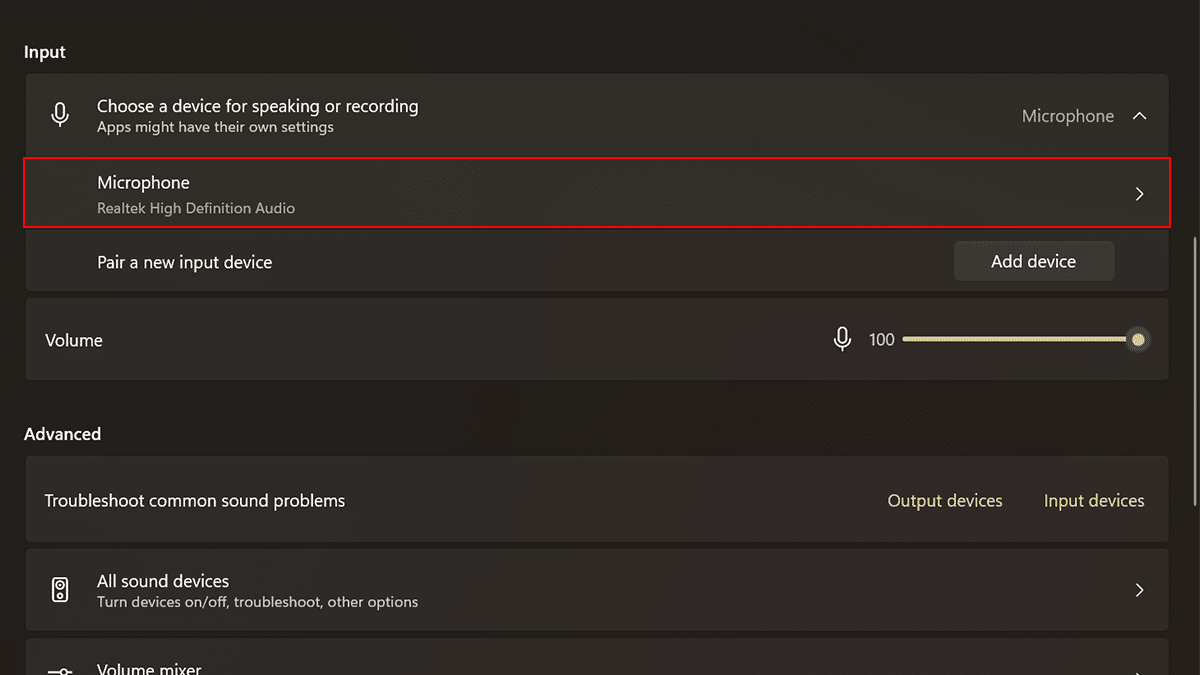
- Under the Input section > select the microphone to rename.
- Click the Rename button.
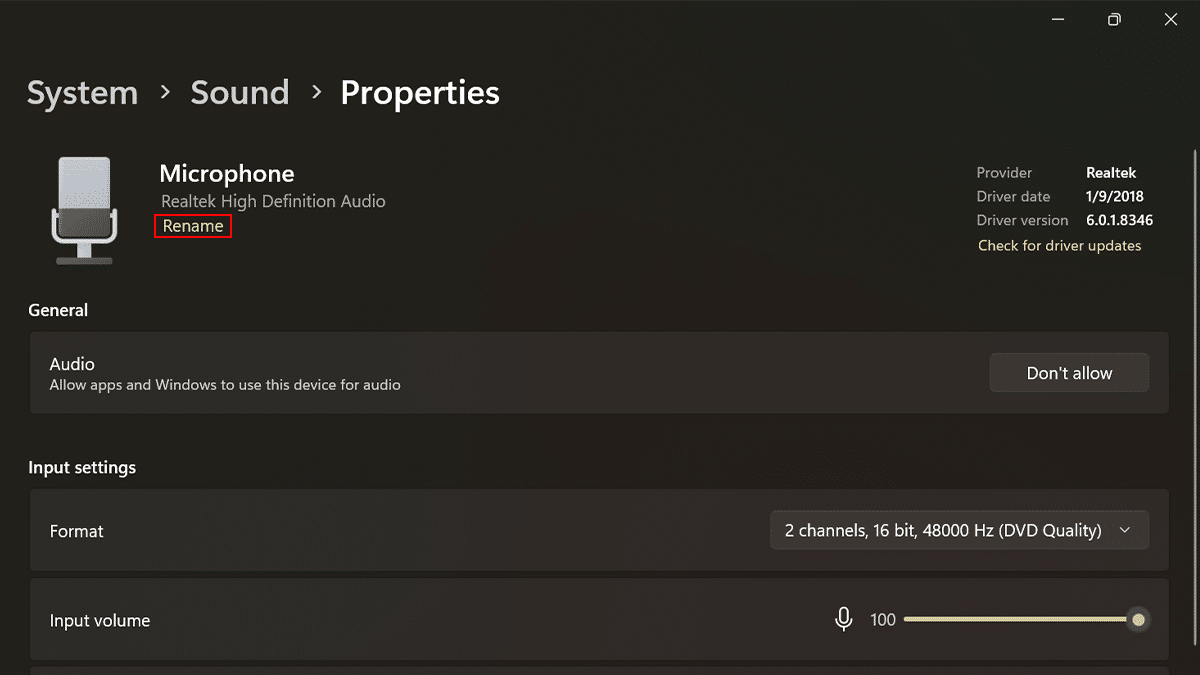
- Confirm a short and descriptive name for the microphone.
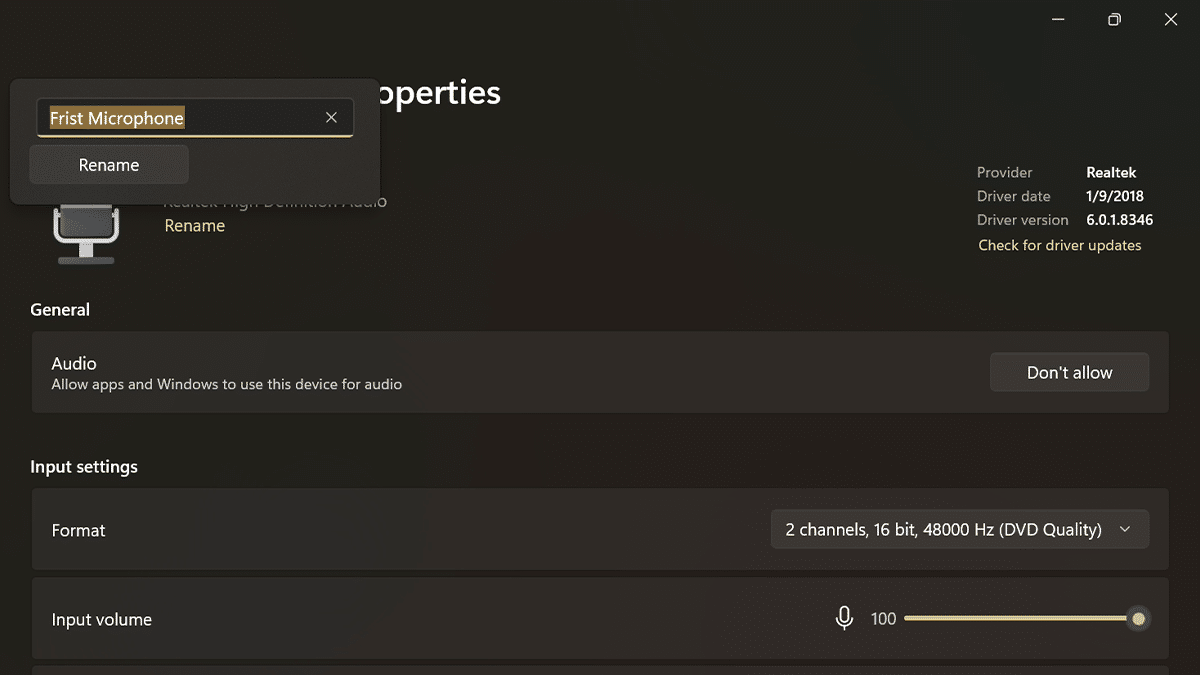
- When done, click the Rename button.
- After you complete the steps, the new name will be added to the device.
Read more:
- How to auto-download the Apple Music Classical app, ahead of launch on March 28
- How to disable Bing AI in Taskbar Search on Windows 11
- How to roll back the Nvidia driver to fix problems in Windows 11
- How to clear cookies on Microsoft Edge on Windows 11
- How to write notes on iPhone using your finger
- How to scan written text into a note on iPhone
- How to create and manage power plans on Windows 11