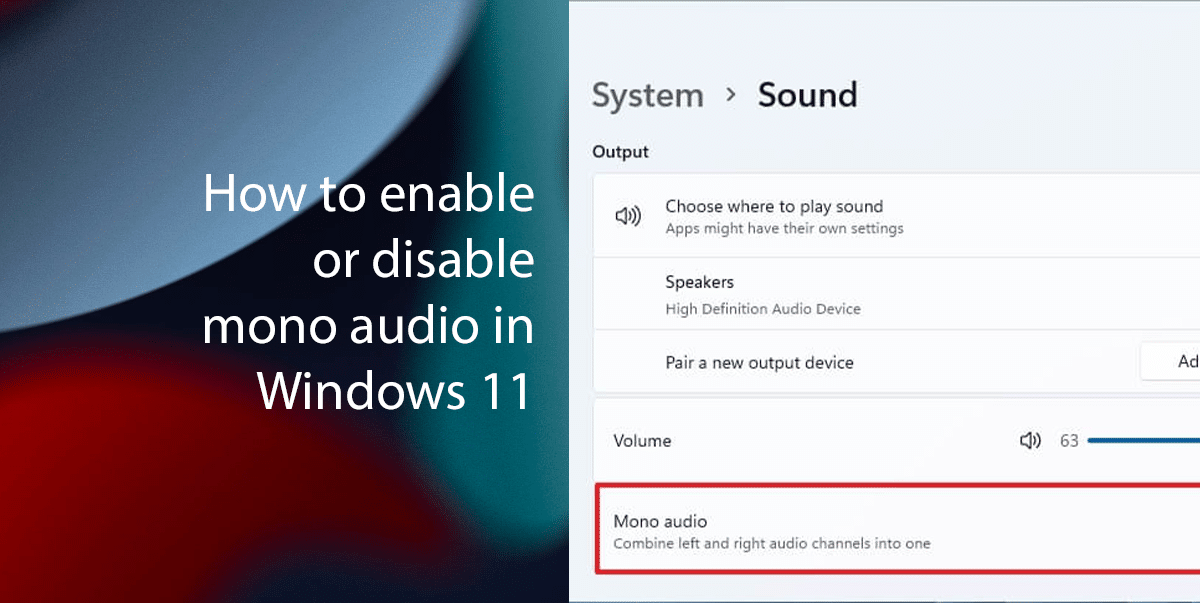
Windows 11 includes a feature called mono audio that can be used to combine the left and right audio channels into a single channel.
This can make it easier to hear audio from both speakers or headphones which can be helpful for people with hearing difficulties and improve the sound quality by eliminating the stereo effect which can be helpful when you are using a single speaker or headphones.
It also helps to hear audio more clearly in noisy environments, sleep more soundly by removing the stereo effect, and more importantly, enjoy music.
In this guide, we will walk you through the easy steps on how to enable mono audio on Windows 11.

Here is how to enable or disable mono audio in Windows 11
How to enable mono audio in Windows 11
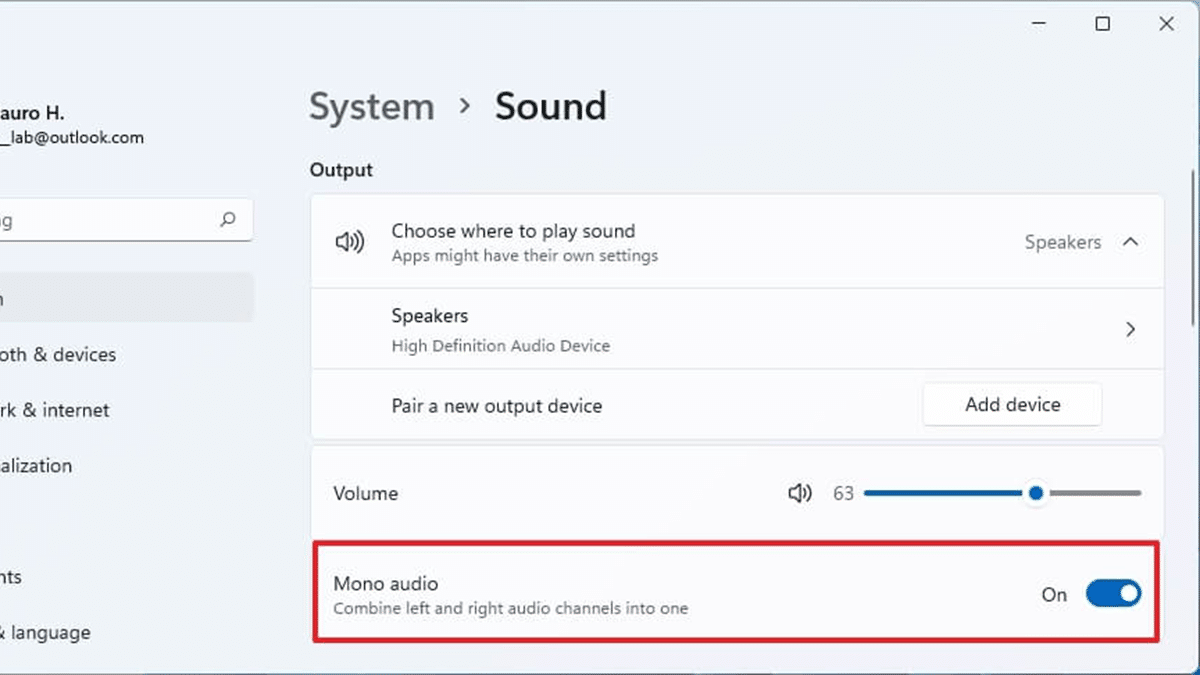
- Open Settings > click on System > click the Sound tab > under the “Output” section > toggle on the Mono audio switch.

- When done, the system will combine the left and right audio channels to provide mono sound.
How to disable mono audio in Windows 11
- Open Settings > click on System > click the Sound tab > under the “Output” section > toggle off the Mono audio switch.

- When done, the system will disable mono audio and output the sound in two-channel stereo sound.
Read more:
- How to stop the computer from automatically waking up in Windows 11
- How to install the Moment 3 feature drop update in Windows 11
- How to get early access to Generative AI in Google Search in Windows 11
- How to create a partition in Windows 11
- How to quickly find Wi-Fi passwords in Windows 11
- How to use Workspaces to share tabs in Microsoft Edge in Windows 11
- How to uninstall apps in Windows 11
- How to change execution policy in PowerShell to run scripts in Windows 11
- How to turn off notifications in Google Chrome in Windows 11
- How to uninstall OneDrive in Windows 11