Has your Windows 11 machine been acting up lately? Frequent crashes, sluggish performance, and cryptic error messages can turn your computer into a frustrating foe.
While a full reinstall might seem like the only option, Windows 11 now offers a quick and painless solution in the form of the aptly named “Quick Reinstallation” feature. This nifty tool tackles system issues by reinstalling crucial components and system files, all while preserving your precious data, apps, and settings.
Here’s a breakdown of its key aspects:
- Saves your data: Unlike traditional reinstalls, your documents, pictures, and applications remain untouched. Breathe easy knowing your files are safe!
- Fast and convenient: No need for bootable USB drives or external media. Windows Update handles everything, making the process quick and straightforward.
- Simple to use: A few clicks in the Settings app are all it takes. This no-fuss approach is perfect for users of all technical levels.
The “Quick Reinstallation” feature in Windows 11 offers a valuable tool for resolving system issues without the hassle of data loss or lengthy reinstallations. Its ease of use and minimal overhead make it a compelling option for anyone encountering performance problems or system instability.
In this guide, we will show you how to quickly fix Windows 11 problems with the “Quick Reinstallation” feature.

Easily fix Windows 11 problems with the “Quick Reinstallation”
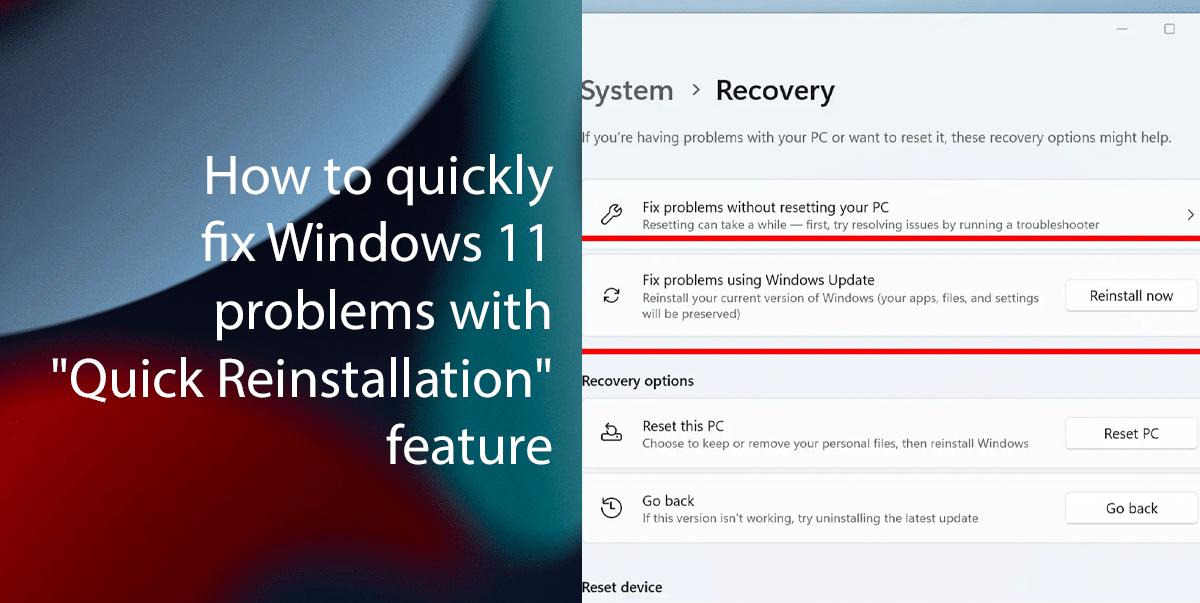
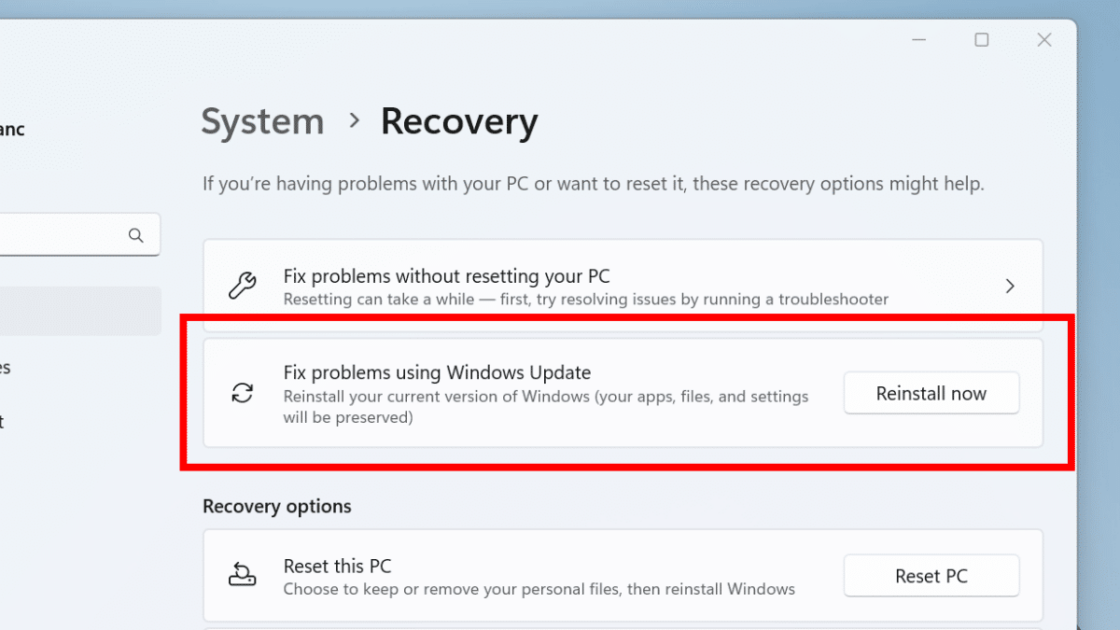
- Navigate to Settings > System > Recovery, and under “Recovery options,” click the “Reinstall now” button for the “Fix problems using Windows Update” setting.

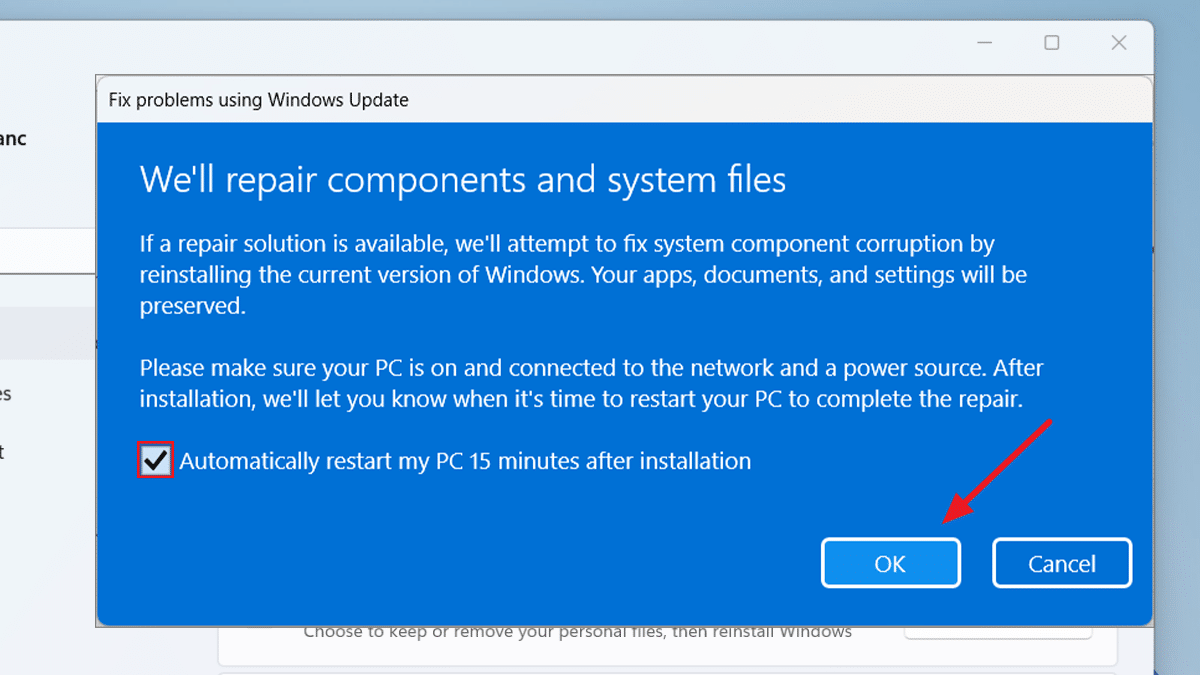
- Check the box for “Automatically restart my PC 15 minutes after installation” and click “OK.”

- Windows carefully identifies and re-installs essential system components and files while retaining your data.
- Once complete, your PC will reboot with a refreshed system, hopefully resolving any underlying issues.
Read more: