Normally, Windows 11 applies the most optimal screen resolution to make elements and text as clear as they can be on your computer.
However, sometimes you may need to change this setting manually. Here are some of the most common reasons why you might want to change the screen resolution in Windows 11:
- To improve the image quality: A higher resolution will result in a sharper image, but it will also make the text and icons on your screen smaller.
- To improve performance: A lower resolution will use fewer system resources, which can improve performance on older computers or computers with less powerful graphics cards.
- To accommodate a specific need: For example, if you’re using your computer for gaming, you might want to increase the resolution to get the best possible graphics. Or, if you’re using your computer for work, you might want to decrease the resolution to make the text easier to read.
Ultimately, the best reason to change the screen resolution is to find a setting that works best for you and your needs.
In this guide, we will show you the easy steps to change the resolution of the display on Windows 11.
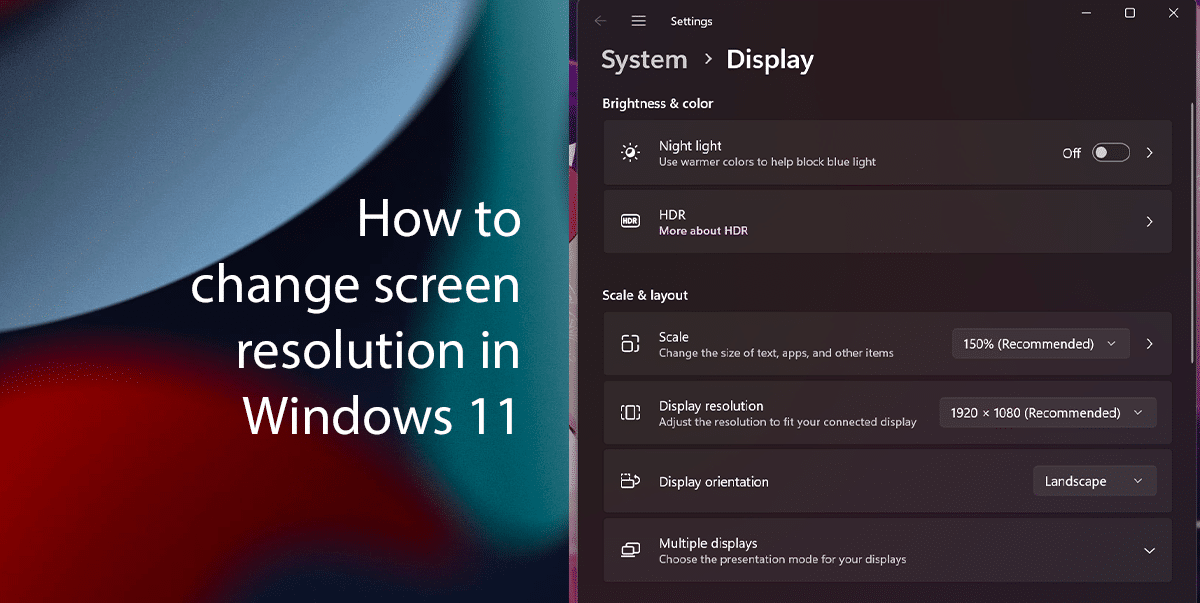
Here is how to change screen resolution in Windows 11
Before we start, some additional things to keep in mind when changing the screen resolution:
- The maximum resolution that you can choose will depend on your monitor.
- If you change the resolution, some apps might not display correctly.
- If you have any problems changing the resolution, you can try updating your graphics drivers.
To change the screen resolution on Windows 11, follow the steps listed below:
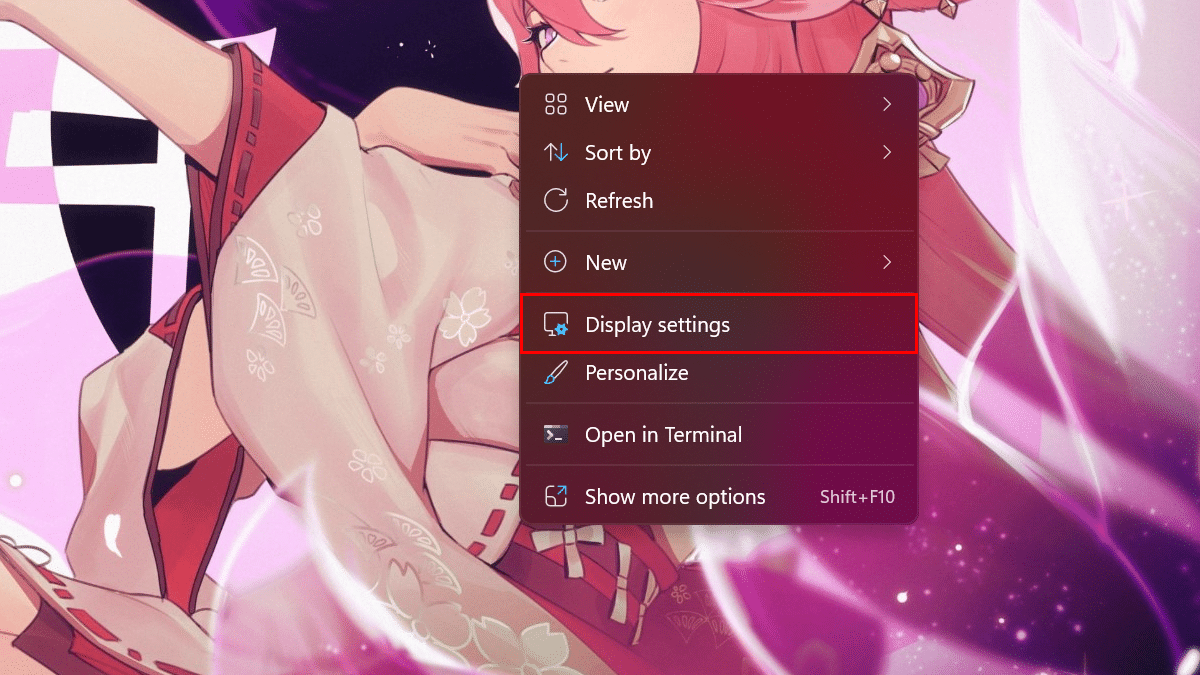
- Right-click on an empty area of the desktop and select Display settings.
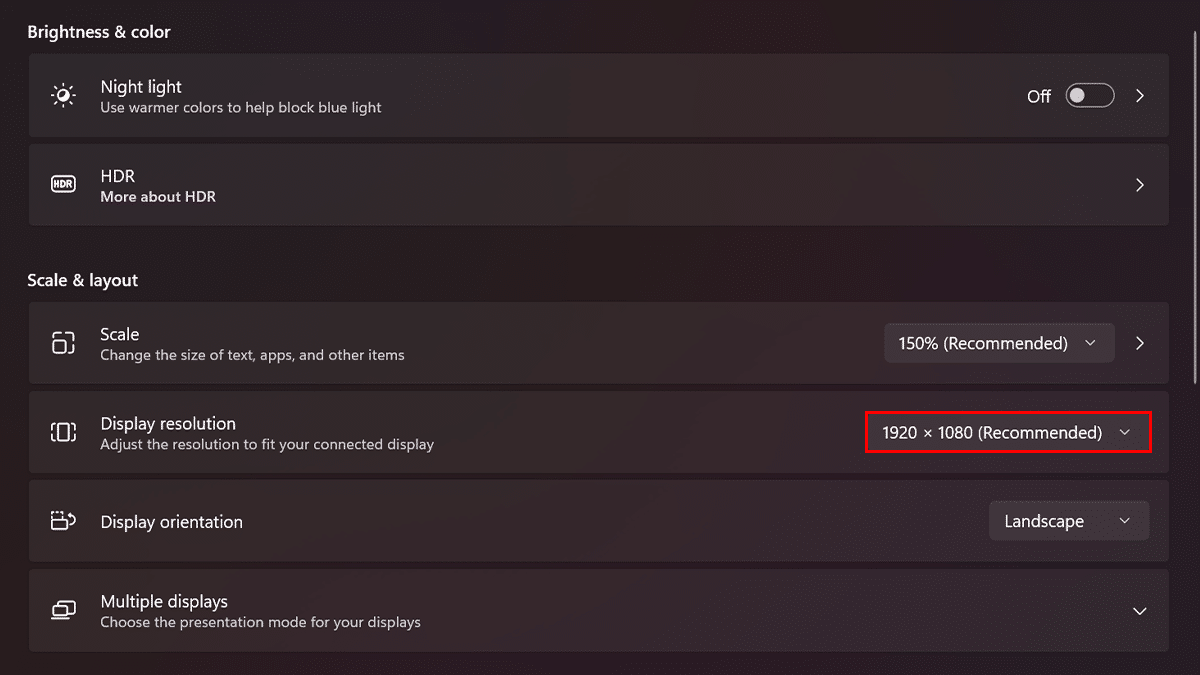
- Under the Scale & Layout, click the Display resolution drop-down menu.
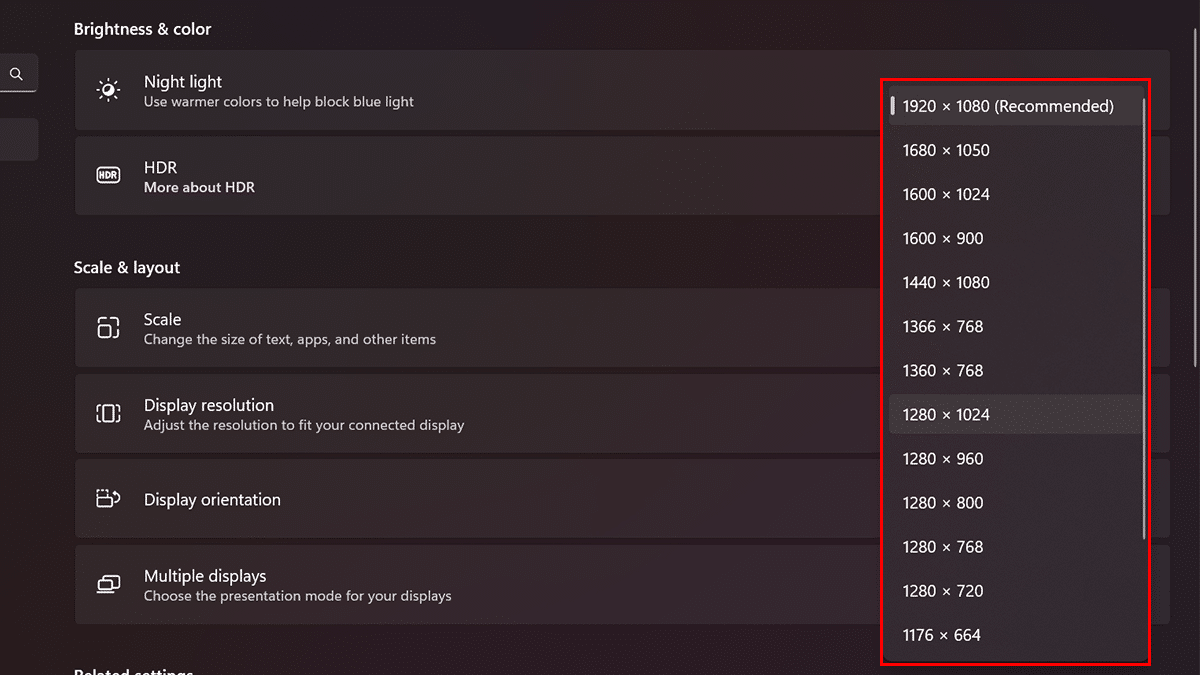
- Select the resolution you want to use.
- Click Keep Changes.
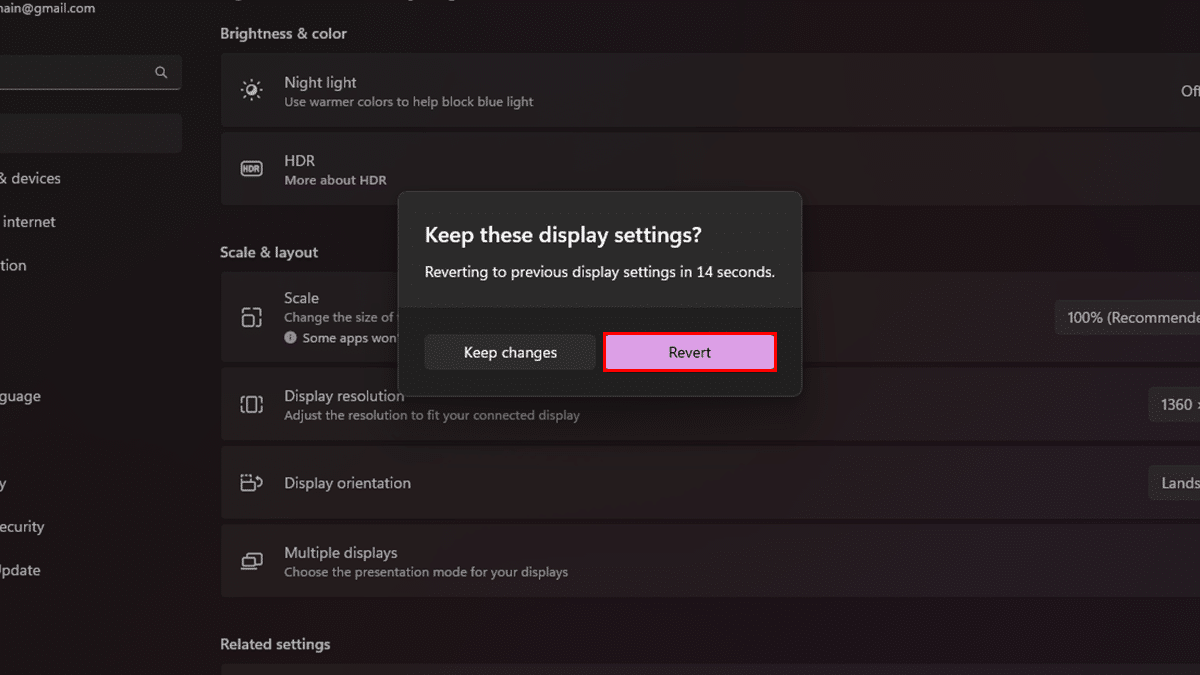
- When done, the display will apply the new resolution, and depending on the setting, elements on the screen will be bigger and easier to see.
Read more: