Here is how you can clean install macOS Big Sur on a Mac to get the best performance and trouble-free experience with Apple’s latest desktop operating system. This guide involves backing up your data, creating a bootable macOS Big Sur USB installer, formatting your Mac, and reinstalling the operating system.

Clean install macOS Big Sur on a Mac
This guide can be followed if you are upgrading from macOS Catalina, or you are finding that macOS Big Sur is giving you tons of issues such as slowdowns, app crashes, or keeps showing you the spinning beach ball instead of your usual mouse pointer. When you clean install macOS Big Sur, you should be able to fix most of these issues. When you clean install macOS Big Sur, remember that it is not a simple process, so we suggest that you first check out our macOS Big Sur issue troubleshooting guide, and see if it helps fix the issues that you face, before taking the plunge.
Before you start, note the following:
- You will need to back up your data. It is good to have an external hard drive handy to backup your data. If you have a fast Internet connection, you can move your files to iCloud, Google Drive, OneDrive, Dropbox, or any other storage provider of your choice.
- You should have a USB drive, at least 16GB in size. This will be formatted and set up as a bootable installer for macOS Big Sur.
- Make a list of the apps that you use on your Mac. You will have to reinstall them later. Take this time to see which apps you don’t use anymore and make a note so you don’t reinstall it. You might also want to keep the license keys for apps handy for reinstallation.
- If you are upgrading from an older version of macOS, make sure that your Mac is compatible with macOS Big Sur. Even if it is not, you can follow our guide to install macOS Big Sur on unsupported Macs.
- MacBook Air (2013 and newer)
- MacBook Pro (late 2013 and newer)
- MacBook (2015 and newer)
- iMac (2014 and newer)
- iMac Pro (2017 and newer)
- Mac mini (2014 and newer)
- Mac Pro (2013 and newer)
1. Backup your Mac
The first step is to backup your data unless you don’t have any important files on your Mac. If you have an external drive, simply plug it in, and use Time Machine in macOS to backup your data. This is the best and fastest way to backup data and restore it later on a Mac.
Alternatively, you can backup files manually to any cloud storage service. It is time-consuming but better than nothing. If most of your usage is in a browser like Chrome, Safari, or Firefox, your bookmarks, passwords, and other information will already be backed up to your Google, iCloud, or Firefox account, respectively. Just double-check to make sure that syncing was active in these browsers.
2. Create bootable macOS 11 Big Sur USB installer
The next step is to create a bootable macOS Big Sur USB installer. We have covered this in detail before, so we recommend that you follow that guide. Once done, move to step 3.
3. Reboot into macOS recovery mode
Now that you have your macOS Big Sur bootable installer ready, shut down your Mac and follow these steps:
- While keeping the USB plugged in, start your Mac.
- Press and hold the Option key until you see the startup manager. Select the bootable USB drive and press return.
4. Format Mac
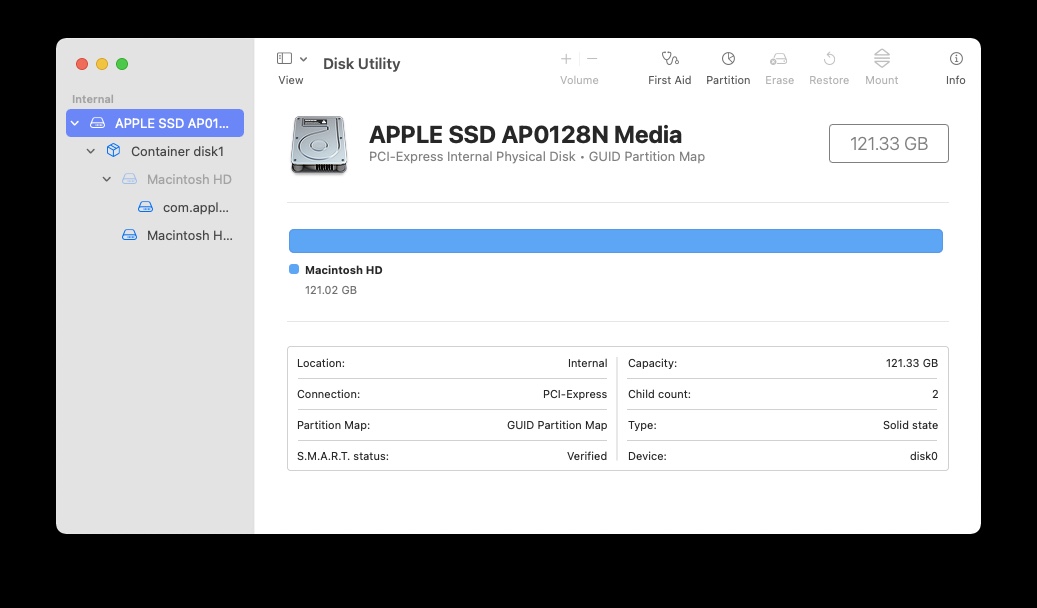
Once the recovery environment loads, open Disk Utility and follow these steps:
- Select your main drive from the left sidebar.
- Right-click it and click on Erase. Alternatively, you will see a button on the top right of the window to erase your drive.
- When you see the dialogue box appear, enter a name for your drive, select format as ‘APFS’, and click on Erase. After this, all your data will be erased, including the operating system on your Mac’s drive.

5. Install macOS Big Sur
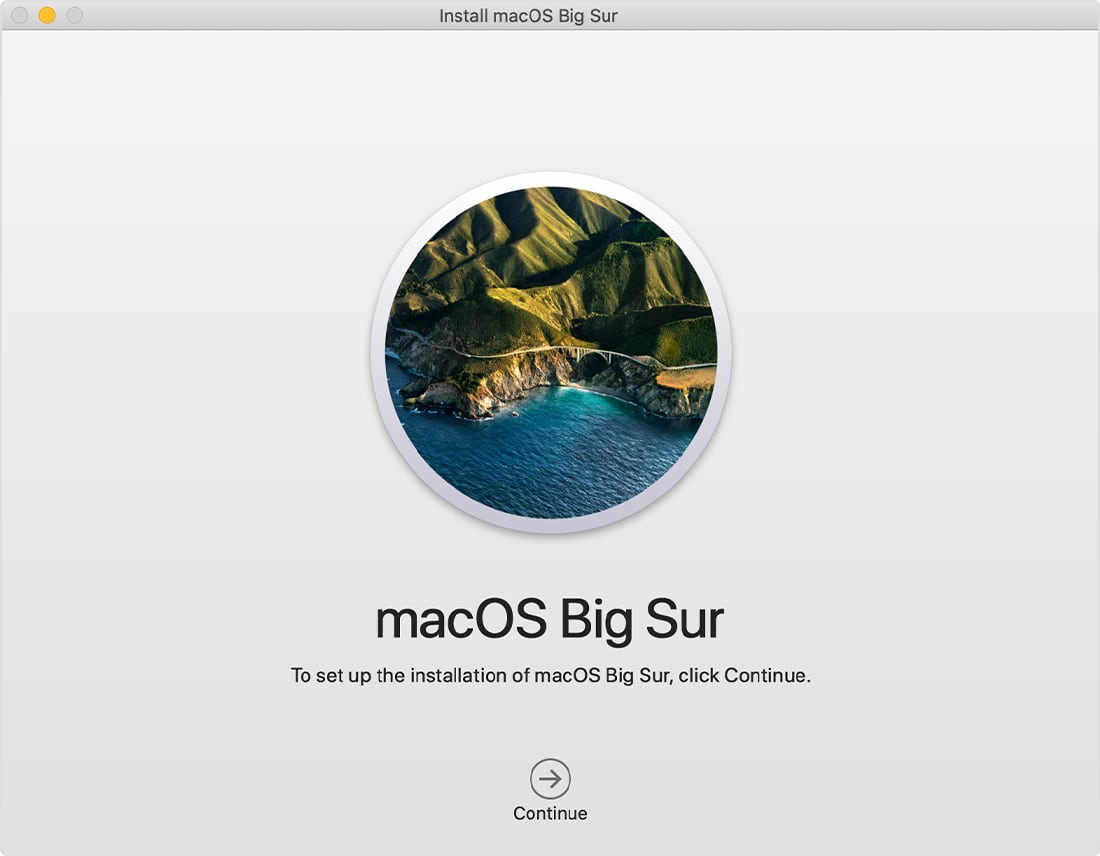
Now it’s time to install macOS Big Sur. Click on ‘Reinstall a new copy of macOS’ in the macOS Utilities screen. Follow the installer steps by clicking continue, agreeing to terms and conditions, selecting your formatted drive, and clicking install. Let the installation process complete as it will take some time.

Once the installation is complete, you can now restore your data and reinstall all apps again. If you are newly upgrading to macOS Big Sur, make sure to download the latest versions of your apps as they will have compatibility updates for the new operating system. Make sure to run each of your important apps at least once, so that you can allow security permissions to the apps that need it such as screen sharing access for Zoom. This will help you prepare for work in advance, and save you from the hassle of restarting an app during use just so you can allow it permissions.
Hopefully, after you clean install macOS Big Sur, your experience will be much better than before. Let us know if you follow this guide and how it works out for you.
Read more:
2 comments
Comments are closed.