Apple’s AirPods are primarily designed to provide instant wireless connectivity in iOS devices such as iPads and iPhones. However, because of Bluetooth support, they can work with all sorts of other devices like Android phones, Windows PC, and laptops.
If you want to use your AirPods (or AirPods Pro) with your Windows PC or Laptop, when they’re not connected to your iPhone, here is how it can be done:
How to connect AirPods to a Windows PC
- Make sure that your AirPods are in their case and charged.
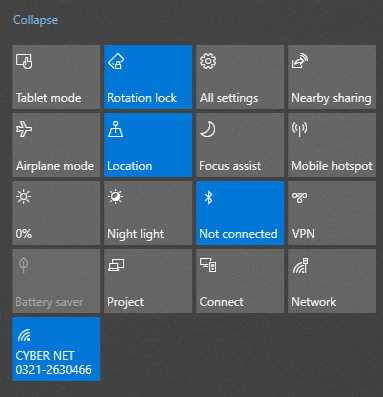
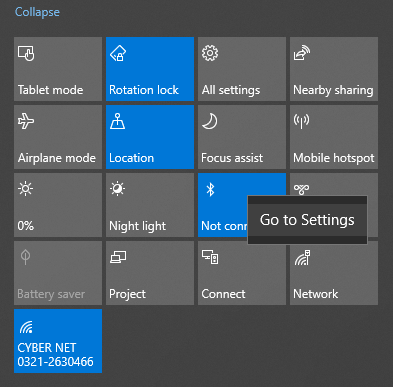
- Open Action Center in the far right bottom corner of your taskbar and make sure that Bluetooth is turned on.
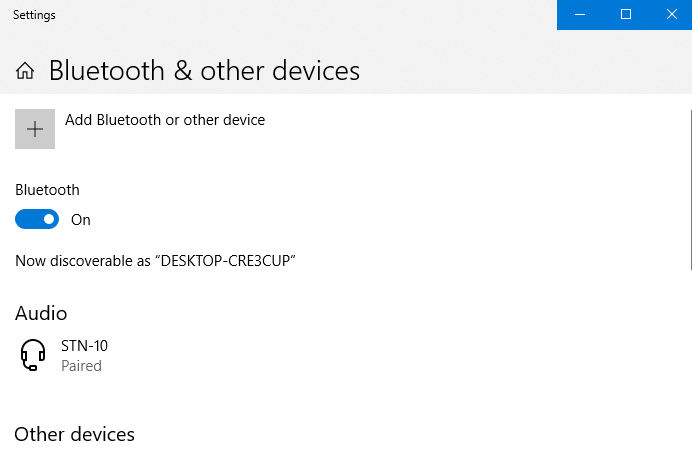
- Click on the “Add Bluetooth or other device” option on the top.
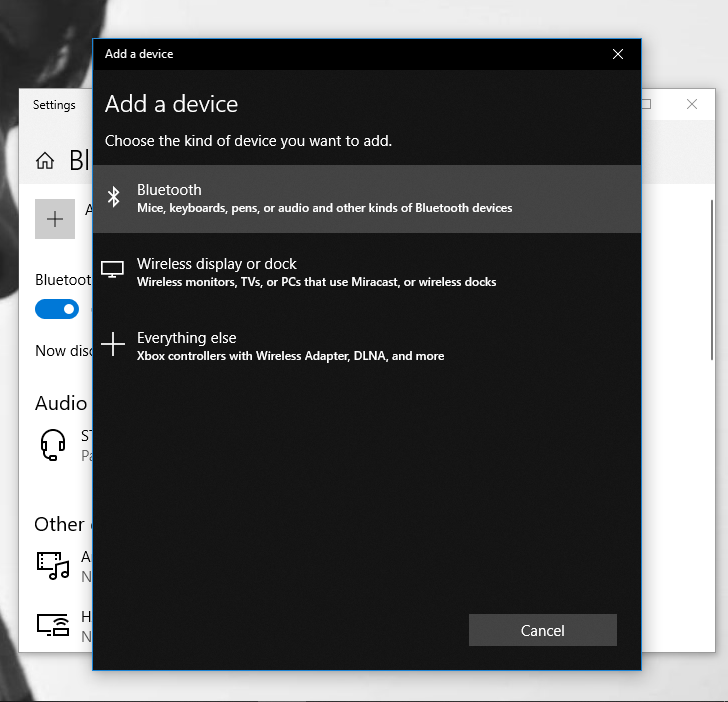
- In the “Add a device” window, click “Bluetooth.”
- Open the lid of your AirPods case. Press and hold the small setup button on the back of the case for several seconds, until the status light on the front of the case starts blinking. The same process applies to all AirPods models, including AirPods Pro.
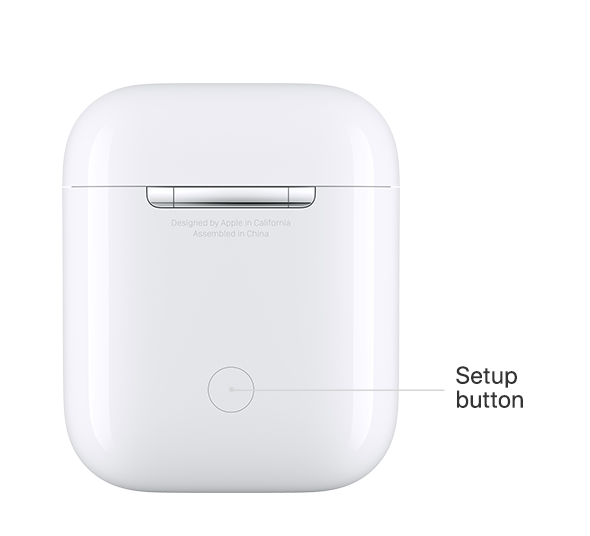
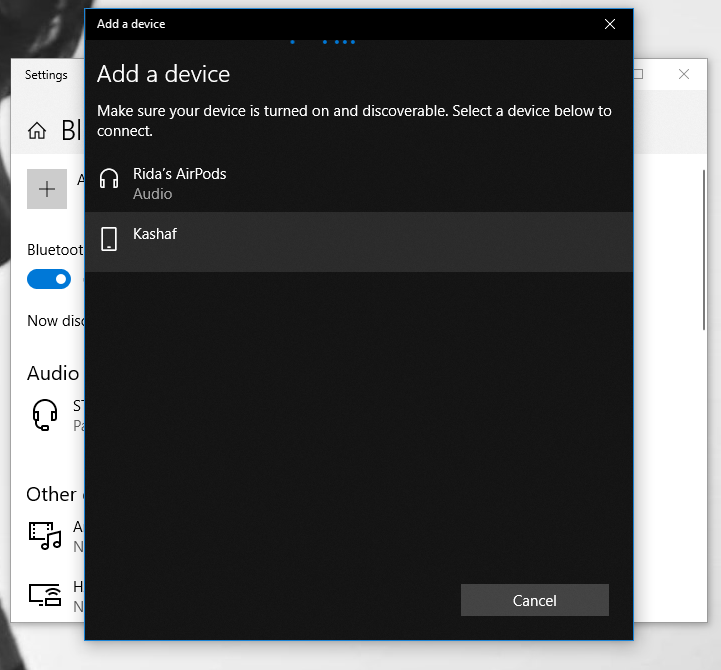
- AirPods should appear in the list of devices available for pairing. They might first appear as “Headphones,” and then change to “AirPods” after a few moments. Click on the name to move on to the next step.
- Windows will connect to the AirPods and display a success message.
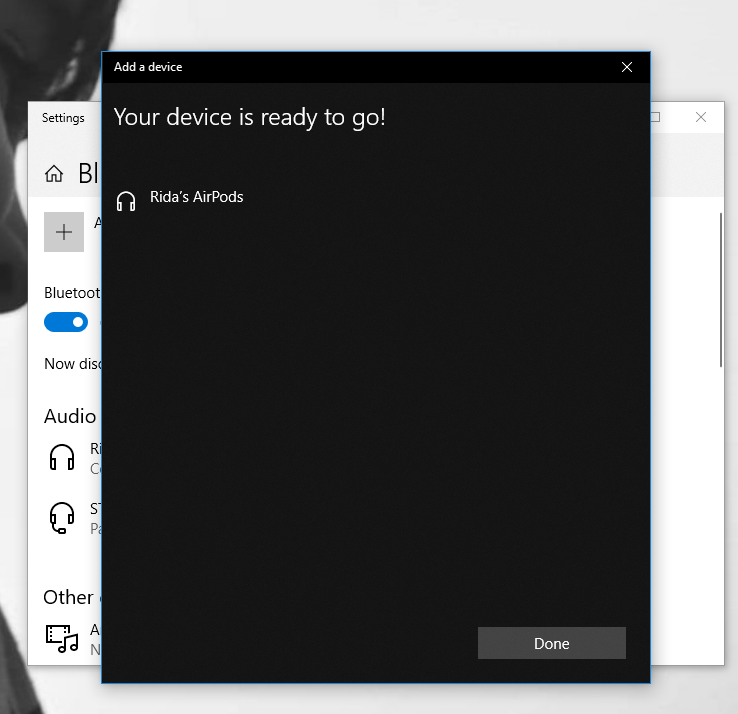
- After the Bluetooth setup is complete, you can click “Done” and close Settings, and continue working on your PC with your AirPods connected.

To disconnect your AirPods from your Windows PC, simply go to Settings > Bluetooth & other devices and click on the disconnect button under the AirPods entry. You can reconnect to your AirPods again from this screen later, without going through the pairing process again.

2 comments
Comments are closed.