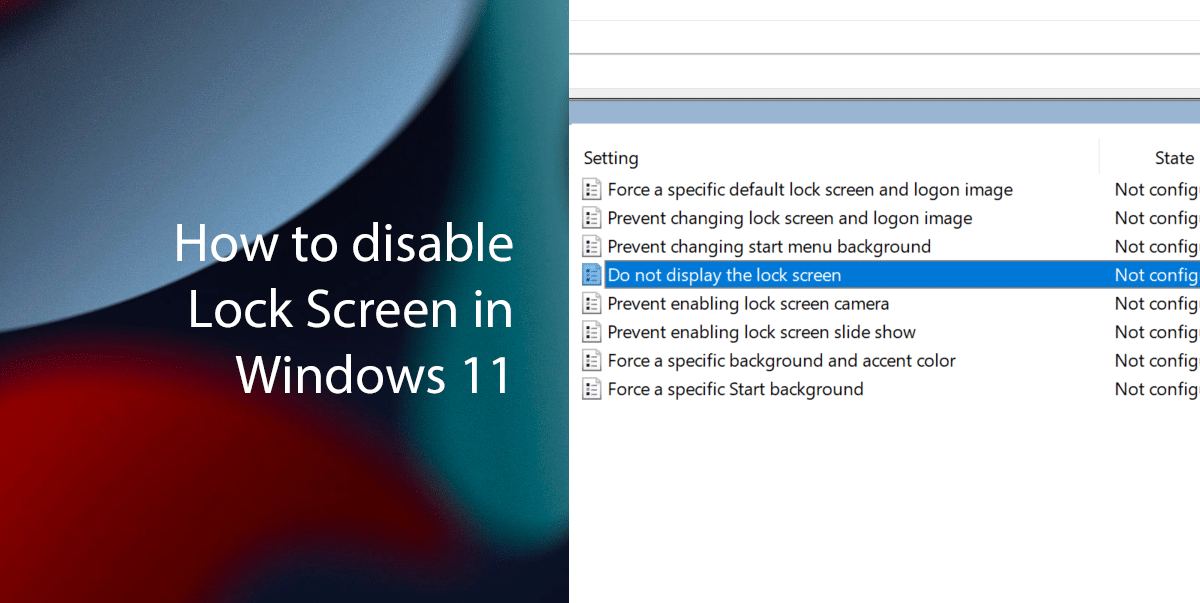
While Windows 11 does not include an option to disable the Lock Screen, users can still easily disable the Lock Screen using the Local Group Policy Editor.
The Lock Screen in Windows 11 is a screen that appears when you start your computer, log off, or manually lock the computer. It displays the date and time, the status of applications, and a background image. You can also customize the lock screen by changing the background image, adding apps, and showing notifications.
However, there are a few reasons why you might want to disable the lock screen in Windows 11:
- Performance: The lock screen can take up a few seconds to load, which can add up if you’re frequently locking and unlocking your computer. Disabling the lock screen can improve performance by a small amount.
- Personal preference: Some people simply don’t like the lock screen or find it unnecessary. If you’re one of those people, you can disable it to save space on your screen and avoid seeing images that you don’t care about.
- Security: The lock screen can be a security feature, as it requires you to enter your password or PIN to unlock your computer. However, if you’re the only person who uses your computer, or if you’re in a secure environment, you may not need the extra security. In this case, disabling the lock screen can make it a little faster to access your computer.
In this guide, we will show you how to skip the Lock Screen directly to the Sign-in screen on Windows 11.

Here is how to disable Lock Screen in Windows 11
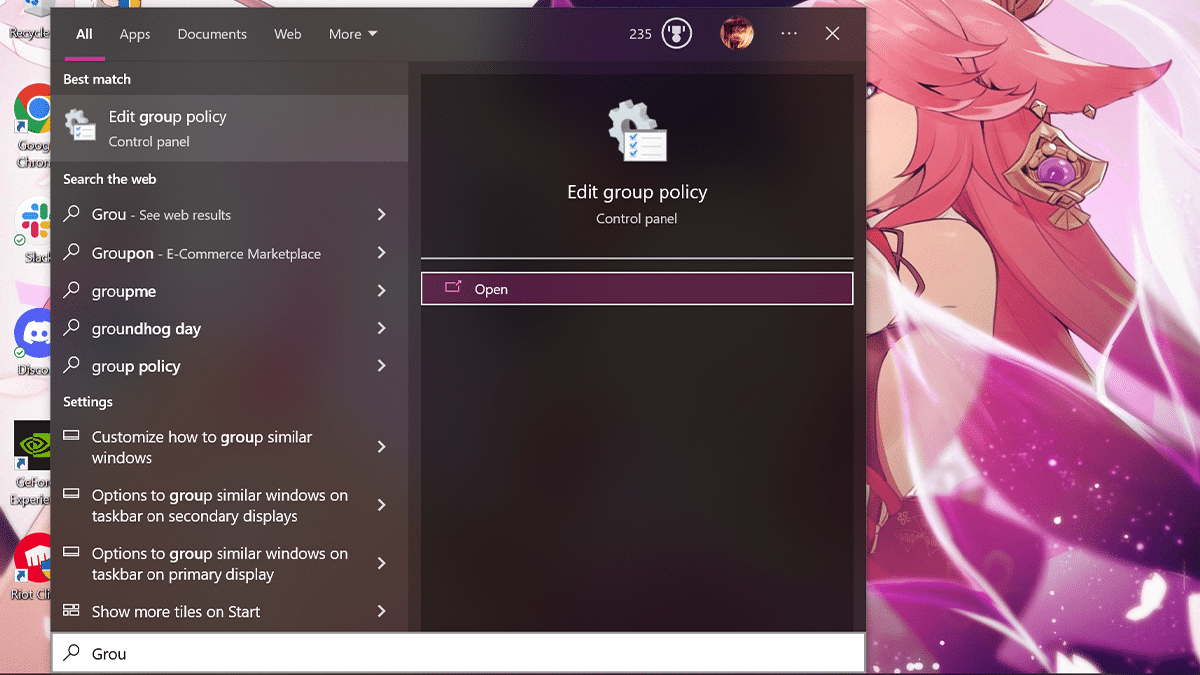
- Open Start > search for “Edit group policy” > click the Open button.

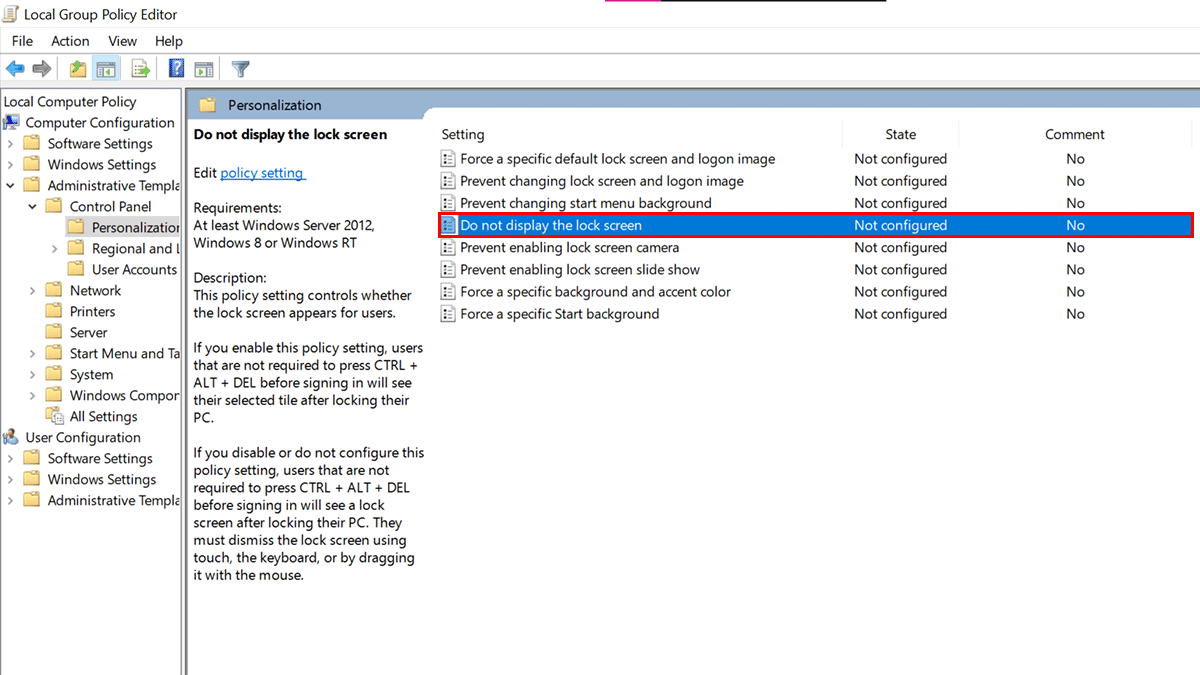
- Browse the following path: Computer Configuration > Administrative Templates > Control Panel > Personalization > double-click the “Do not display the lock screen” policy.

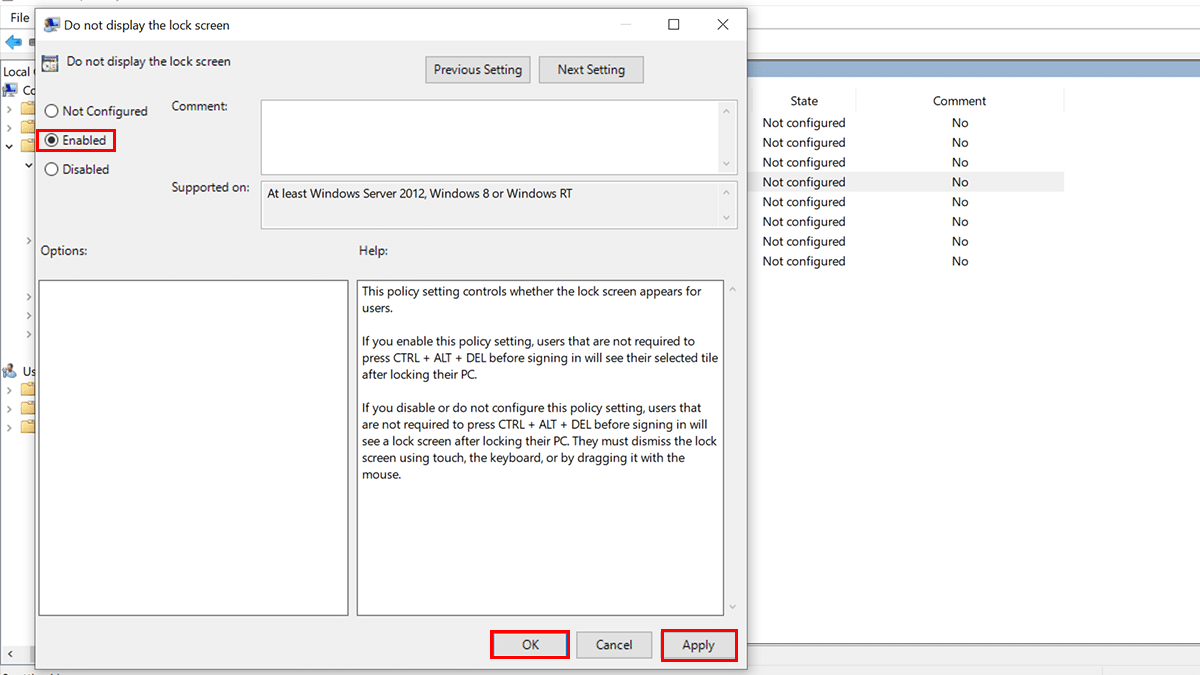
- Select the Enabled option > click the Apply button > click the OK button.

- Restart the computer.
- When done, the next time the laptop or desktop computer starts, the Sign-in screen will appear instead of the Lock Screen.
Read more:


