OS X 10.11 and iOS 9, codenamed Gala and Monarch respectively, might be using the new Apple Watch font ‘San Francisco’ as the new default system font, if the rumors are correct. The new versions of OS X and iOS are expected to be unveiled at WWDC 2015 this June but it is highly possible that Apple might change their plan at the last minute.
In case you do not own an Apple Watch yet, check out our videos to see how San Francisco looks like on Apple Watch. Or if you are feeling adventurous, you can go ahead and download and install the font on your current Yosemite OS X 10.10 installation. The instructions are simple and straight forward, but make sure you do a system back up, just in case something goes wrong.
- Download the San Francisco font zip file from here on github.
- Go to ~/Library/Fonts folder on your Mac. You can press cmd+shift+g while in Finder and copy paste this path to quickly go to the location.
- Extract the font files and copy the below files to your Mac Fonts folder

- Restart your Mac and see the new fonts in action
Here is how the font looks on desktop:

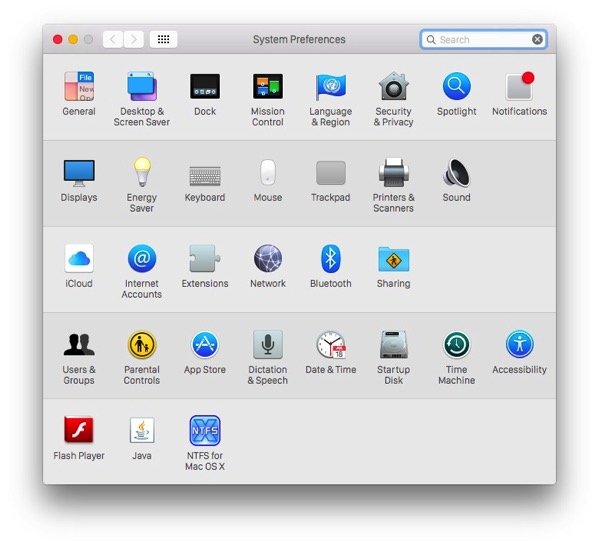
This is how System Preferences look like:

To uninstall the font, just go to the Mac fonts folder and remove the San Francisco font files and restart.
It is important to note that the font does not work perfectly through out the system. In different apps, such as Google Chrome or even in the system, you can see issues in the user account name on the top left.
However, it gives you an early look at what to expect if Apple goes through with the rumored decision of switching to the new font from the current Helvetica Neue font.