A default name is given to every AirTag by Apple. However, if you want to rename an AirTag because you chose the wrong name at setup, you can do so with a few simple steps.
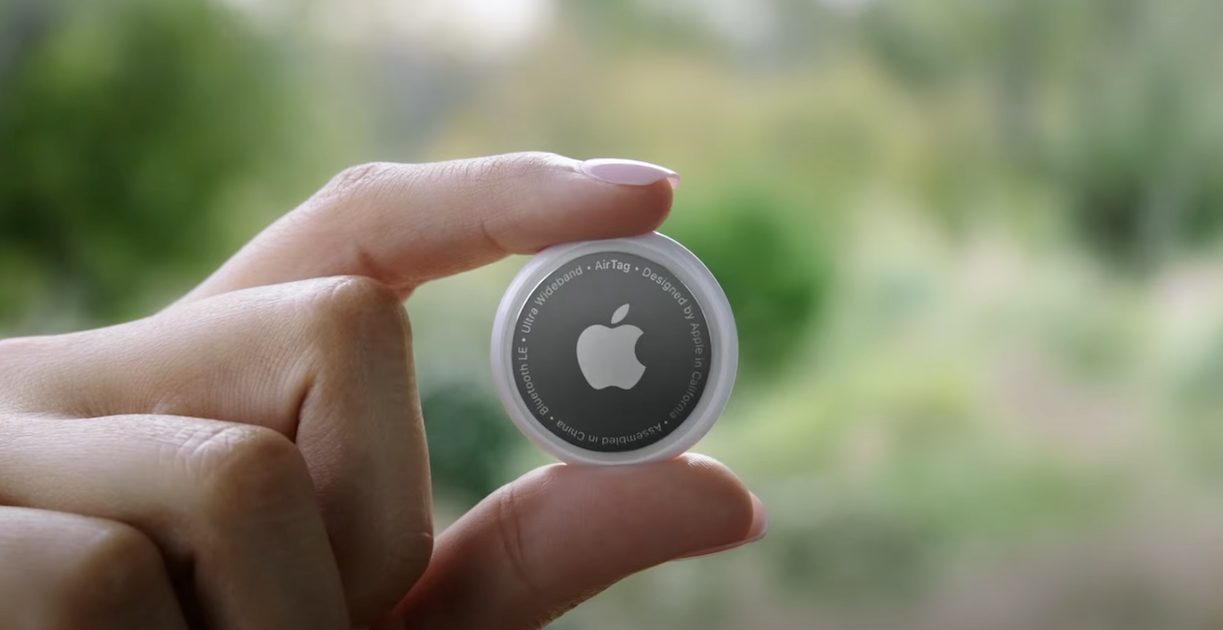
AirTag was unveiled by Apple during its virtual ‘Spring Loaded’ event. The item-tracker can easily be attached to objects or everyday items like purses, school bags, and keys to quickly locate them. The product works with the recently announced Find My network to anonymously share location across Apple’s network of iOS devices.

Learn how to rename an AirTag
Here’s how to rename an AirTag in a few simple steps.
- Open Find My app on your iPhone, iPad, or Mac.
- Go to Items.
- Find your AirTag and select it.
- Open the information panel about the device by swiping.
- Tap Rename Item.

This process will take you back to the setup screen where you can pick a name from Apple’s given suggestions. If you wish to set your own unique name for the AirTag, then follow these steps.
- Follow the abovementioned steps to access the startup screen. Then, scroll down to the bottom of Apple’s suggested names.
- Select Custom Name.
- From here, you can use an emoji for a name or you can dismiss it and bring up a keyboard to type in your unique name.
- Once you have selected a name, tap Done.
Now you have successfully renamed an AirTag. Note that it may take some time before the new name is updated on other iCloud devices. We hope this guide helped you learn how to rename an AirTag. If you have any questions, let us know in the comments below.
Read More:
- How to turn off Find My network on iPhone
- How to delete a specific site from Chrome’s browsing history
- How to enable Lost Mode for AirTag
- How to use Precision Finding to locate an AirTag
- How to set a music streaming service as default with Siri on iOS 14.5
- How to report traffic incidents with Apple Maps on iPhone
- How to use iOS 14.5’s app tracking transparency to block apps from tracking you
1 comment
Comments are closed.