While rooting Nexus S isn’t that difficult via ADB, it isn’t the easiest thing to do either for the average joe. Luckily, PaulObrien, an Android developer/hacker has created a simple one click SuperBoot which is probably the easiest method to root your Nexus S on Android 2.3.3. It automatically flashes your Nexus S with the boot.img file which roots Android 2.3.3 as well as install SU and SuperUser.

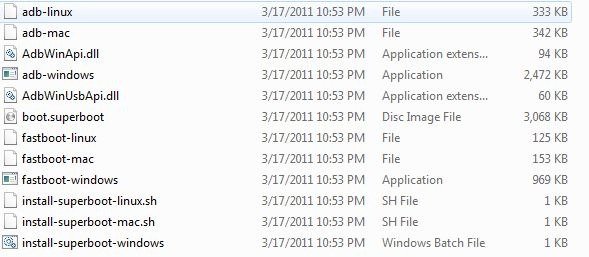
You don’t have to anything at all except execute the file by double-clicking. (Make sure your Nexus S bootloader is unlocked by following the guide here first) Just download the appropriate superboot zip file for you Nexus S model and extract it.
Now reboot your Nexus S and put it in bootloader mode. This is done by holding the power and volume up buttons together. One it’s done, connect it to your computer and double-click ‘install-superboot-windows’.

For Mac users, the method is a bit more complicated as you have to use the terminal. Open it and navigate to the directory where you extracted SuperBoot and type in the following commands:
chmod +x install-superboot-mac.sh
./install-superboot-mac.sh
For Linux users, you need to type in the following commands after navigating to the SuperBoot directory:
chmod +x install-superboot-linux.sh
./install-superboot-linux.sh
That’s it. Enjoy your rooted Nexus S!
Subscribe to our RSS Feed and keep following us on Twitter, Facebook, and YouTube for all the latest news, updates and more.
2 comments
Comments are closed.