Microsoft added new widgets to Windows 11 for monitoring CPU, GPU, RAM, and Network utilization, and we will show you how to set it up.
In Windows 11, there are multiple ways to monitor your system resources, including Task Manager, Resource Monitor, or Game Bar, or opt for one of the multiple third-party apps. There are many benefits to monitoring system resources, including:
- Early detection of problems. By monitoring system resources, you can identify potential problems early on, before they cause a system outage or other major disruption. This can save you time and money in the long run, as you can take corrective action before the problem has a chance to escalate.
- Improved performance. By monitoring system resources, you can identify areas where performance can be improved. This can be done by identifying and eliminating bottlenecks, optimizing resource usage, and making changes to configuration settings.
- Increased security. By monitoring system resources, you can identify potential security threats, such as unauthorized access or malicious activity. This can help you to prevent security breaches and protect your data.
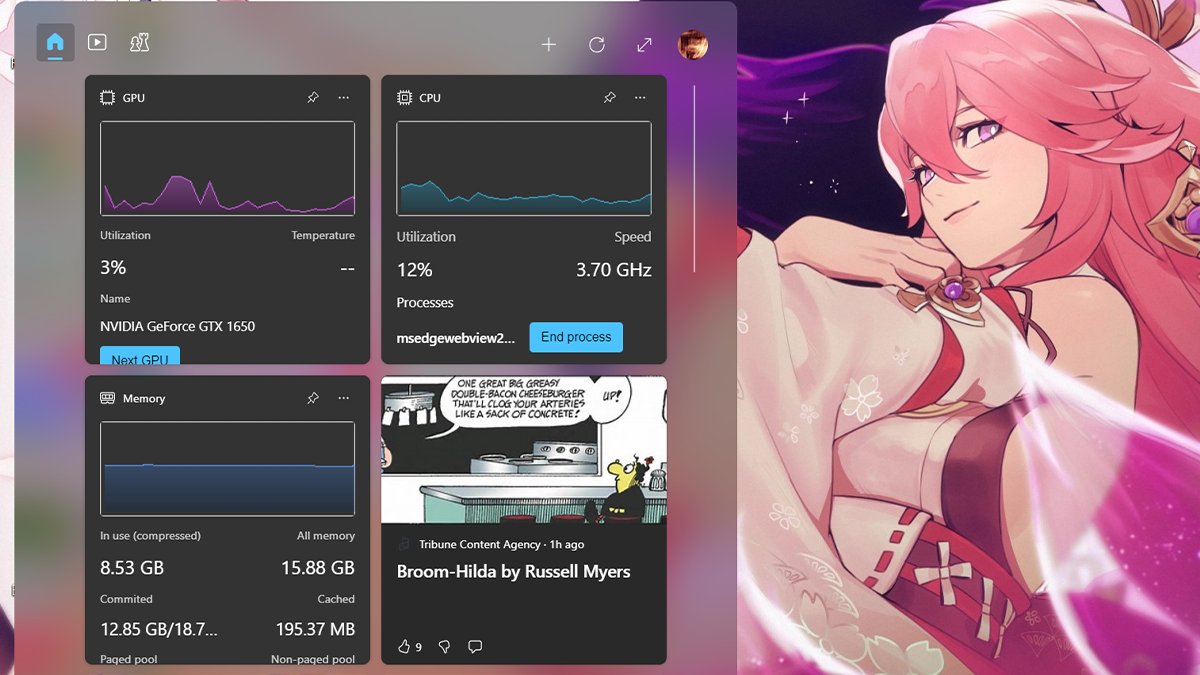
Now, Windows 11 has received a batch of new widgets that will let you keep an eye on CPU, GPU, RAM, and network utilization. Moreover, there are a few neat additions, such as the ability to end the most taxing processes, monitor GPU temperature, toggle between graphics cards and network adapters, and more.
In this guide, we will show you how to set up widgets for monitoring CPU, GPU, RAM, and more.
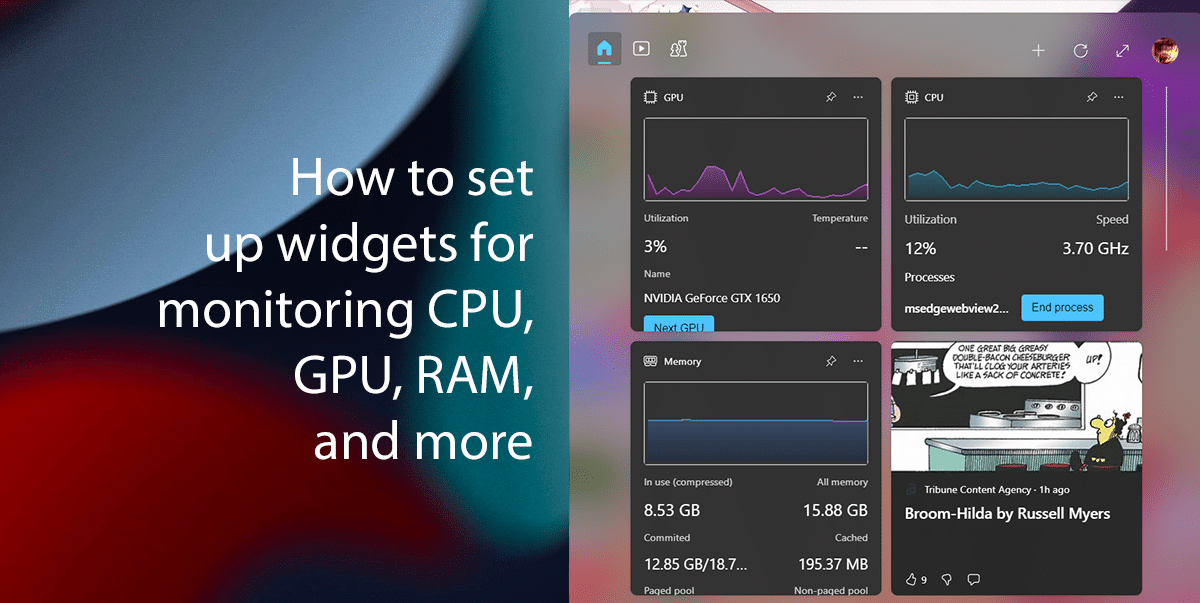
Here is how to set up widgets for monitoring CPU, GPU, RAM, and more in Windows 11
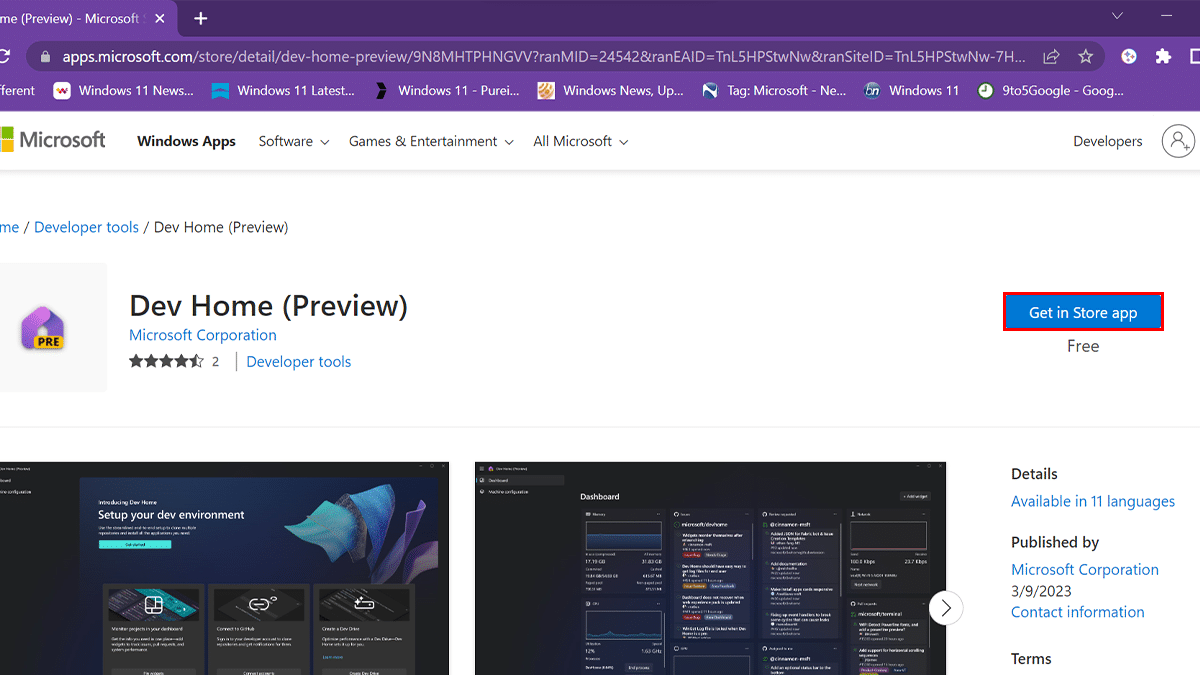
- Open Microsoft Store and download the Dev Home Preview app.
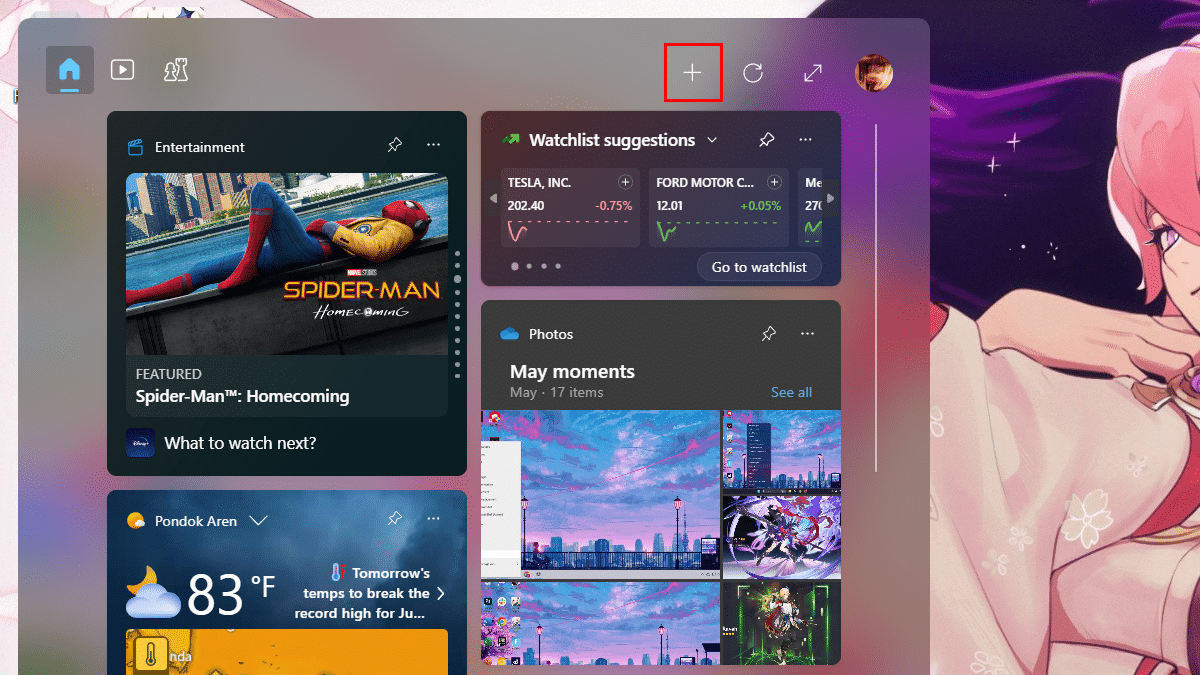
- Press Win + W key to open Windows Widgets > click Add (plus) icon.
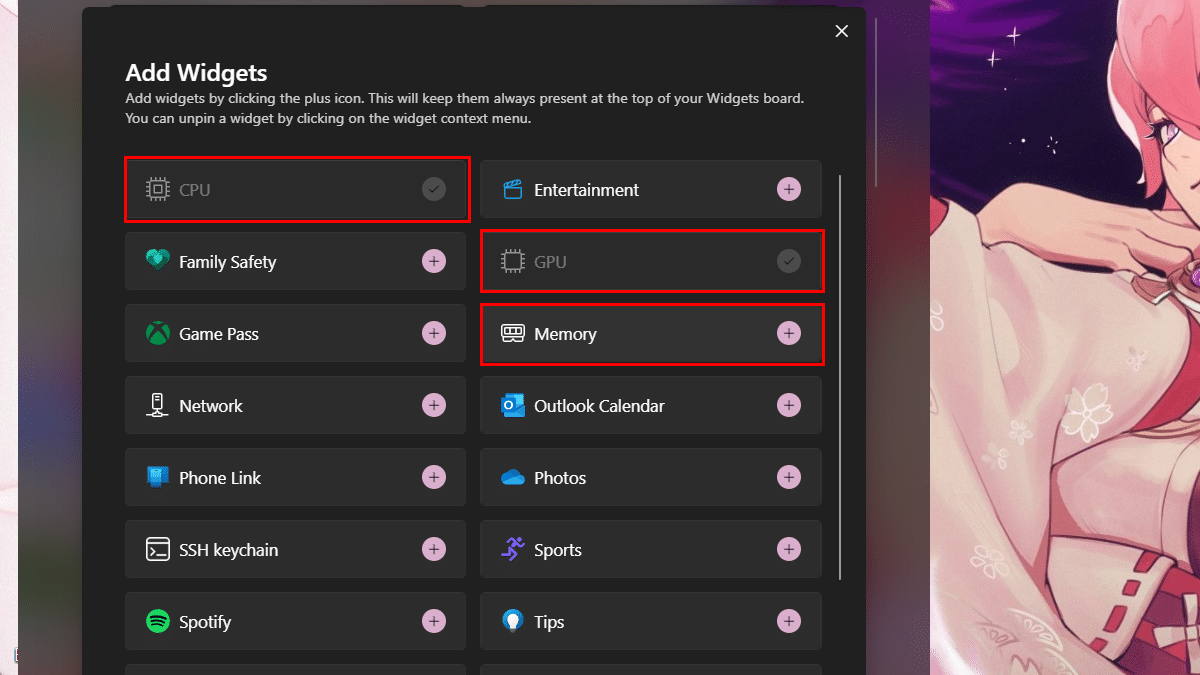
- The current Dev Home release offers the following widgets: CPU, GPU, RAM, network, SSH keychain, and various other tools.
- When done, you can monitor your system’s performance by pressing Win + W key or clicking the widget button on the bottom left side of the taskbar.
Read more: