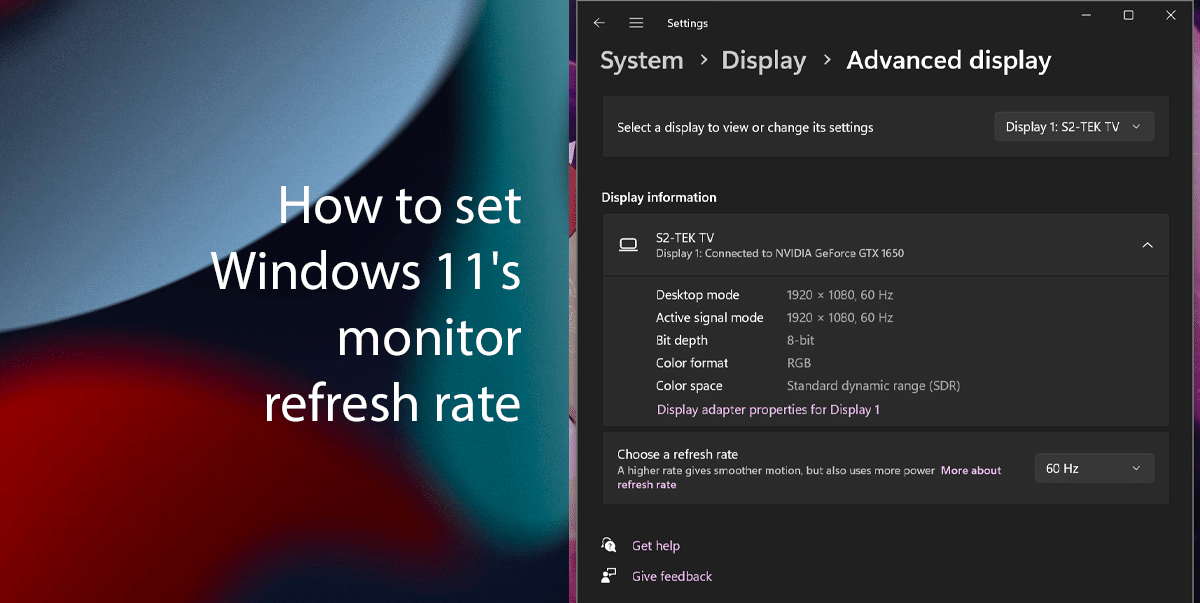
The monitor refresh rate in Windows 11 is the number of times per second the image on your screen is updated. It is measured in hertz (Hz). A higher refresh rate will result in smoother motion on your screen, especially in fast-paced games or videos.
Usually, Windows 11 automatically sets the optimal refresh rate for the monitor, but sometimes you may still need to change its setting manually especially if you have a gaming monitor that supports higher refresh rate settings like 120Hz, 144Hz, 240Hz, and higher.
Here are some of the reasons why you might want to change your monitor refresh rate in Windows 11.
- Smoother motion: A higher refresh rate will result in smoother motion on your screen, especially in fast-paced games or videos. This is because the image on your screen will be updated more often, which will make it appear smoother.
- Reduced screen tearing: Screen tearing is a visual artifact that can occur when your monitor’s refresh rate is not synchronized with the frame rate of the content you are viewing. This can cause the image on your screen to appear to tear or stutter. A higher refresh rate can help reduce screen tearing by ensuring that your monitor’s refresh rate is synchronized with the frame rate of the content you view.
- Improved gaming performance: A higher refresh rate can also improve gaming performance. This is because a higher refresh rate will allow your graphics card to output more frames per second, which can lead to a smoother and more responsive gaming experience.
In this guide, we will show you how to change the refresh rate in Windows 11.

Here is how to easily set Windows 11’s monitor refresh rate
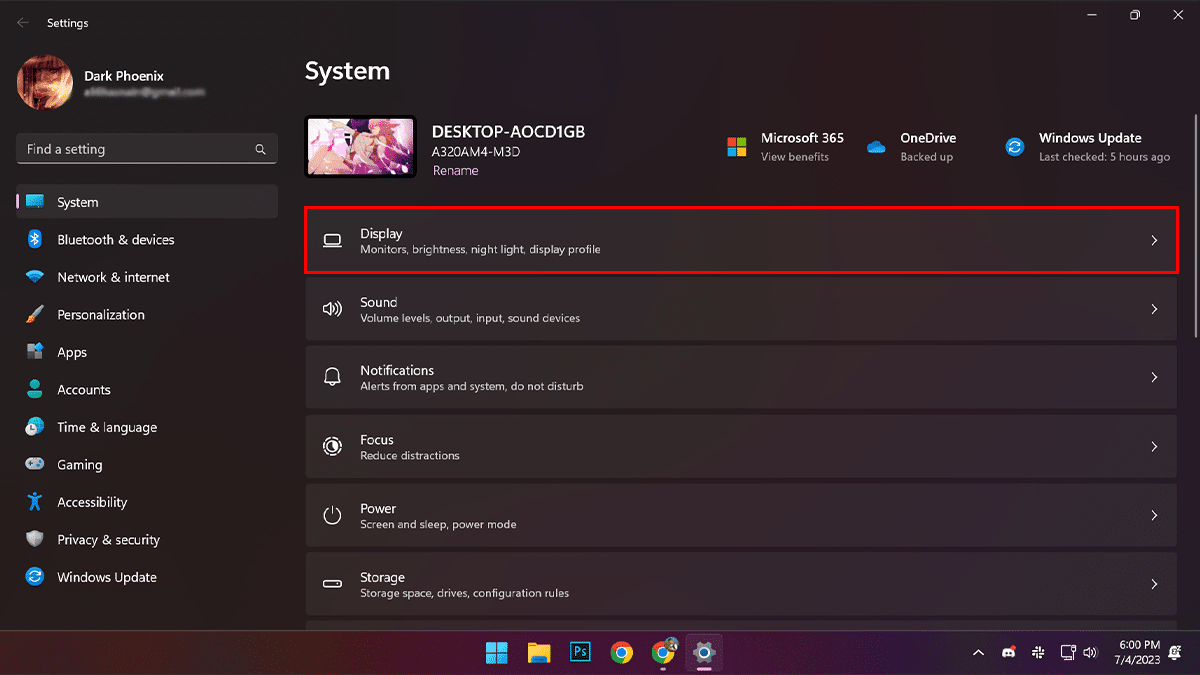
- Open the Settings app.
- Click on System and click on Display.

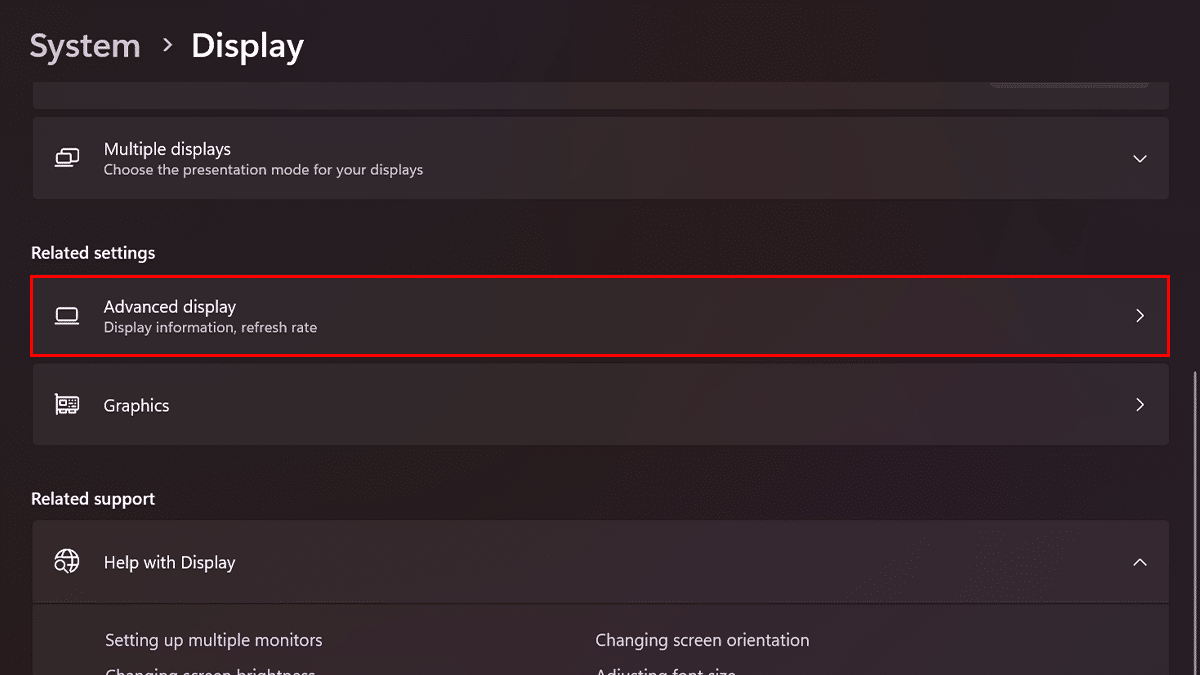
- Scroll down and click on Advanced Display.

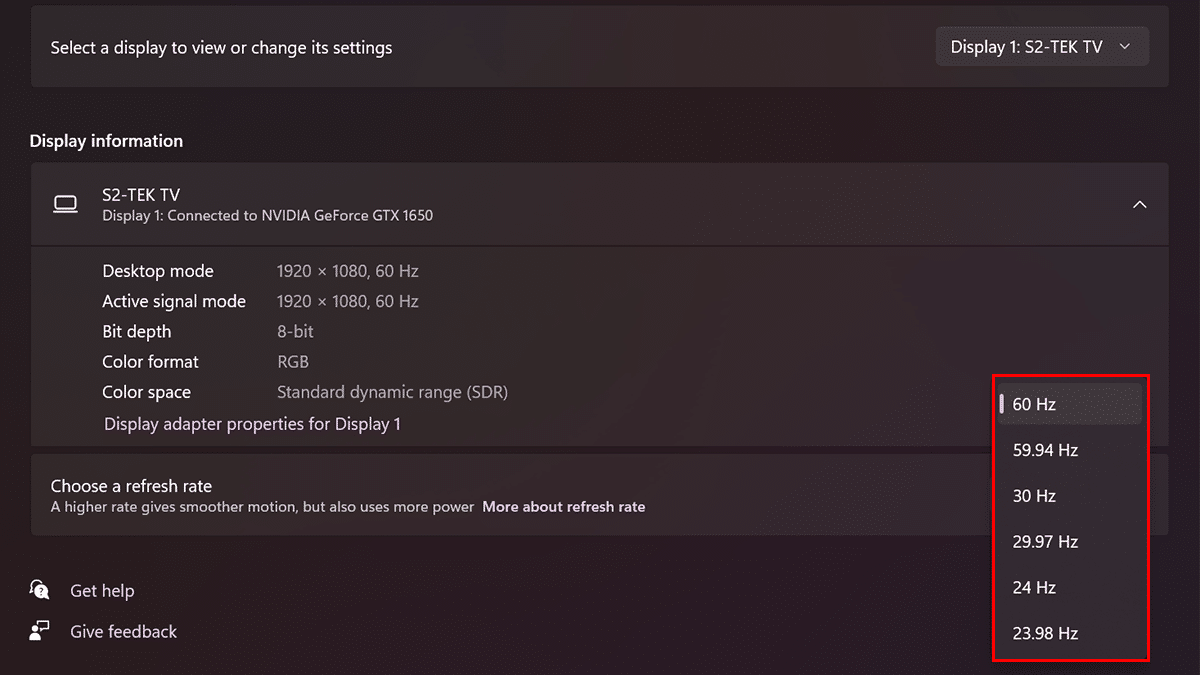
- Under the “Display information” section, change the refresh rate with the “Choose a refresh rate” setting.

- Click on Apply.
- When done, you should notice that the motion on your screen is smoother.
Read more: