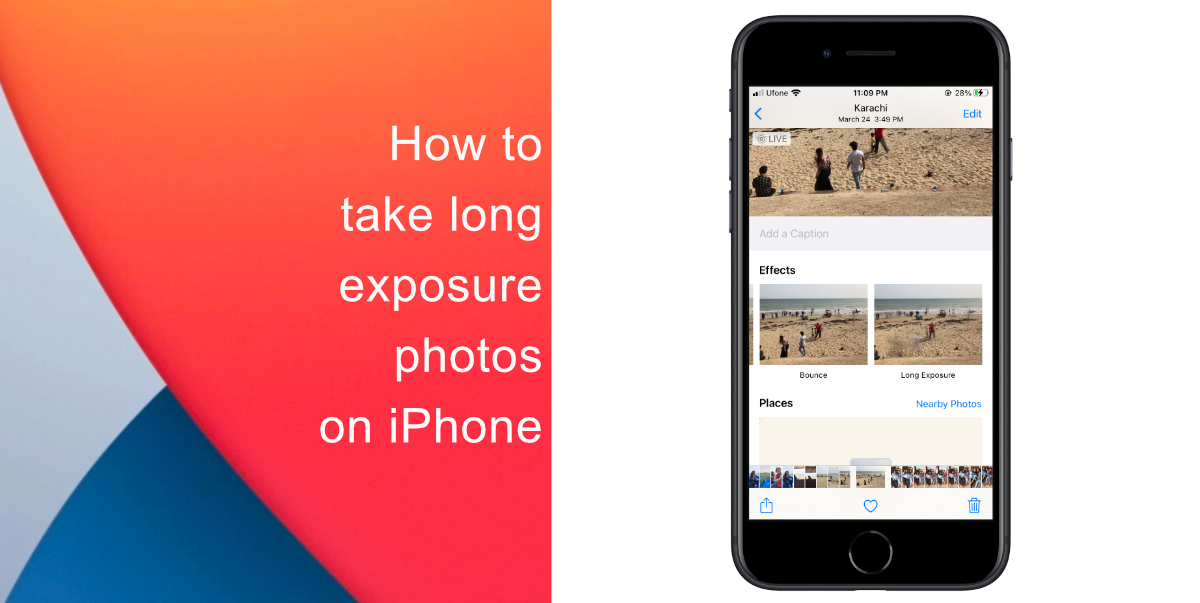
Long exposure photography involves capturing a photo over a longer period of time than normal, this is done by using a slower shutter speed. Since there is no way to adjust the shutter speed in the native Camera app, your iPhone camera is not the most optimal device you can use for long exposure photos. However, you can still achieve similar results from Live Photos to create long exposure shots.

Learn how to take long exposure photos on iPhone
Here’s how to take long exposure photos on iPhone. Before you start, make sure Live Photos is turned on. For the long exposure part of the shot, you will need a moving subject and a sturdy surface to set your device on. If you hold your iPhone in your hand, you might mess up the image due to camera shake.
- Take a photo where there is plenty of movement. Make sure you take multiple shots of the scene you want to capture.
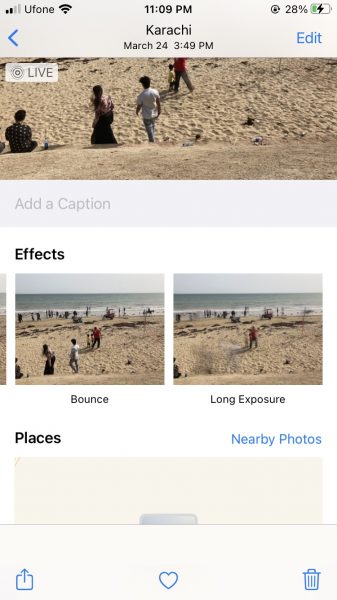
- Open the Photos app > tap on that image.
- Swipe up to reveal options with different preview shots.
- Swipe all the way left to the Long Exposure effect. Tap on it to create your long exposure photo.

We hope this guide helped you learn how to take long exposure photos on iPhone. If you have any questions, let us know in the comments below.
Read more:
- How to set a music streaming service as default with Siri on iOS 14.5
- How to change iPhone alarm to your favorite song
- How to download apps larger than 200MB over cellular data on iPhone
- How to set reminders for Apple Music tracks and albums on iOS 14.5
- How to use iOS 14.5’s app tracking transparency to block apps from tracking you
- How to free iCloud storage by deleting old backups
- Found an unknown AirTag moving with you? Here is how to disable it
- How to share iPhone screenshots without saving them to Photos
- How to unlock iPhone with Apple Watch while wearing a face mask
- How to launch actions by tapping on the back of your iPhone