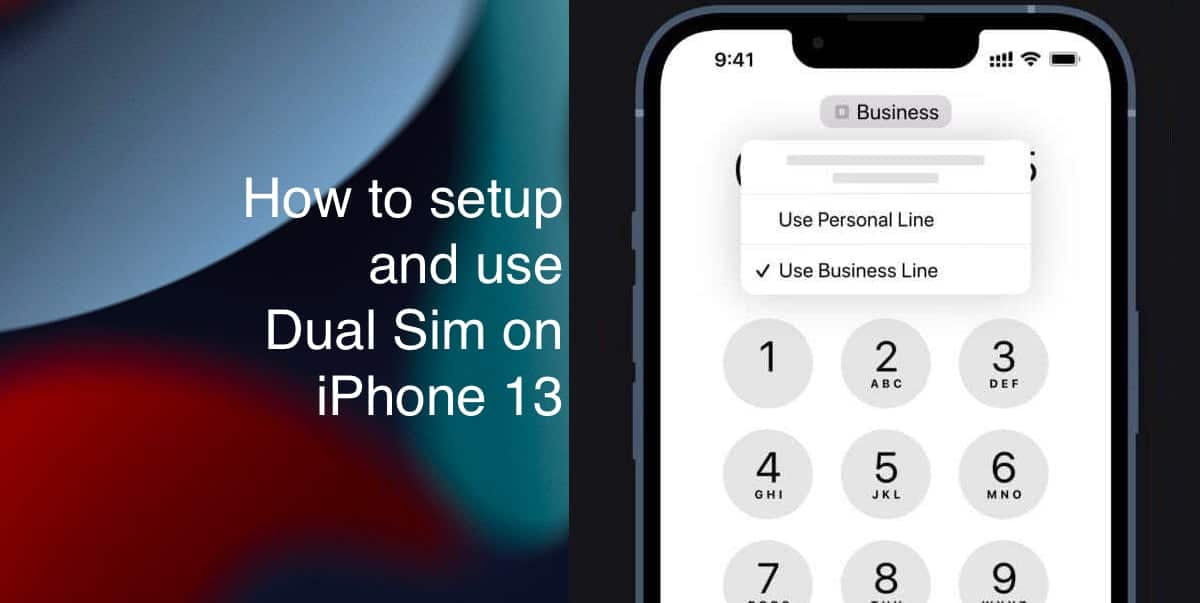
Apple offers support for Dual SIM on iPhone 13 series. Users can add either one nano-SIM and one eSIM or two active eSIMs in their iPhone 13 models, exclusively. Older models like iPhone 12 series, iPhone 11 series, iPhone XS, iPhone XS Max, and iPhone XR support Dual SIM with a nano-SIM and an eSIM, not two active eSIMs.
Having two SIMs active on a single device, simultaneously, removes the need to carry two separate phones with two active numbers and it is very useful, especially for business owners, professionals who want to keep the separate numbers for personal and client contacts, and travelers who will not be required to pay hefty roaming charges. Here is a comprehensive guide on how you can add and use Dual SIM on iPhone 13 models.

Here is how to easily use Dual SIM on iPhone 13
Support for Dual SIM on iPhone 13 models allows users to add and use two lines on a single iPhone to make and receive calls, send or receive messages, FaceTime, and more on both numbers. Users must purchase a plan from a wireless carrier that supports eSIMs. To know more about the requisites of Dual SIM on iPhone 13 click here.
Once you have an active one eSIM or two eSIMs on iPhone 13, you will receive a QR code or notification to guide you through the setup process.
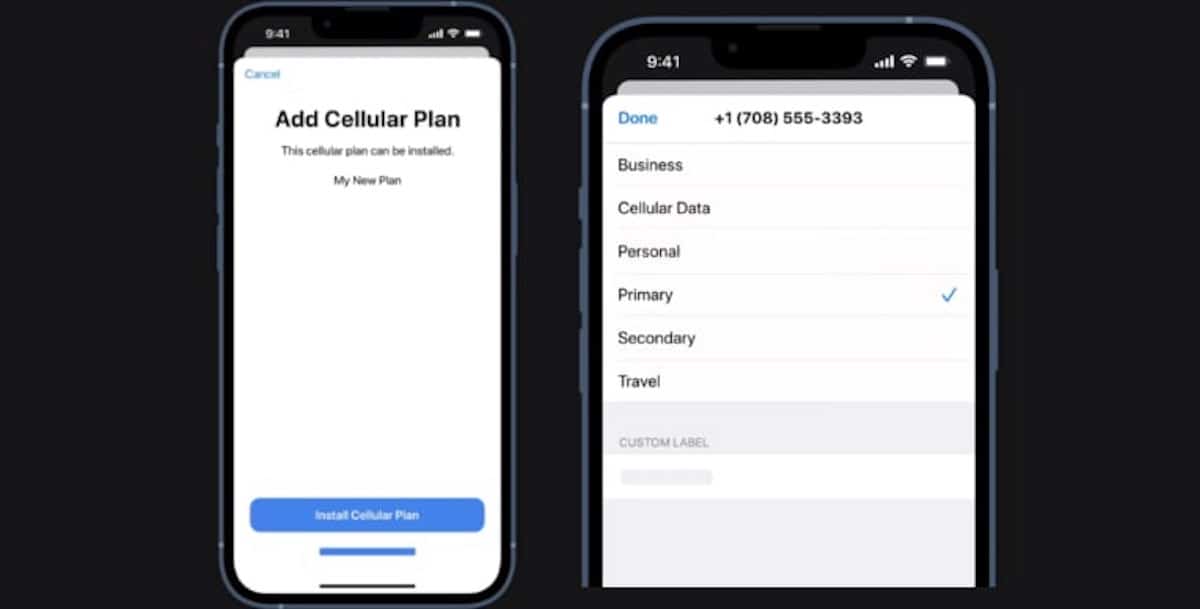
- Tap on the Install Cellular Plan at the bottom of the screen.
- Next, in the “Cellular Plan Labels” section select which line will be primary and secondary. You can also select a more precise label like business, personal, travel, or cellular data or create a custom label for both lines.

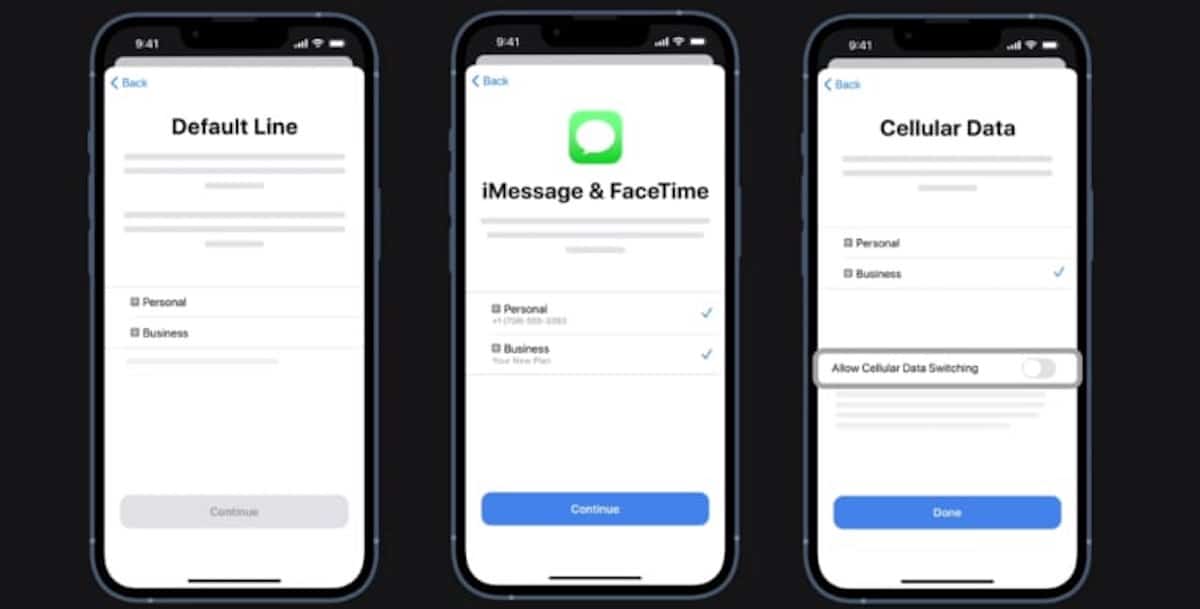
- After setting labels for both lines, tap on “Continue” to select the preferred line for the following configurations:
- Default line to make calls and send SMS messages.
- iMessage and FaceTime calls. *You can also select both lines for this setting.
- Cellular data. *You can also enable “Allow cellular data switching”.

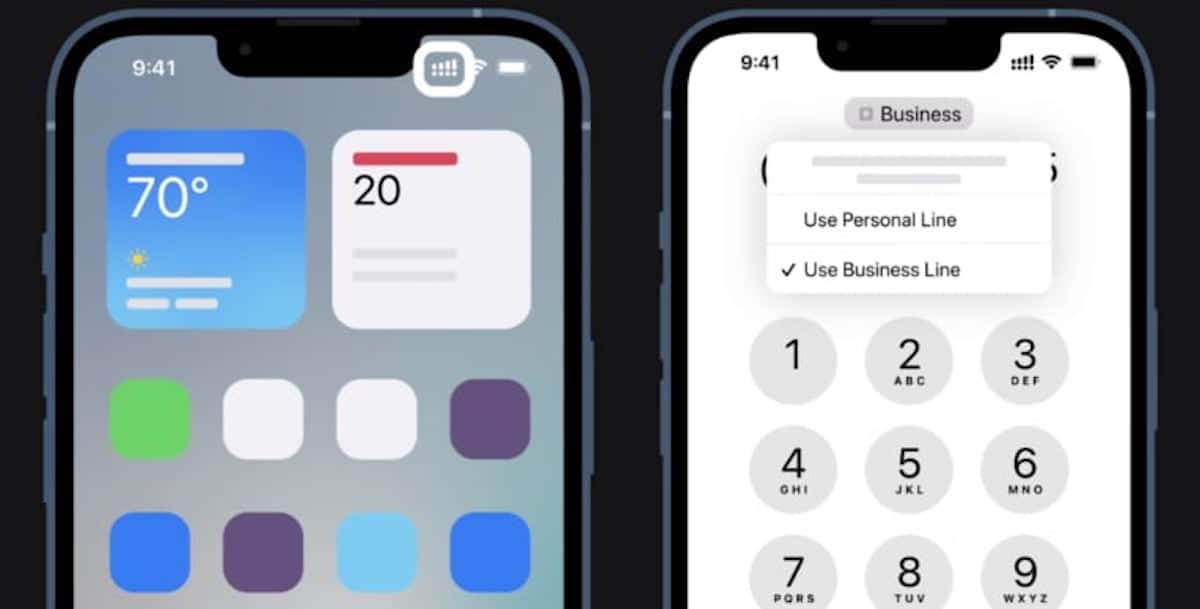
After completing the setup process, it is very easy to use Dual SIM on iPhone 13. You can check the signals of both the SIMs on the top bar next to the Wi-Fi signals. And to make phone calls, you can either assign a line to contact or quickly switch between the two by tapping on the grey bar on the top of the dial interface.

Read More:
- How to use and customize control center in macOS
- How to open apps using Rosetta on a Mac with M1 chip
- How to scale apps to fit below notch on MacBook Pro 14-inch and 16-inch models
- How to force restart the iPhone SE 3
- How to reboot the Apple Studio Display
- How to install iOS 15.6 beta on iPhone
- How to install watchOS 8.7 beta on Apple Watch