Apple’s standard keyboard is one of the iPhone and iPad’s most praised features. It is has a simple design that gets the job done in multiple languages and emojis. However, there are some users who prefer using a more robust keyboard with additional features.
Installing and using a third-party keyboard is an easy process. There are several third-party keyboards available on the App Store like Microsoft Swiftkey, Gboard by Google, Grammarly, Flesky, and dozens more. Users will need to select the one they like best and follow our steps thoroughly.
Install and use third-party keyboards on iPhone and iPad
Here is how to install and use third-party keyboards on iPhone and iPad:
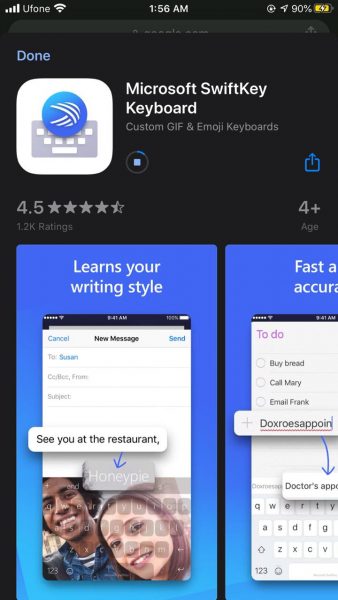
- Install the app from the App Store. I have chosen to install and use Microsoft’s Swiftkey keyboard as a demonstration.
- Once the app is installed, navigate to the Settings app.
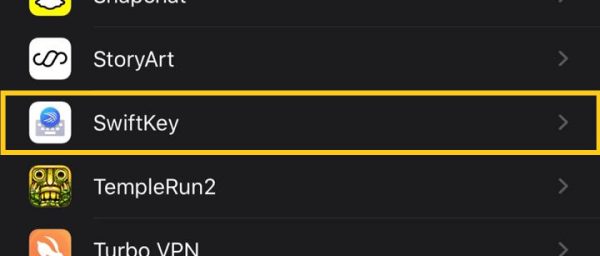
- Scroll to ‘Swiftkey” (or any other chosen keyboard)
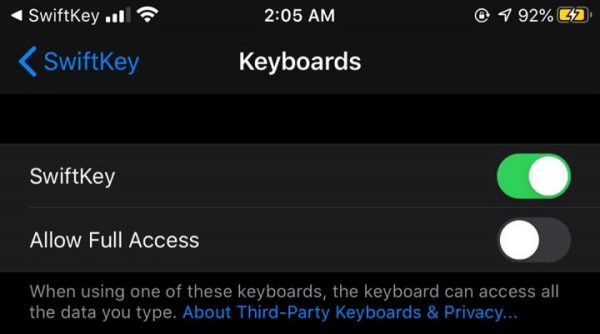
- Go to Keyboards > Turn on Swiftkey and allow full access.
- Open the notes app to switch to your third-party keyboard.
- Click on the Globe icon on your Keyboard. This will bring up a list of all the installed keyboards on the iPhone/iPad,
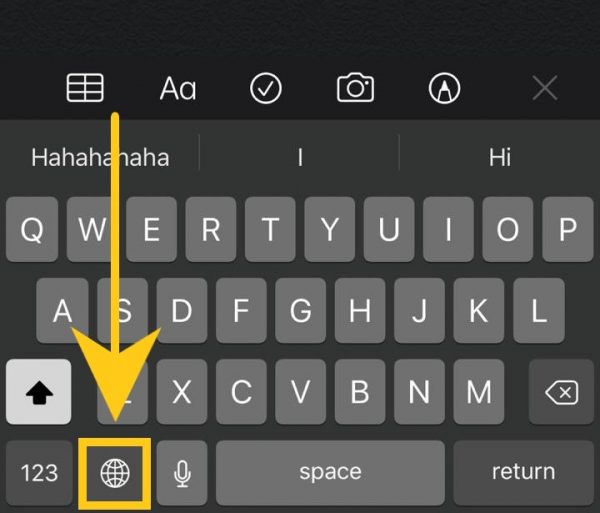
- Switch to Swiftkey or any other app of your choice.
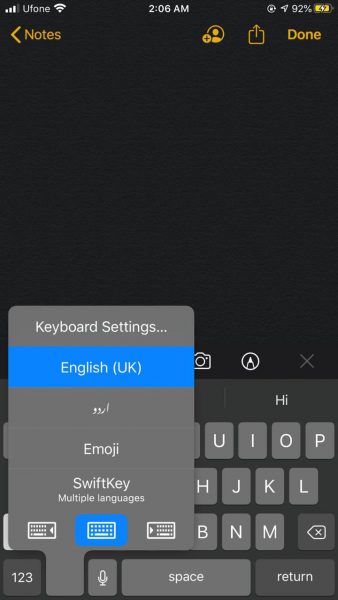
- The keyboard will be available for use with all of its features.
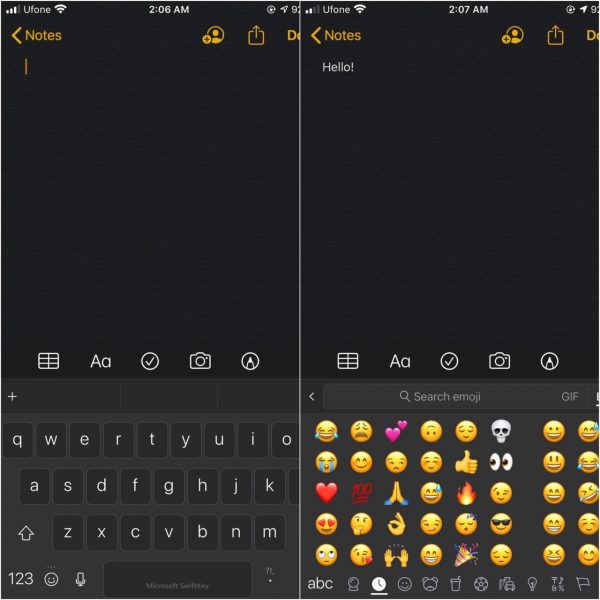
- Users can always switch back by following the same steps.
Users can choose from hundreds of available third-party keyboards. It is a matter of personal preference as users may vary between GIF keyboards or keyboards with simple UIs and great color combinations. Furthermore, It is crucial that access is allowed only to trusted developers, as the creator can access every character typed using the keyboard. We recommend that you install keyboards from secure developers like Google or Microsoft, or if possible – stick to Apple.
Apple is also working on third-party app support as a substitute for many of its native apps like Safari, Music, and more. The update will roll out this fall with the upcoming iOS 14.
