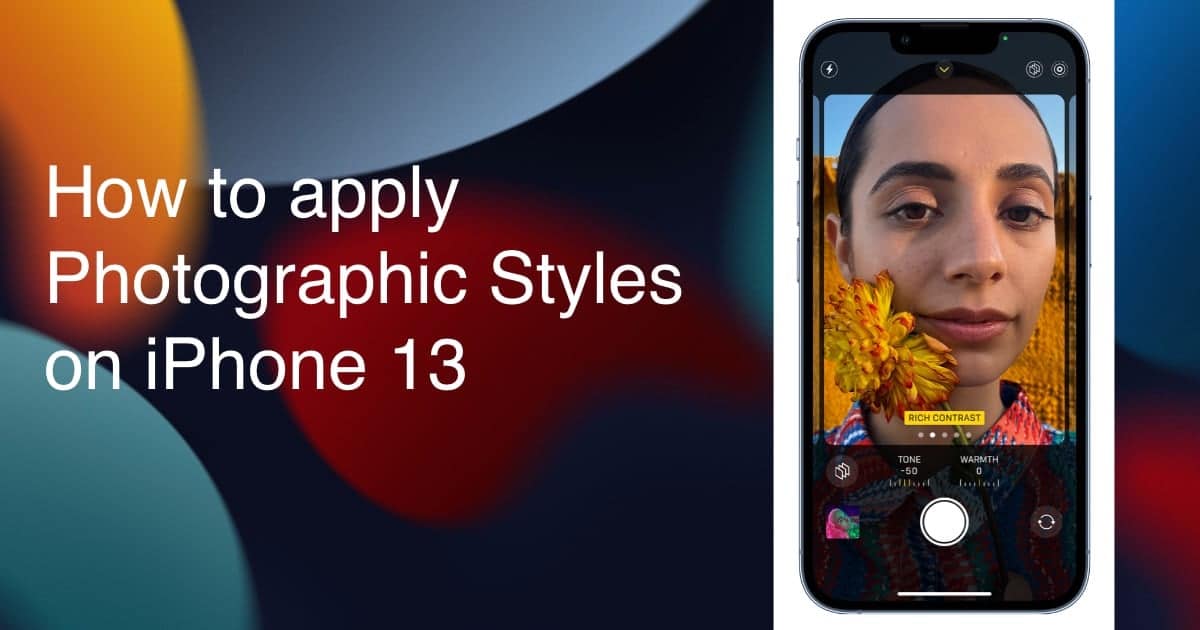
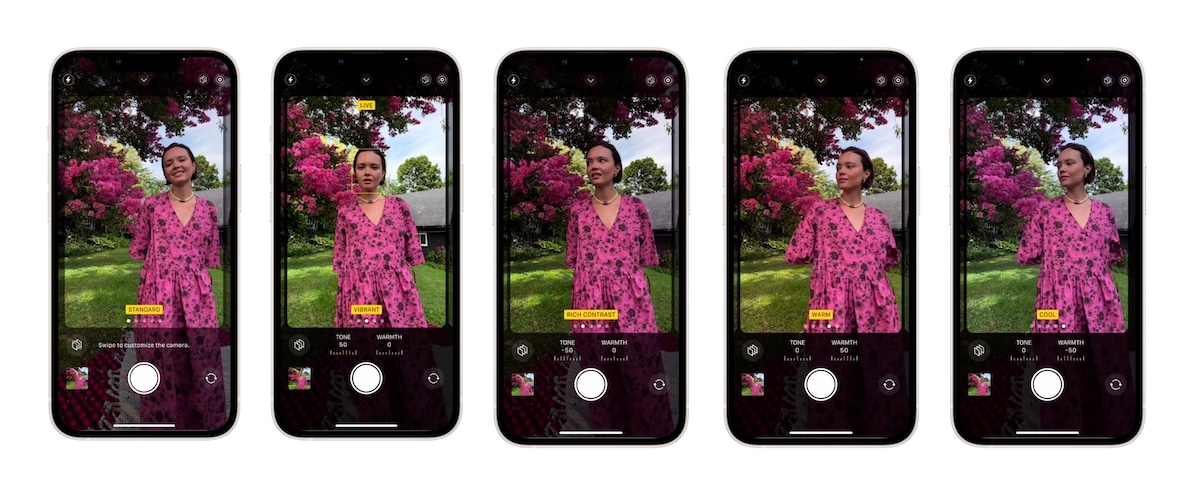
Apple has introduced new “Photographic Styles” filter-like settings on iPhone 13 series so users capture personalized photos and selfies by adjusting their contrast, tone, and other elements in the surrounding without compromising the skin tone. The feature offers a Vibrant setting to make pictures look bright and sharp, a Rich Contrast setting to accentuate the darker shadows and deeper colors in the surroundings, a Warm setting to focus on golden and Cool settings to focus on blue undertones. Users can also further fine-tune an image’s Warmth and Tone of each Style.
iPhone 13 takes away the hassle of making adjustments every time when taking pictures by saving the preferred style settings to automatically and quickly capture pictures with the desired Warmth and Tone settings. Here is how you can apply and adjust Photographic Styles on your iPhone 13.

Here is how to apply and adjust Photographic Styles on iPhone 13
Photographic Styles is available across iPhone 13 series for users to make stylistic adjustments to their selfies and pictures. It must be kept in mind that the Camera is automatically set to Standard, so you will have to take the following steps to capture pictures in the Photographic Style that suits your mood and preference.
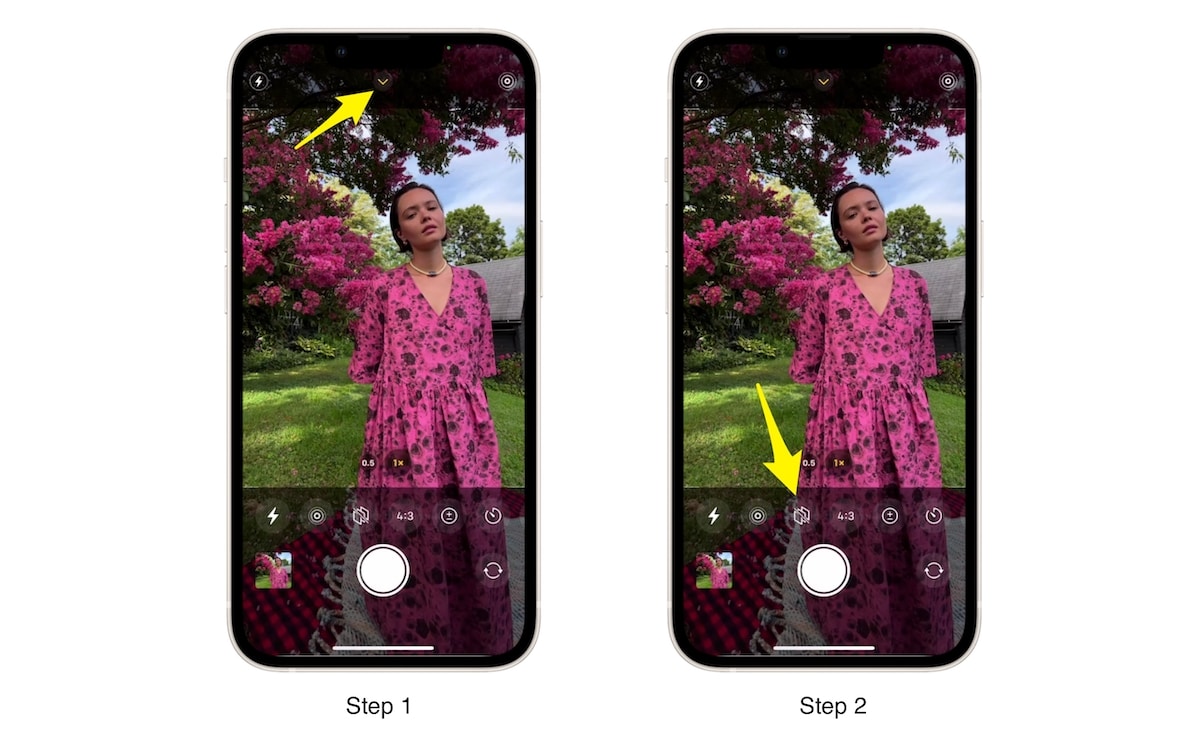
- Open the Camera app, and in the Photo mode, tap on the ‘V’ arrow on top of the screen.
- Then tap on the four slides icon in the menu on the bottom of the UI to access Photographic Styles.

- Swipe through to preview the settings of the five different styles (Standard, Vibrant, Rich Contrast, Warm, and Cool).
- To further fine-tune, tap on the Tone and Warmth control at the bottom of each style and simply drag the slider left to right to set the preferred value. If you wish to start over, tap on the circular arrow icon.

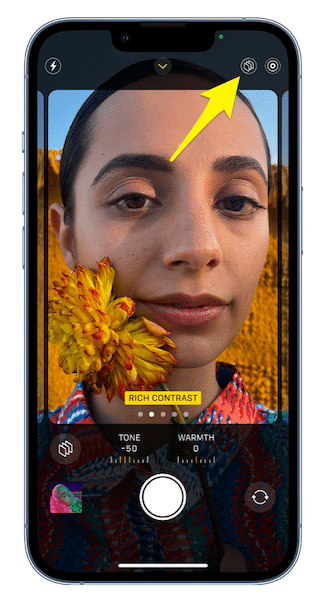
- When you are satisfied with the settings, tap on the three slides icon to apply the Photographic Style.

Once a Style is set, Photo Mode will automatically apply it every time you will take a photo. But to change or adjust that Style, tap on the three slides icon on top of the camera UI.
Read More:
- How to record ProRes video on iPhone 13 Pro and iPhone 13 Pro Max
- How to easily use the App Switcher for Split View on iPadOS 15
- How to clear cookies from Safari without deleting your browsing history on iPhone & iPad
- How to add any Apple Music song to Photos Memories
- Here is how to start Apple Fitness+ new “Group workouts with SharePlay” on iPhone or iPad


