The new Windows Backup app in Windows 11 is still under development, but it is already a significant improvement over the previous backup and restore tools. It is designed to be more user-friendly and comprehensive, and it makes it easier to back up your data to the cloud.
Some of the key features of the new Windows Backup app:
- Cloud backup: The new Windows Backup app allows you to back up your data to OneDrive, which is a cloud storage service that is included with Windows 11. This makes it easy to access your backups from anywhere and on any device.
- App backup: The new Windows Backup app can back up your Microsoft Store apps so that you can easily restore them if you ever need to.
- Settings backup: The new Windows Backup app can back up your Windows settings so that you can easily restore them if you ever need to reset your PC.
- Scheduled backups: The new Windows Backup app allows you to schedule your backups to run on a regular basis, so that you never have to worry about forgetting to back up your data.
- Easy restore: The new Windows Backup app makes it easy to restore your data from a backup, whether you want to restore your entire system or just specific files and folders.
Here are some tips for using Windows Backup:
- Create a backup schedule and stick to it: It is important to back up your data regularly so that you do not lose too much data if something goes wrong.
- Store your backups in a safe place: Do not store your backups on the same drive as your computer. Instead, store them on an external hard drive, network drive, or cloud storage service.
- Test your backups regularly: It is important to test your backups to make sure that they are working and that you can restore your data from them.
The new Windows Backup app is a significant improvement over the previous backup and restore tools. It is more user-friendly, and comprehensive, and makes it easier to back up your data to the cloud.
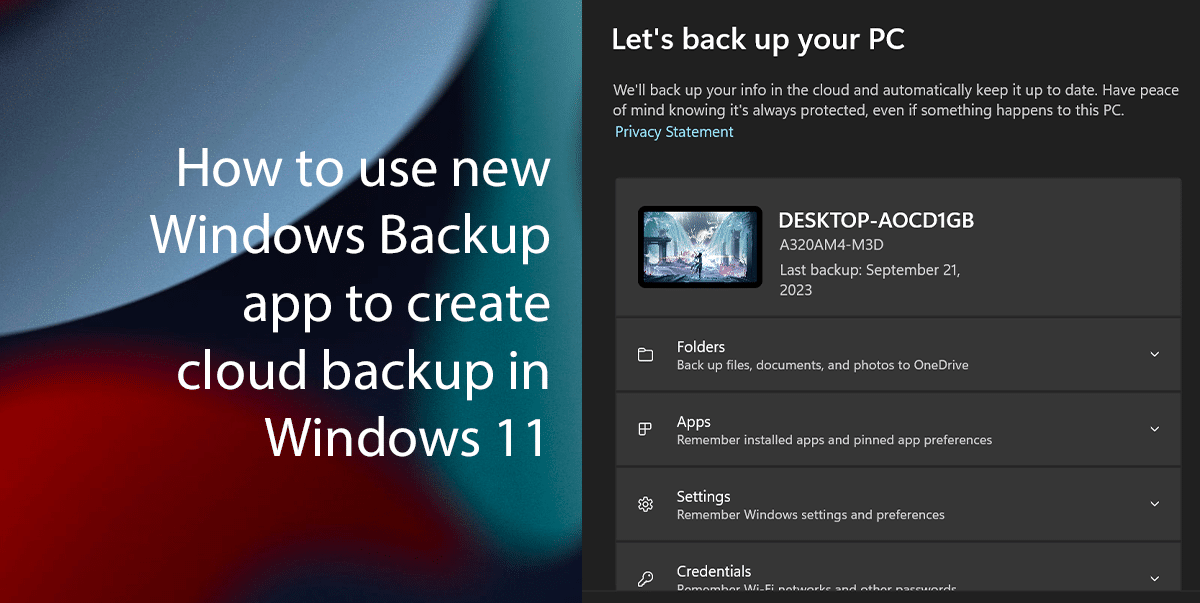
In this guide, we will show you how to use the new Windows Backup app to create cloud backup in Windows 11.

Here is how to use Windows Backup to create cloud backup in Windows 11
To create a cloud backup with Windows Backup in Windows 11, follow these steps:
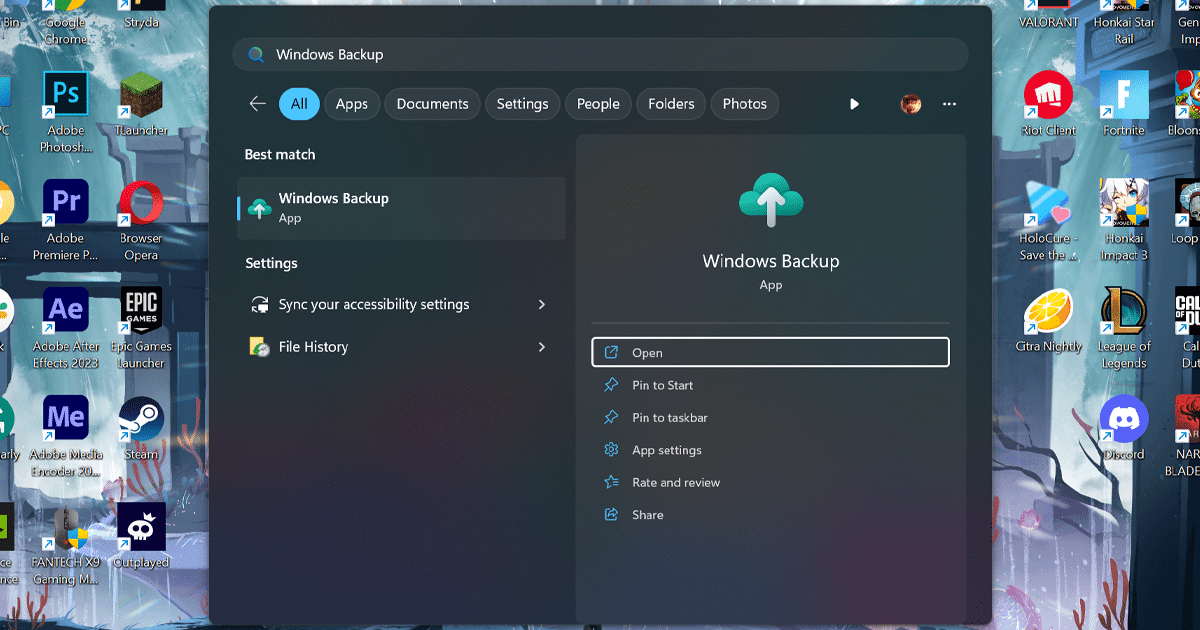
- Open the Start menu, search for “Windows Backup“, and click on Open button.

- Click on the “Folders” button.
- Turn on the toggle switch next to the folders that you want to back up to the cloud.
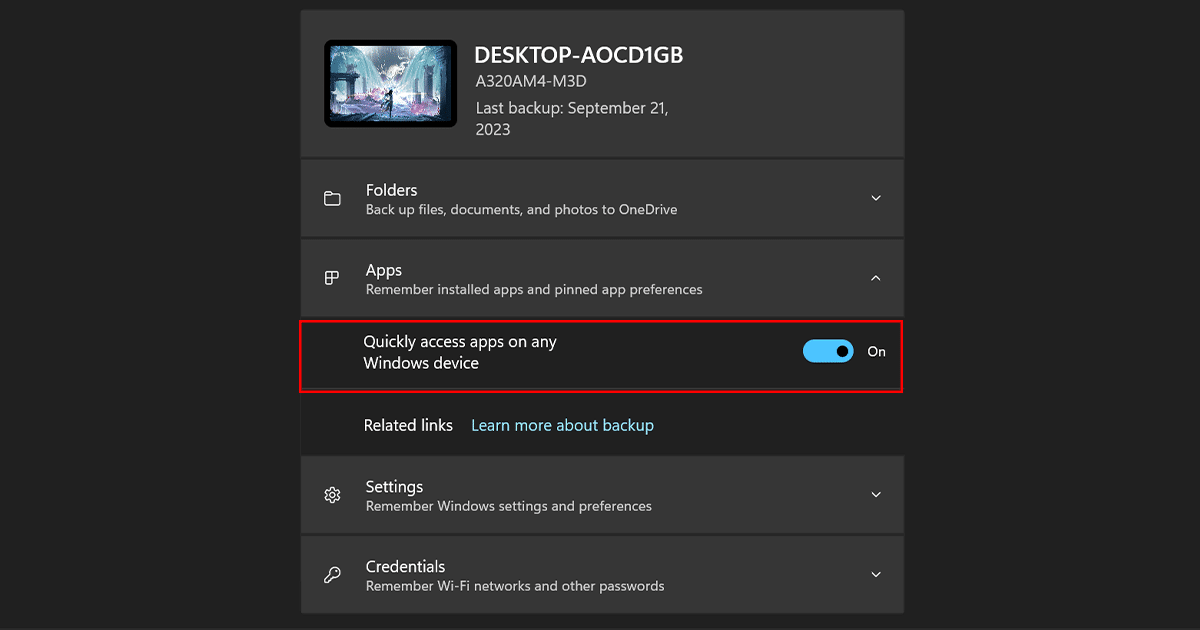
- Click on the “Apps” button.
- Turn on the toggle switch next to the “Quick access apps on any Windows device” option to back up your Microsoft Store apps to the cloud.

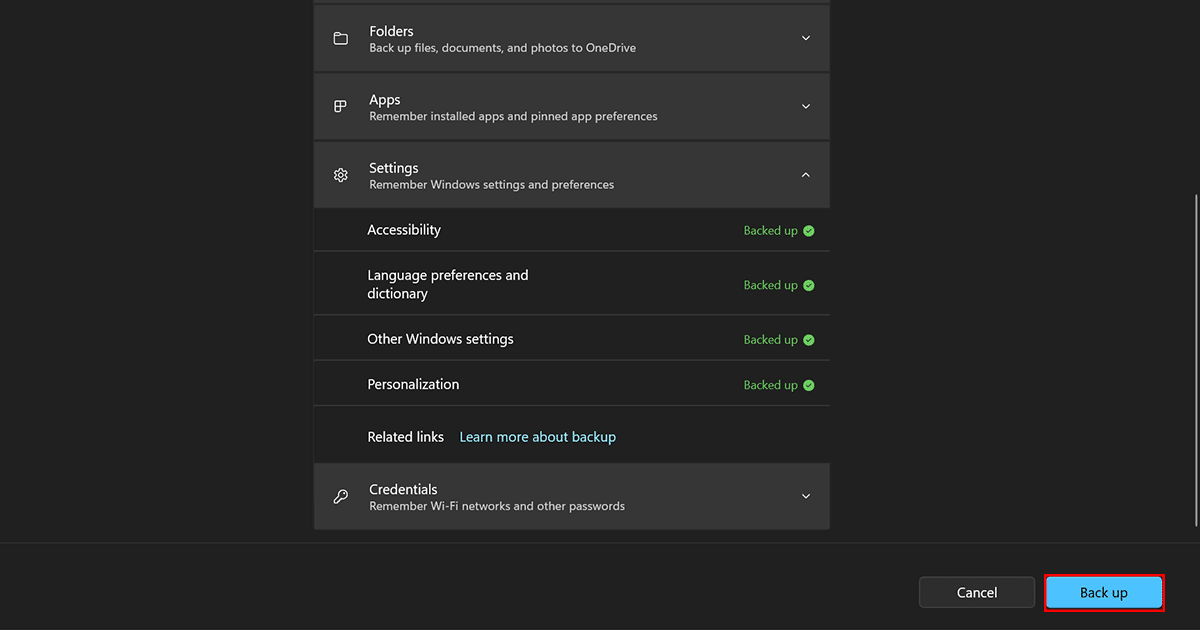
- Click on the “Settings” button.
- Turn on the toggle switch next to the “Remember my preferences” option to back up your Windows settings to the cloud.
- Click on the “Back up” button.

- Windows Backup will start backing up your selected folders, apps, and settings to the cloud. You can check the status of your backup by clicking on the “Progress” tab.
Read more: