Users may notice that sometimes the audio plays at different levels for videos or music on their devices in Windows 11. Users may also have experienced commercials playing louder than the stream they are watching.
If you are dealing with different sound levels in videos or any other type of content with audio, you can quickly normalize volume in Windows 11 to have a consistent sound volume level across applications and web browsers.
The “Normalize volume” option in Windows 11 helps to ensure that all audio played through your computer’s speakers or headphones is at a consistent volume level. This can be helpful for preventing sudden changes in volume, which can be jarring or even painful for some people.
In this guide, we will show how to normalize volume in Windows 11.
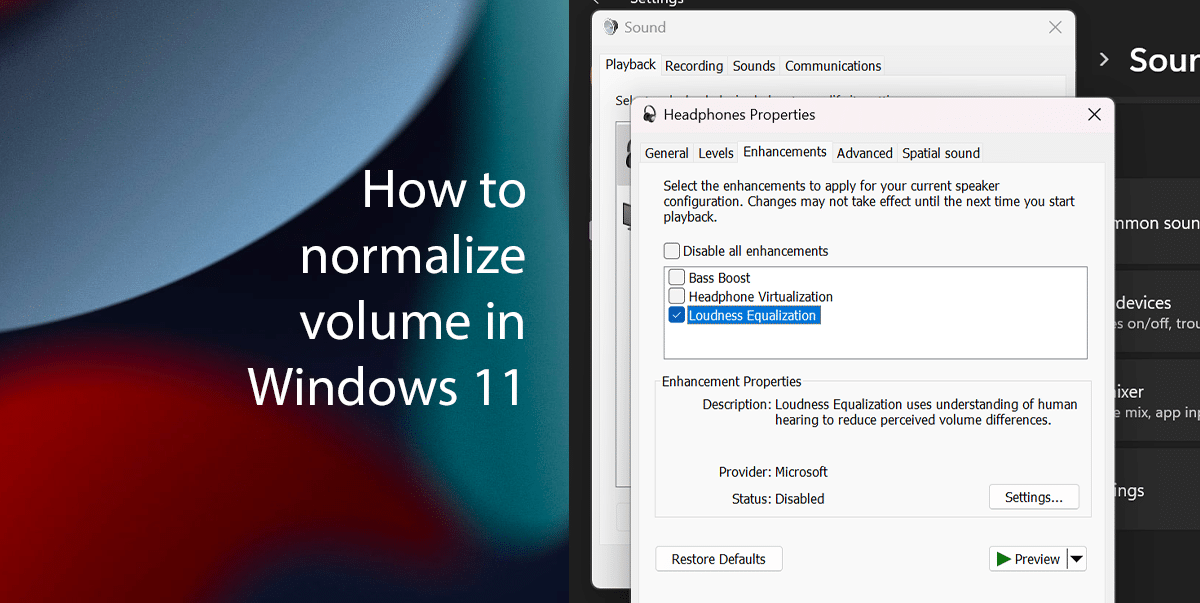
Here is how to normalize volume in Windows 11
Note that most media applications include some “loudness equalization” or “volume normalization” feature. However, Windows 11, features an option that allows normalizing the audio for the entire system.
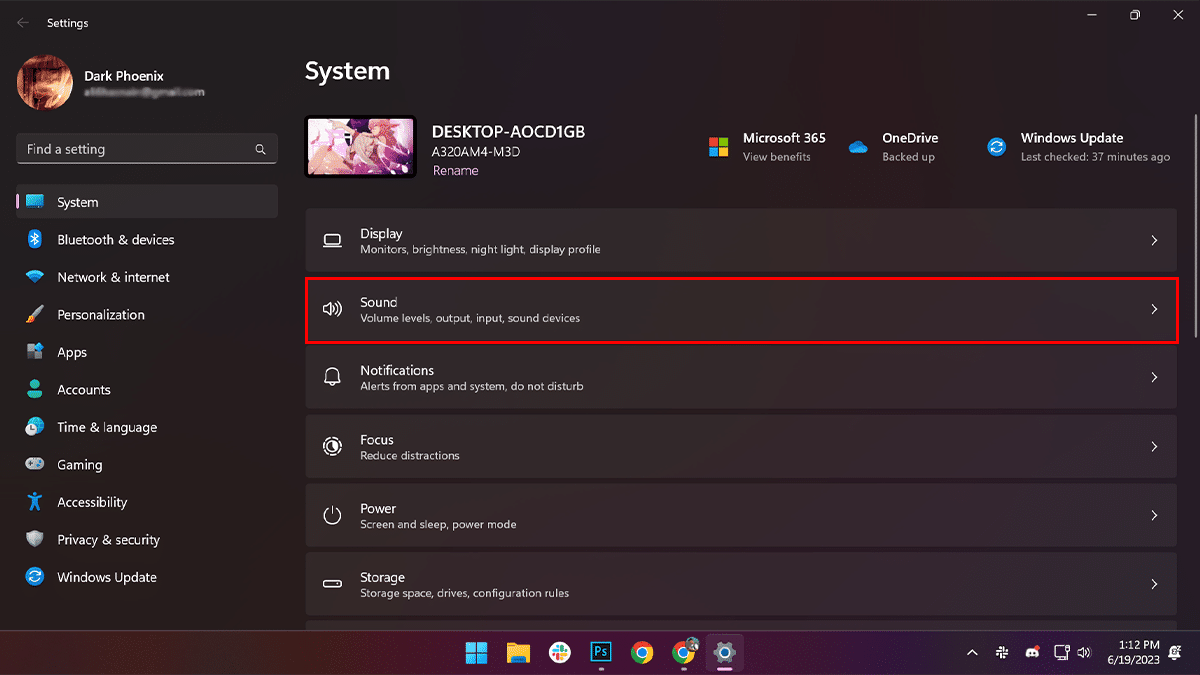
- Open Settings > click on System > click on Sound.
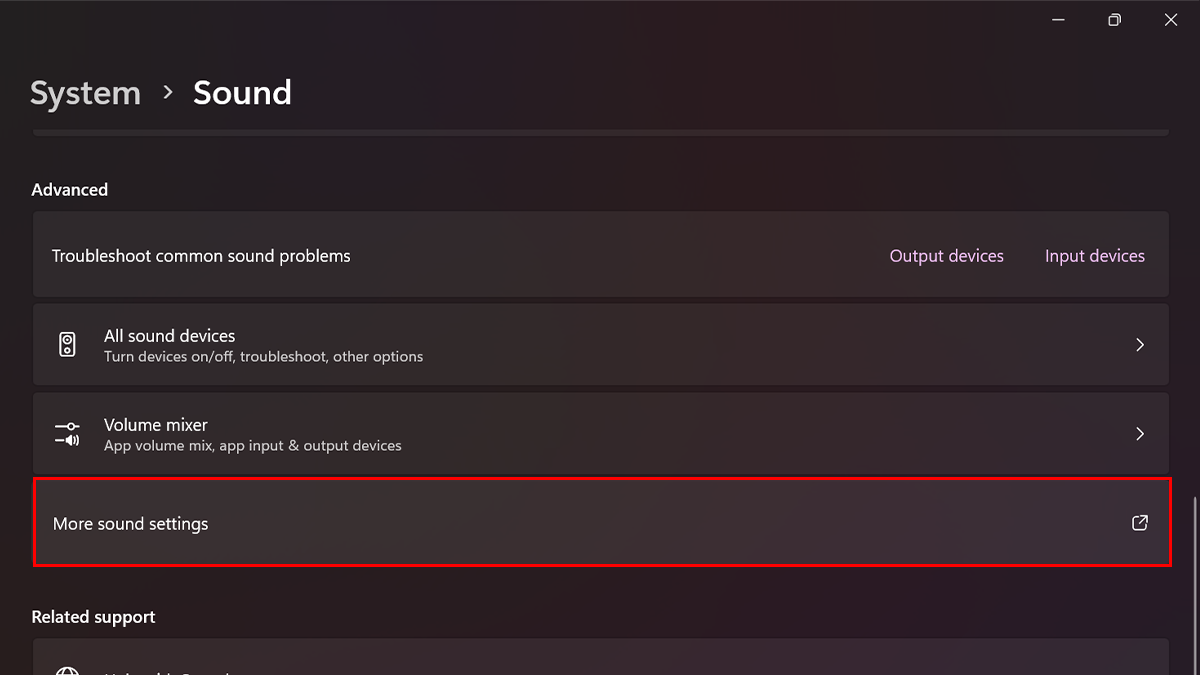
- Scroll down > under the “Advanced” section, click the “More sounds settings” option.
- Select the Output device > click the Properties button.

- Click the Enhancements tab, and then clear the “Disable all enhancements” option.
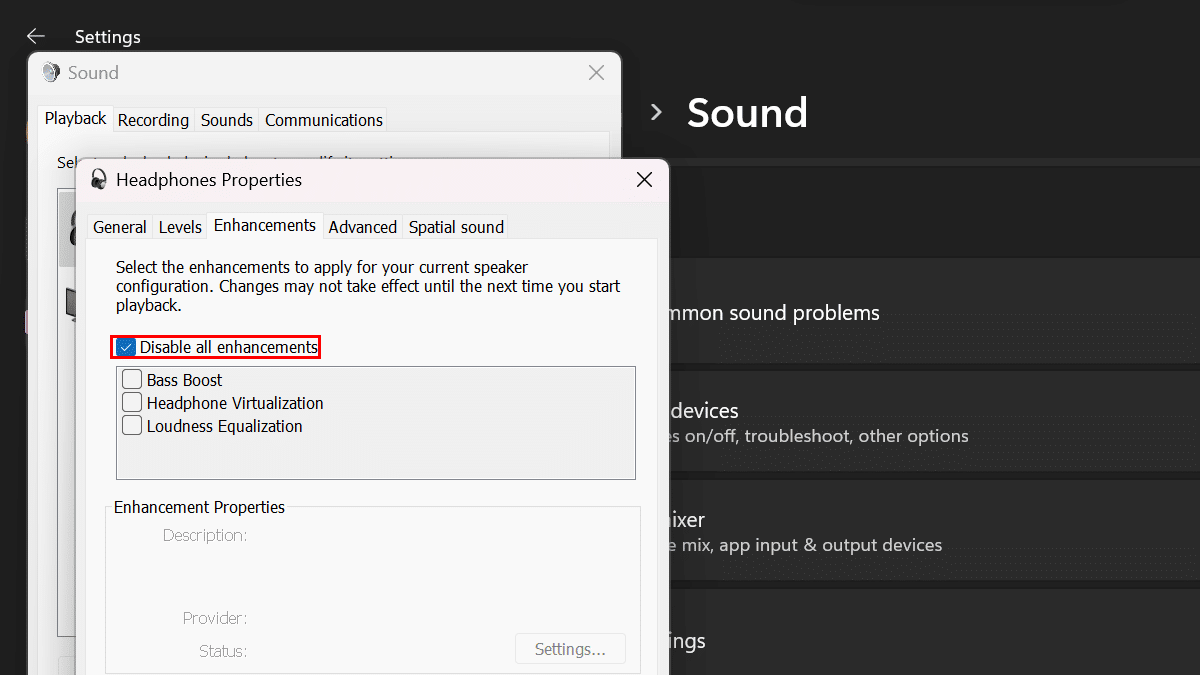
- Check the “Loudness Equalization” option to normalize the volume.
- Quick note: The “Loudness Equalization” option also boosts sound volume, even when you max it out and you’re still hearing things too low.
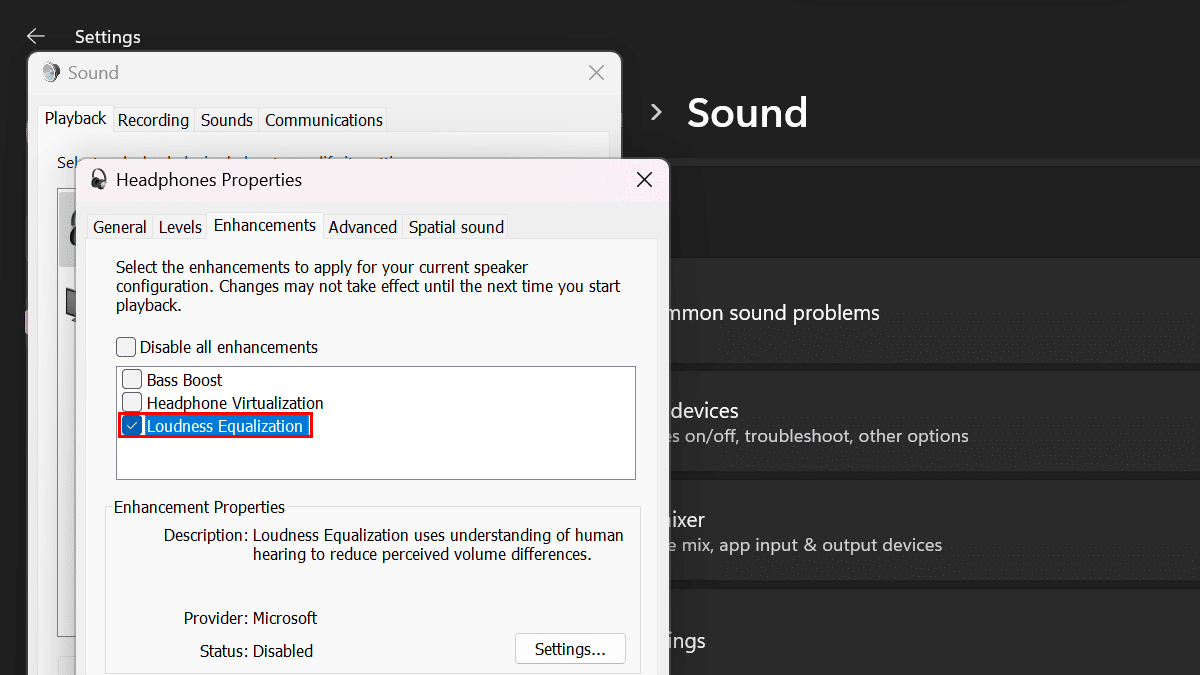
- Quick note: The “Loudness Equalization” option also boosts sound volume, even when you max it out and you’re still hearing things too low.
- Click Apply > click OK.
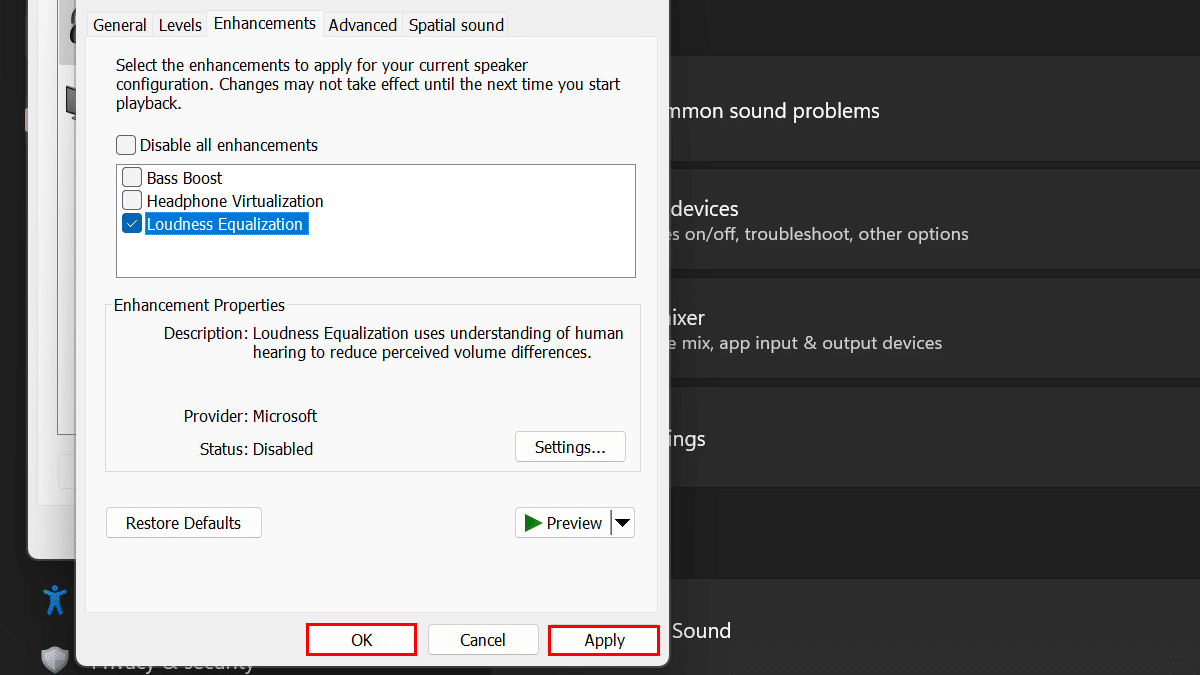
- When done, you can watch shows online or listen to music with a consistent volume level on Windows 11.
Read more:
- How to enable new Copilot AI in Windows 11
- How to enable the Nearby Sharing feature in Windows 11
- How to turn off Microsoft Edge’s sidebar in Windows 11
- How to disable the firewall in Windows 11
- How to stop automatic driver updates in Windows 11
- How to change Virtual Desktop’s wallpaper in Windows 11
- How to restart VMware Workstation without having to reboot Windows 11