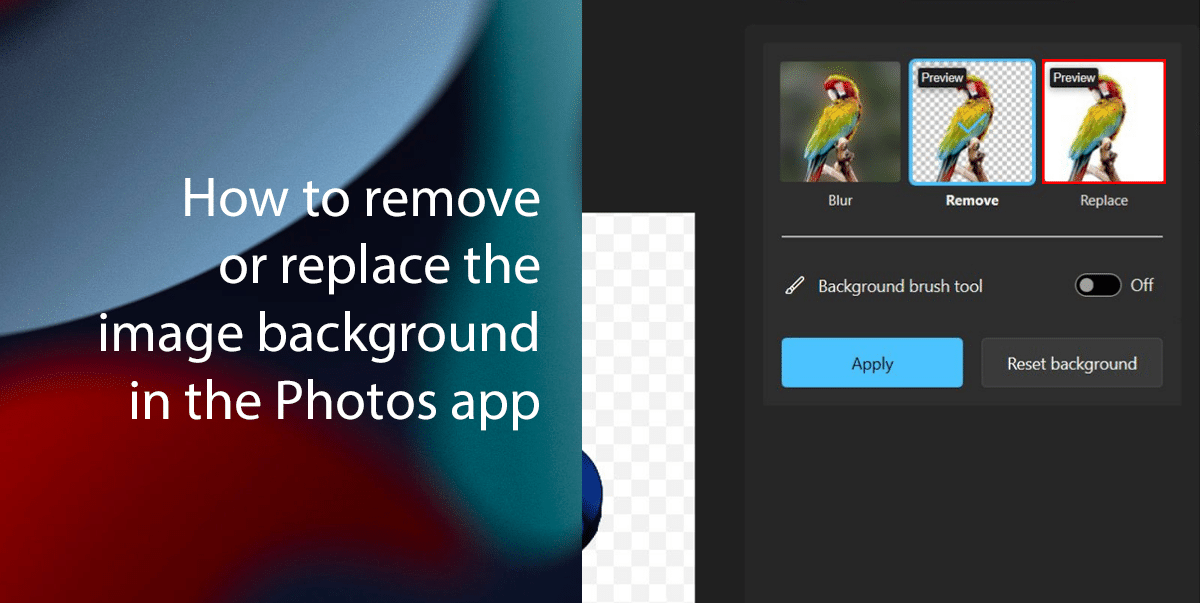
The Photos app in Windows 11 has gained a powerful new feature: the ability to remove or replace the background of an image. This feature is powered by machine learning and can be used to create professional-looking images with ease. The new feature is:
- Easy to use: The feature is very easy to use, even if you don’t have any experience with photo editing.
- Accurate: The machine learning algorithm is able to accurately identify and remove the background from most photos.
- Versatile: You can use the feature to remove and replace the background in a variety of ways.
- Creative: The feature can be used to add creative effects to your photos.
Here are some of the ways you can use the remove or replace the background of an image:
- Remove distracting backgrounds: If you have a photo with a busy or distracting background, you can use the feature to remove the background and make your subject stand out.
- Create product shots: If you’re selling products online, you can use the feature to create clean and professional-looking product shots with white or transparent backgrounds.
- Add creative effects: You can use the feature to add creative effects to your photos, such as by placing your subject in a different environment or by making the background transparent.
In this guide, we will show you how to remove or replace the image background in the Photos app.

How to remove or replace the image background in the Photos app
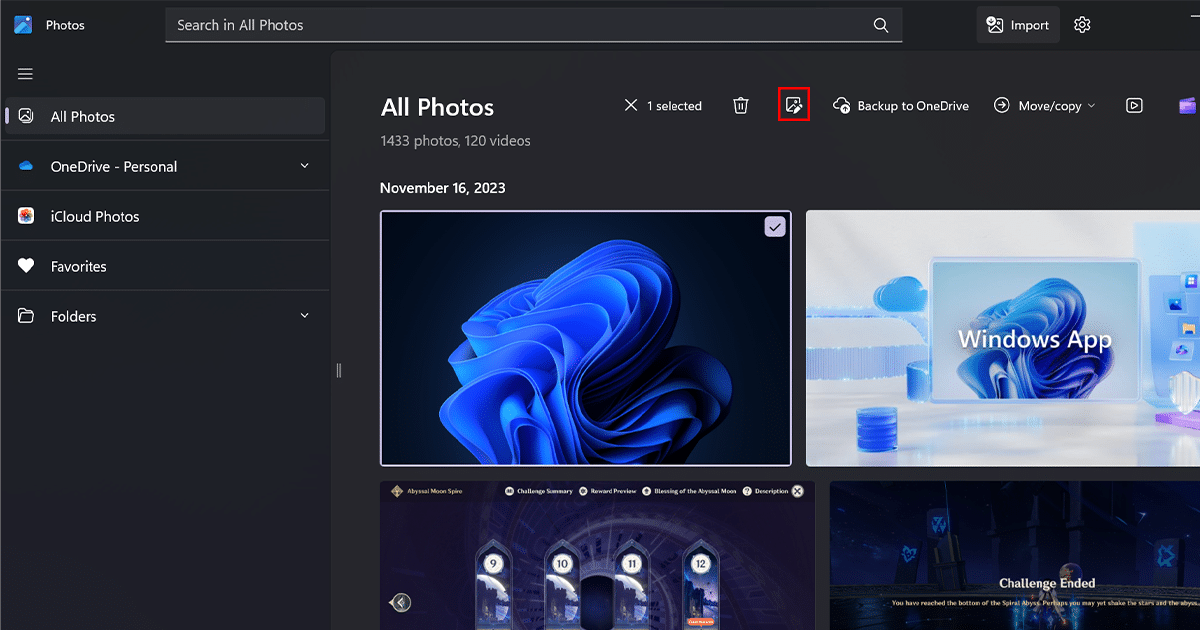
- Open the Photos app, select the image you want to edit, and click on the Edit button.

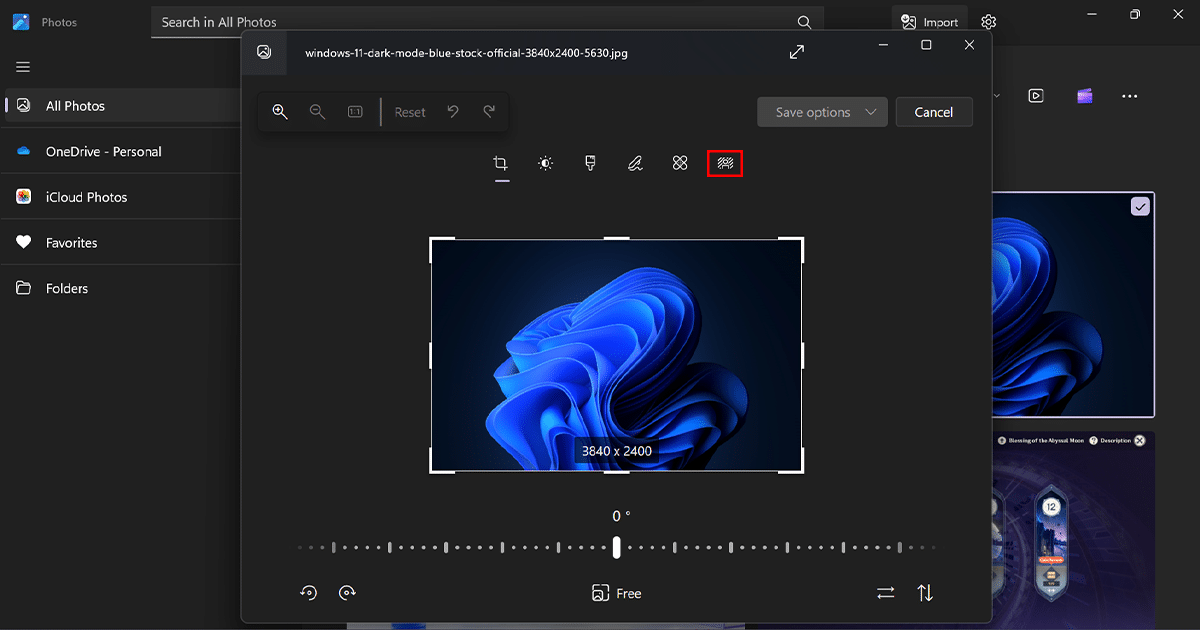
- Click on the Background tool.

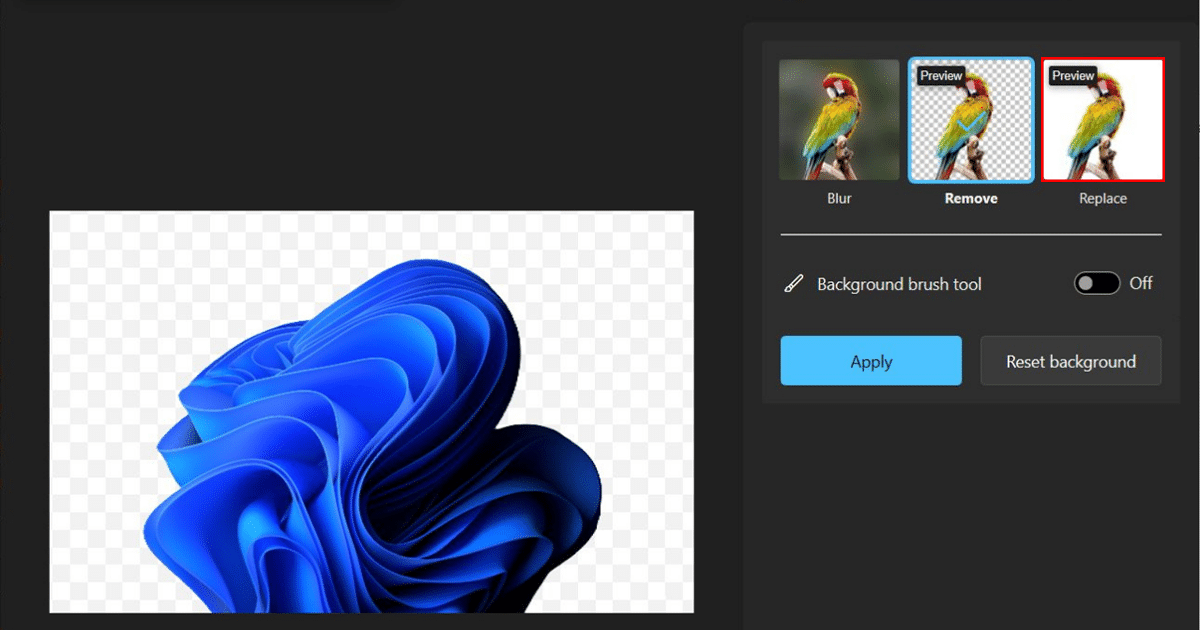
- Photos will automatically remove the background from your photo. You can then adjust the edges of the selection using the Adjust tool.
- To replace the background, click on the Replace button and select a new background from your library or from the Photos app’s background collection.

- You can then adjust the opacity and position of the new background using the Adjust tool.
- Once you’re satisfied with the results, click on the Done button to save your changes.
Read more: