Windows 11 allows users to fix the most logical errors using the “Check Disk” tool via File Explorer and Command Prompt.
“Check Disk” scans the integrity of the file system on a partition and repairs any logical errors. The command-line tool can also check and repair bad sectors if data does not write correctly.
During the life of any hard drive, errors and other problems are expected including Solid-State Drives (SSD) or Hard Disk Drives (HDD). You may face also problems upgrading to a new version, the drive may disappear, or strange behaviors like apps locking up.
In this guide, we will show you how to use the “Check Disk” tool to find and fix errors with the Windows 11 installation drive and secondary storage.
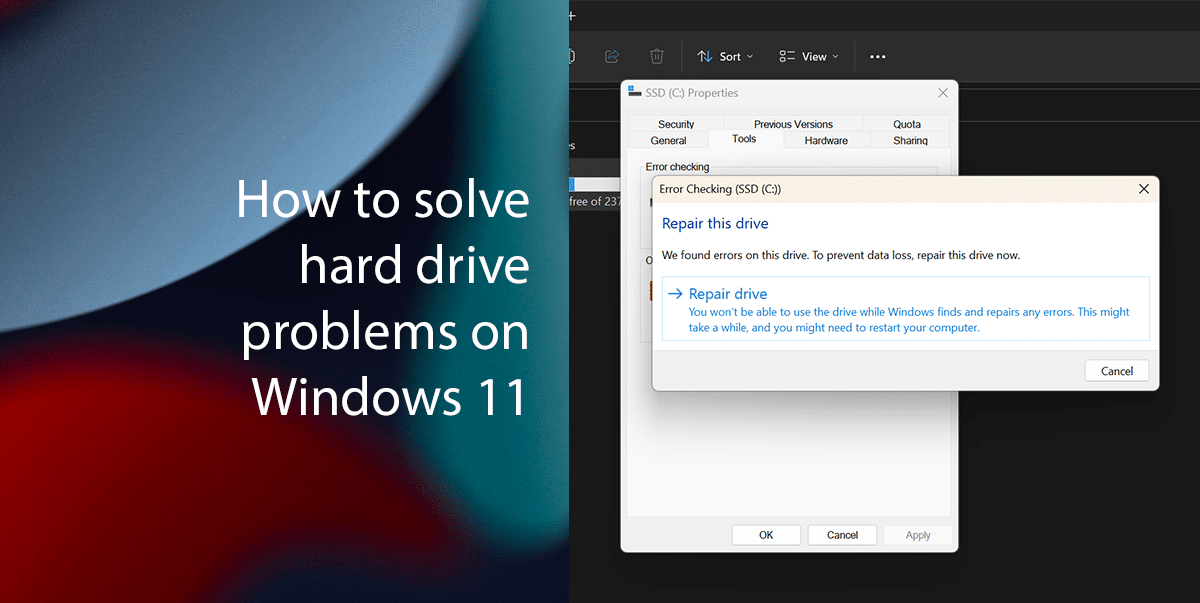
Here is how to solve hard drive problems on Windows 11 in two ways
How to fix hard drive errors from File Explorer
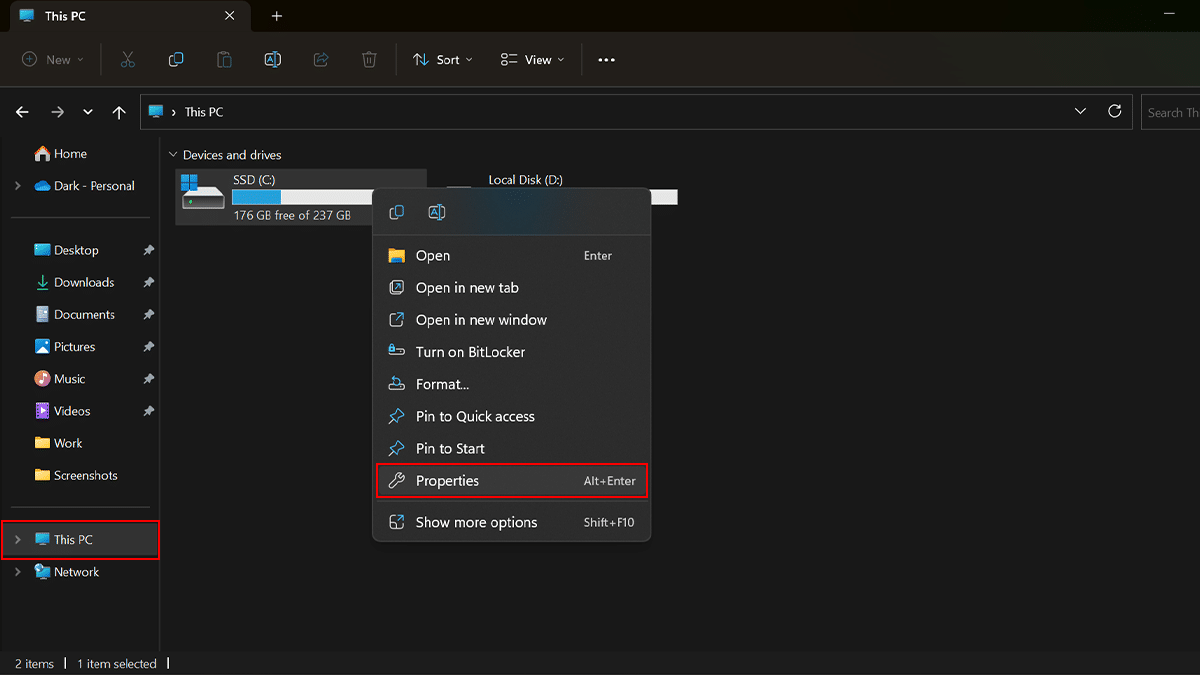
- Open File Explorer > click on This PC from the left pane > under the “Devices and drives” section, right-click the hard drive you want to check and repair > select the Properties option.
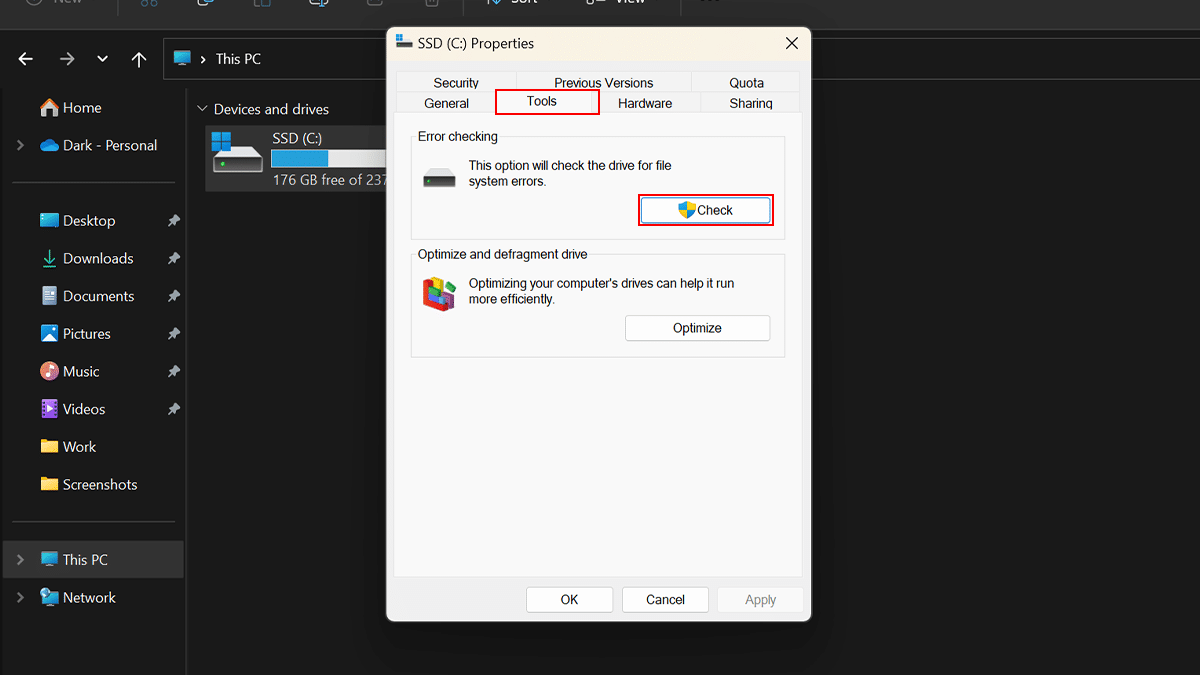
- Click the Tools tab > Check button.
- Click the Repair drive option.
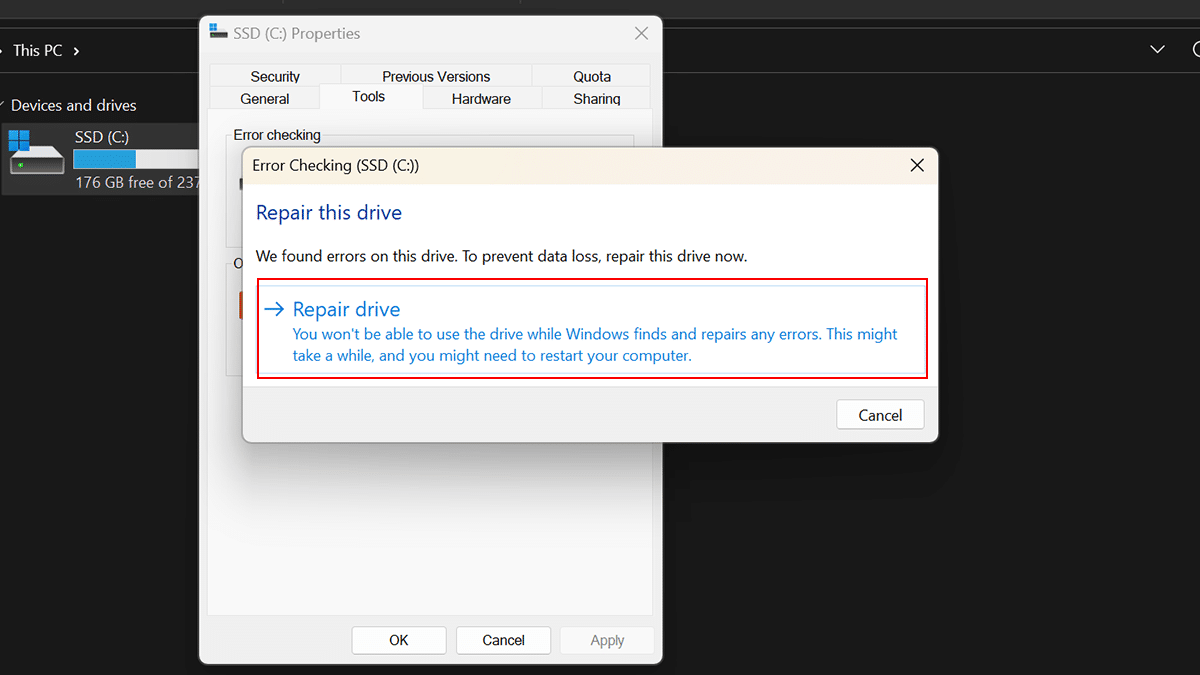
- When done, if the utility does not find any errors, click the Close button, but if some errors cannot be repaired, you will be prompted to schedule another scan during the next restart.
How to fix hard drive errors from Command Prompt
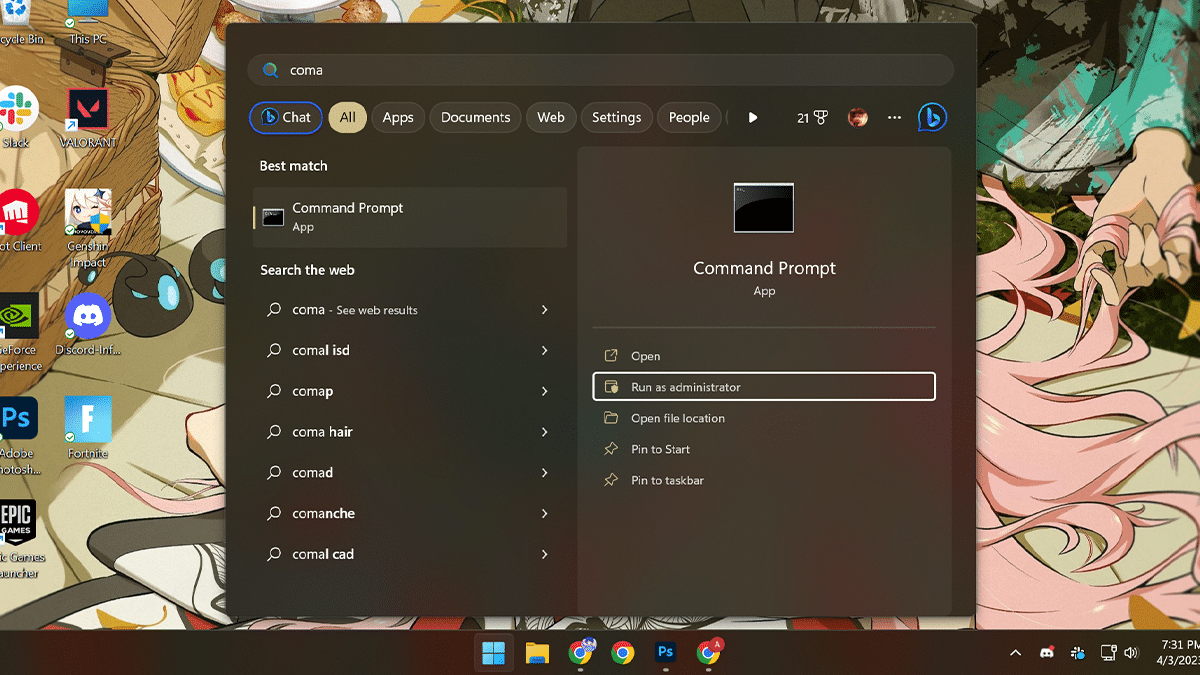
- Open Start > search for Command Prompt > select the Run as administrator option.
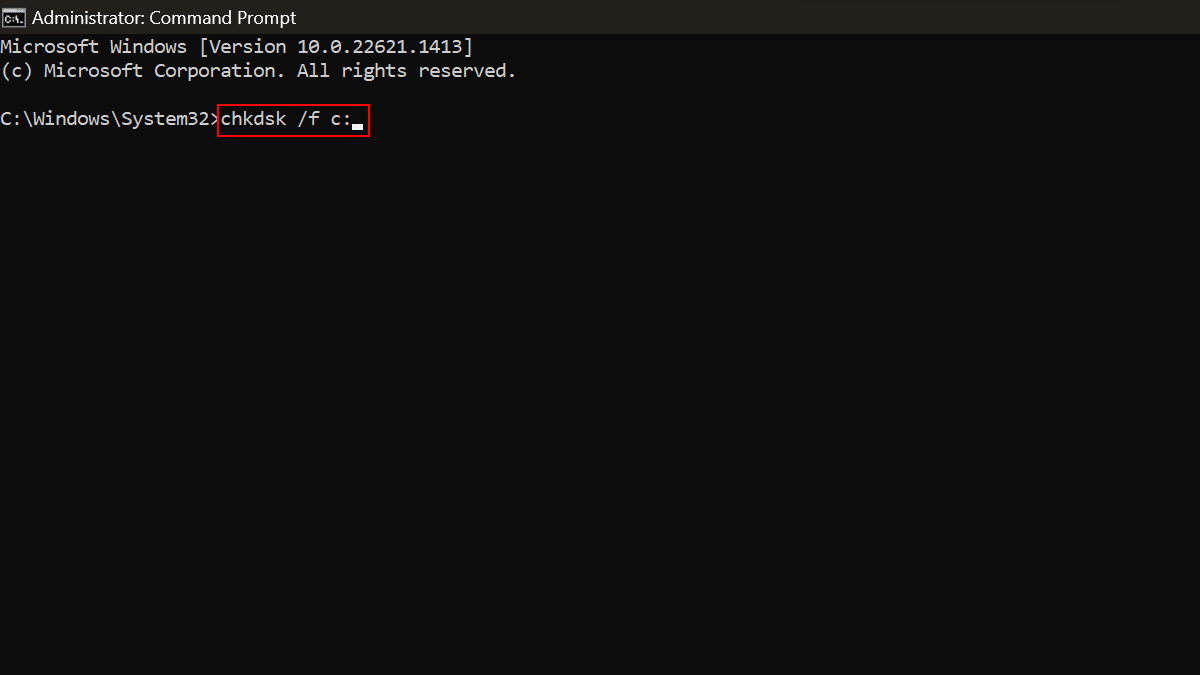
- Type the following command: chkdsk /f c: > press Enter on the keyboard.
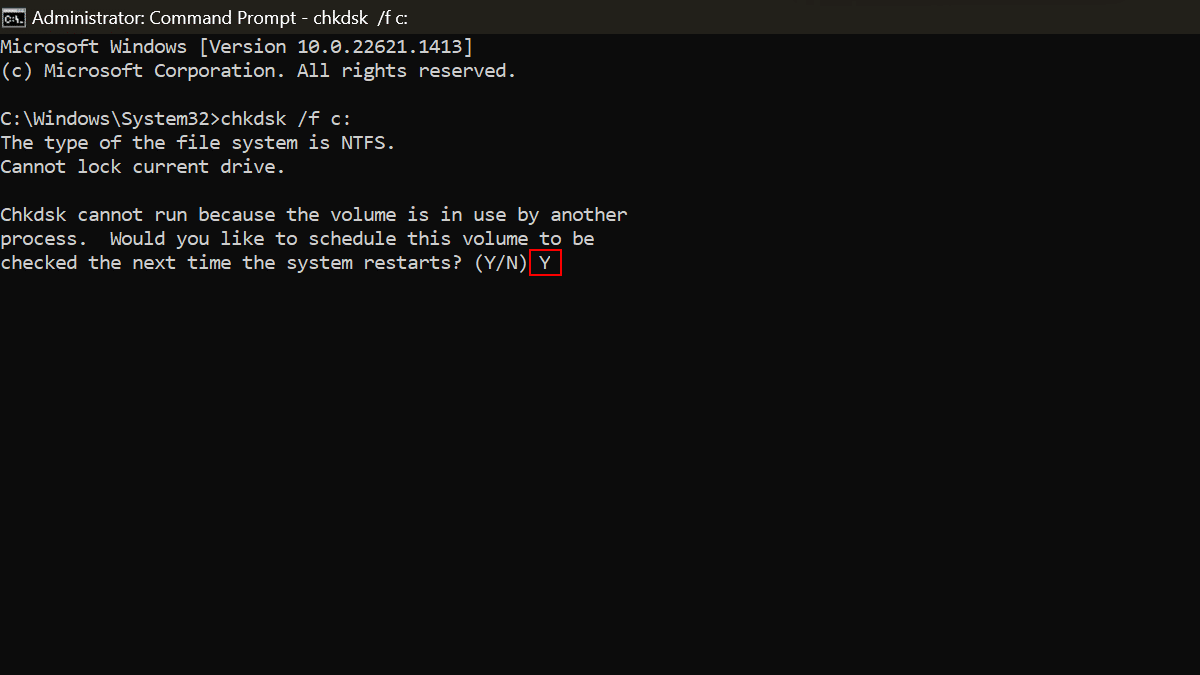
- Type “Y” and press Enter on the keyboard to schedule the scan during the next restart.
- When done, errors and bad sectors should disappear.
Read more: