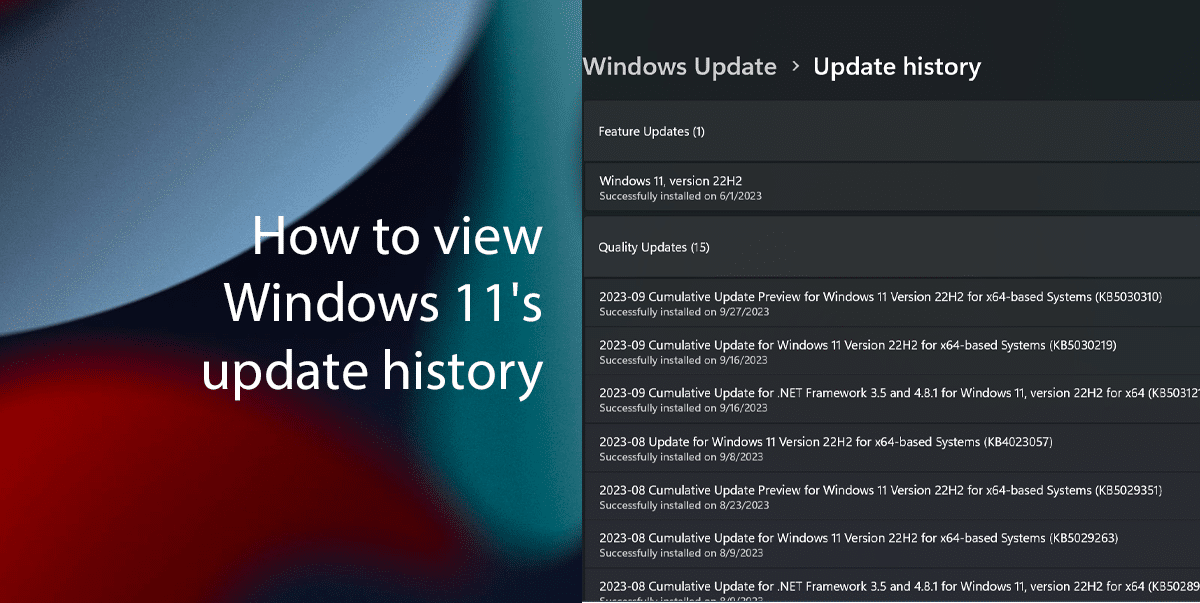
View update history on Windows 11 is a feature that allows users to see a list of all updates that have been installed on their device. This includes quality updates, drivers, definition updates, feature updates, and optional updates.
There are a few reasons why you might view the update history on Windows 11:
- To check if a particular update has been installed successfully.
- To see if a specific update is causing problems with your device.
- To gather information about a specific update, such as the fixes and improvements it includes.
- To uninstall an update.
- To troubleshoot update problems.
- To verify that your device is up to date.
- To keep track of updates that have been installed.
For example, if you are experiencing problems with your device after installing a recent update, you can view the update history to see if the update is known to cause problems. You can then uninstall the update or contact Microsoft support for assistance.
The update history can provide information about specific updates, such as the fixes and improvements they include. This information can be helpful in understanding the changes that have been made to your device.
In this guide, we will show you how to view Windows 11’s update history using the Settings app or Command Prompt.

Here is how to view Windows 11’s update history
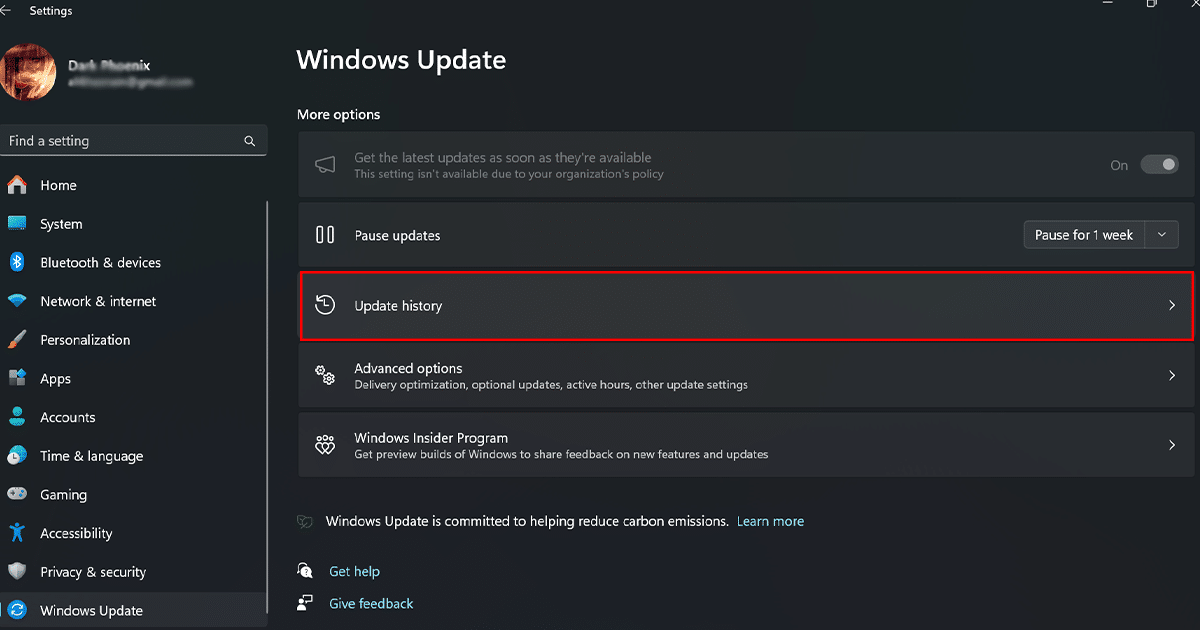
Using the Settings:
- Open the Settings app.
- Click on Windows Update and under the “More options” section, click on Update history.

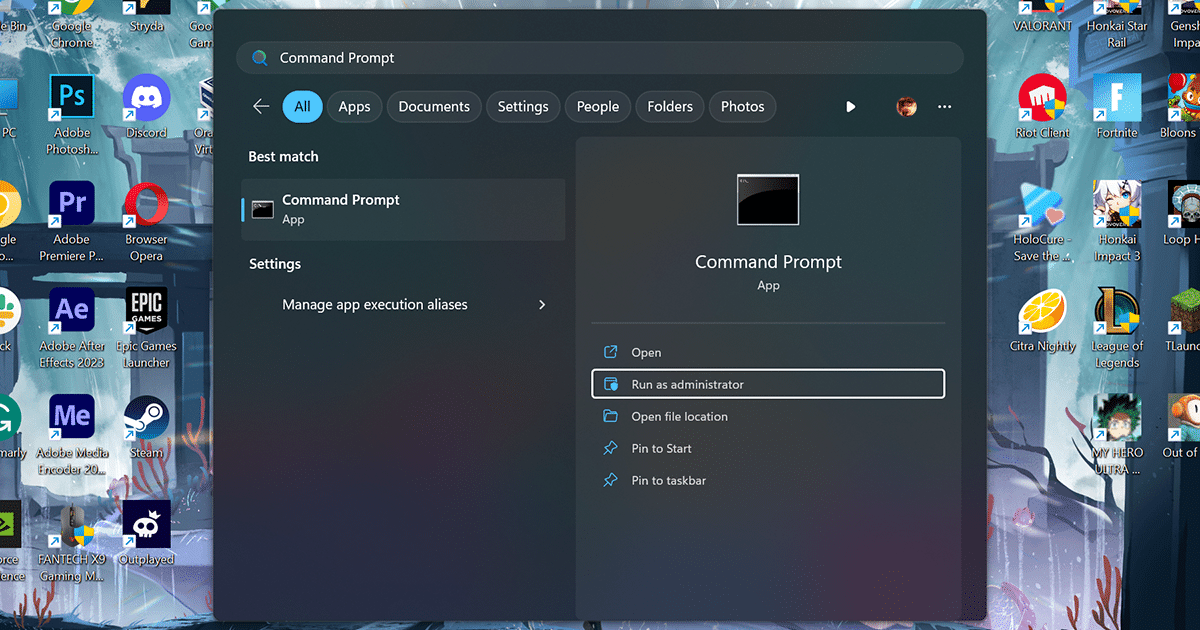
Using the Command Prompt:
- Open Command Prompt as administrator.

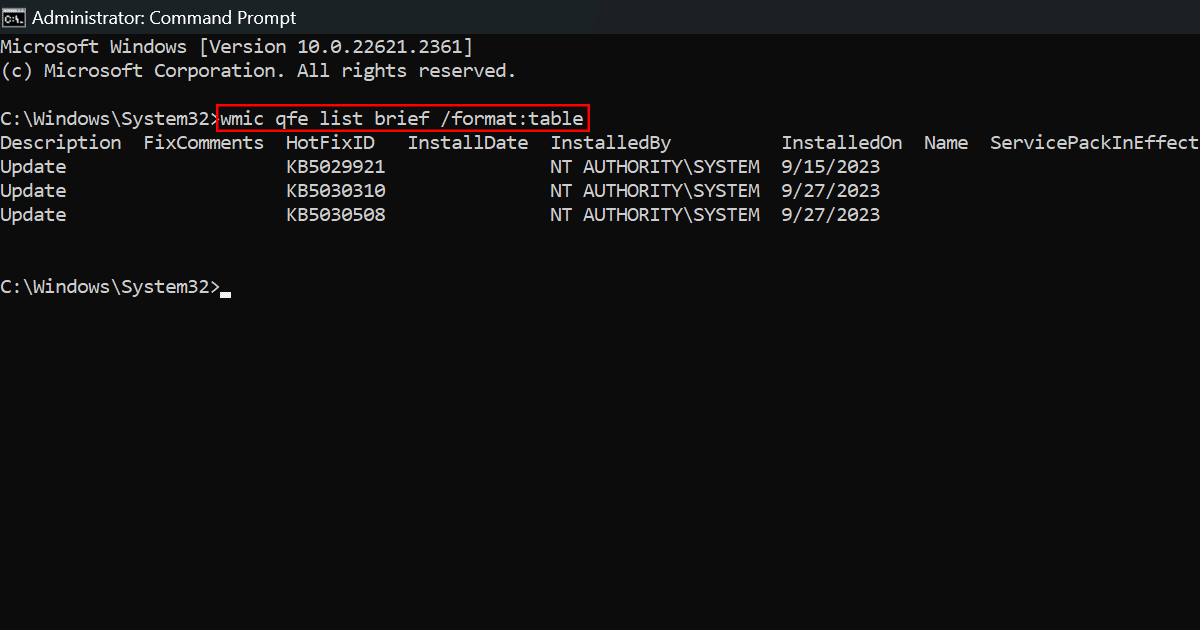
- Type the following command and press Enter:
wmic qfe list brief /format:table

- The update history will be displayed in a list format. The list will include the following information for each update:
-
- Update name
- Update KB number
- Installation date
- Status
Read more: